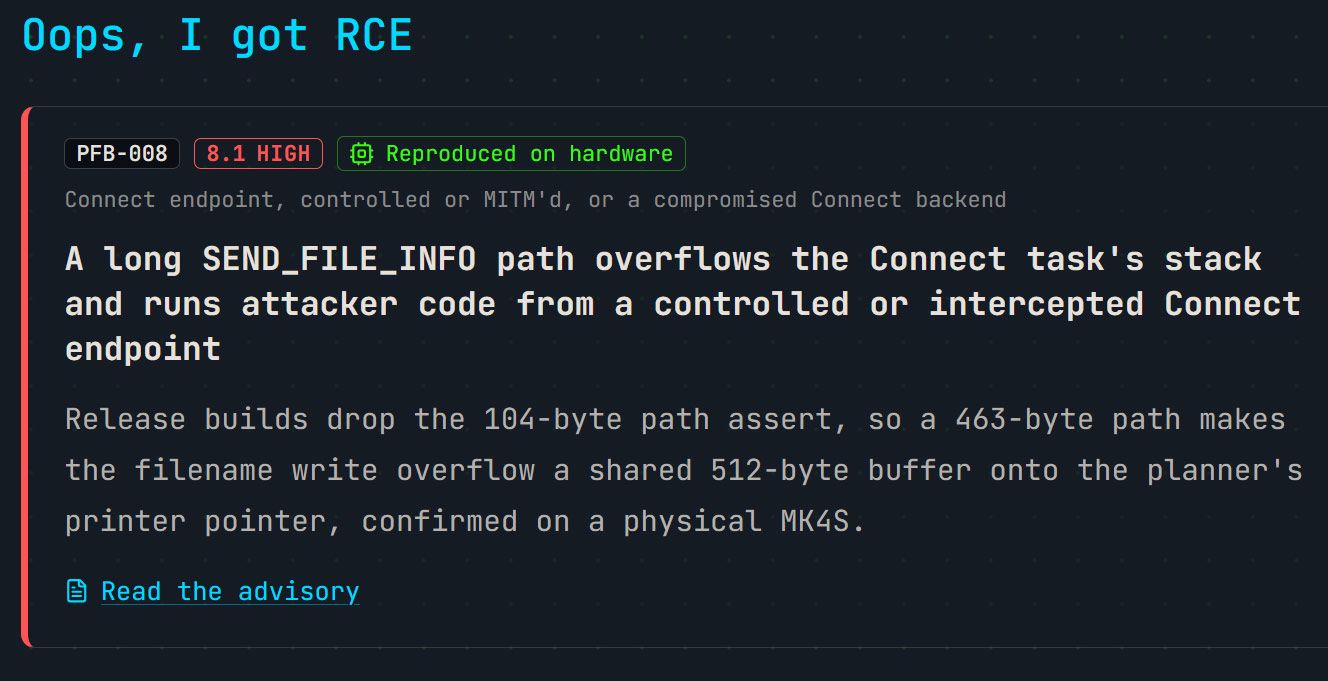
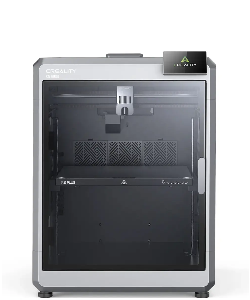
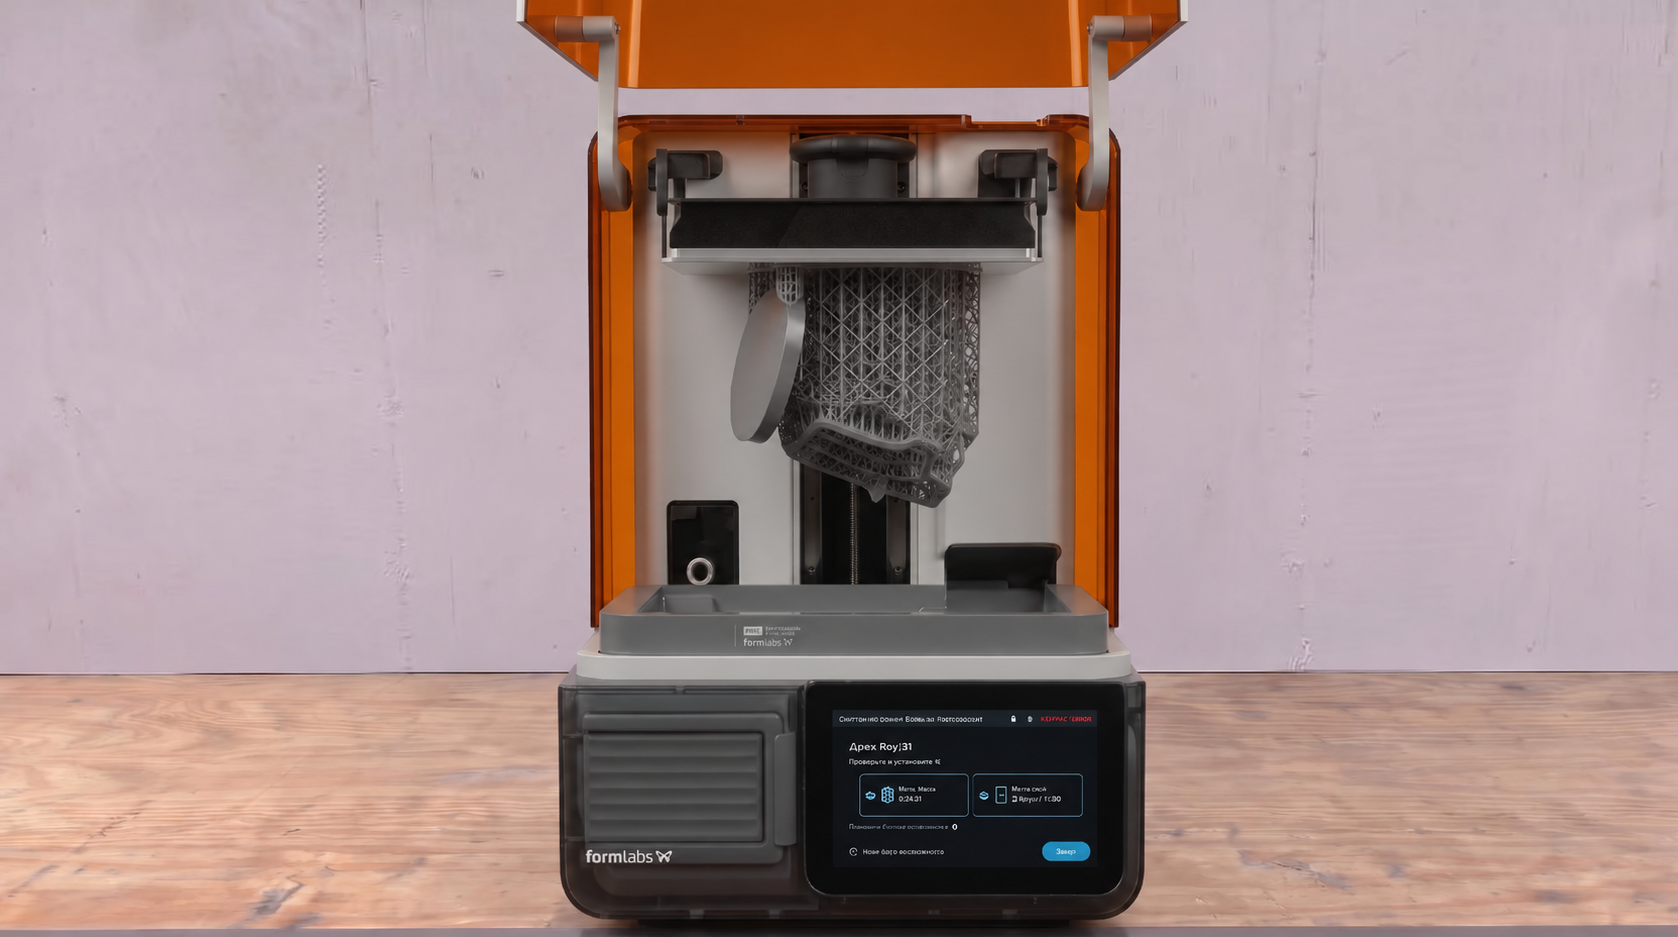
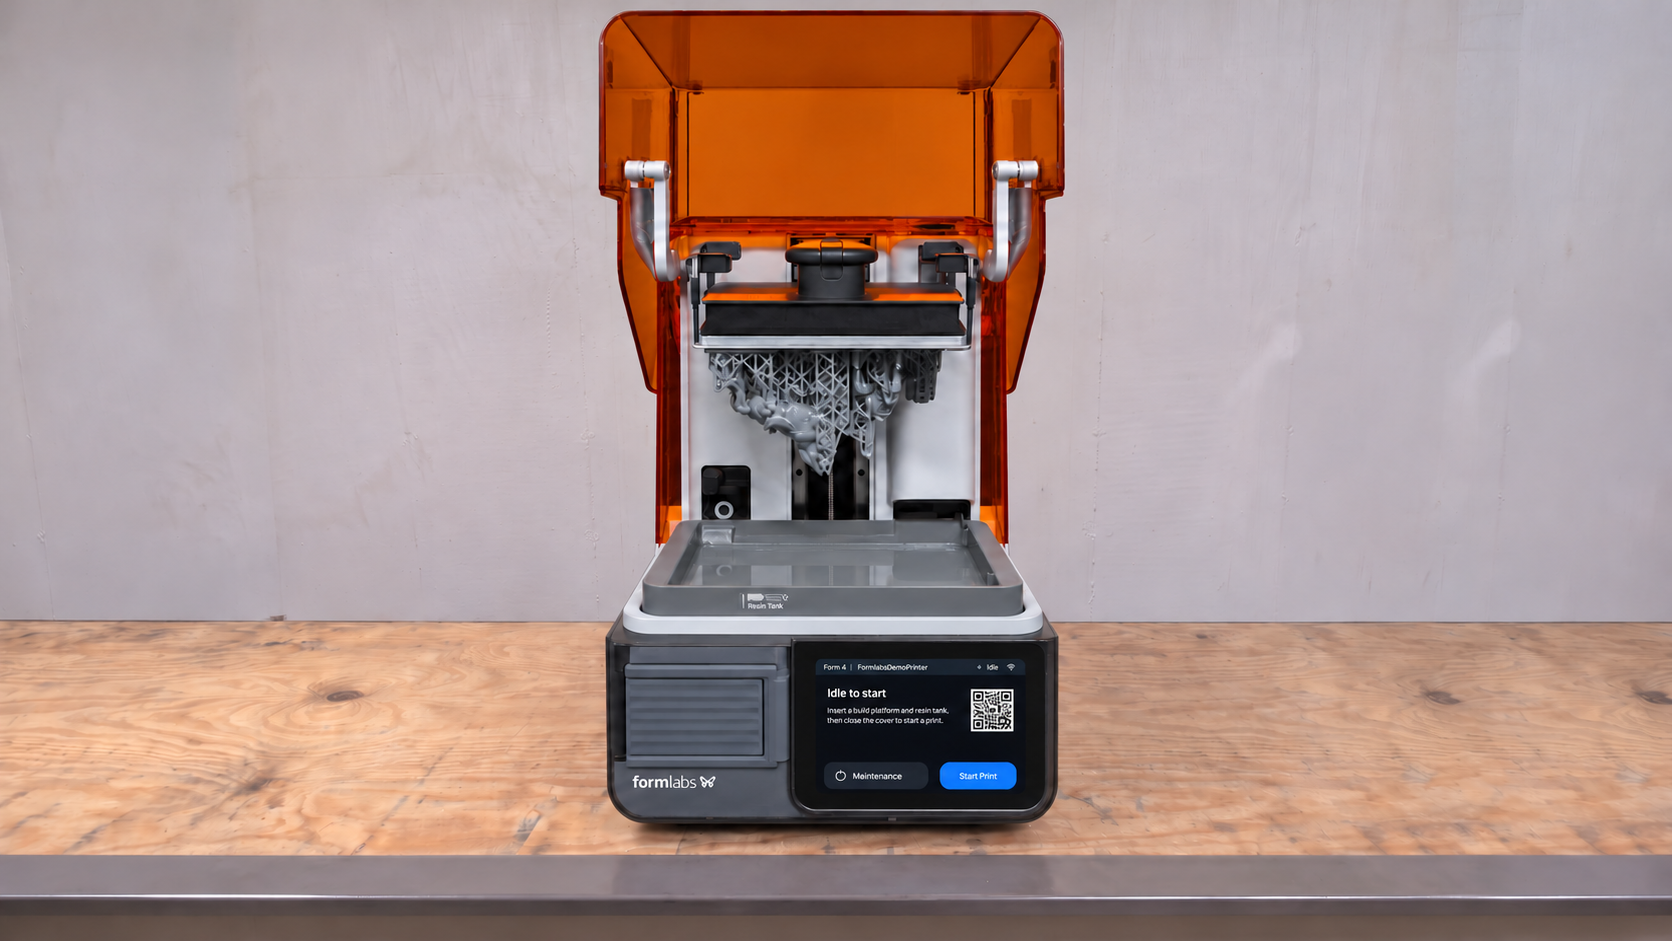
Software engineer Yannick Dixken spent a week attacking his Prusa MK4S 3D printer in the name of science. At the end of the relatively short but intense period, he produced a video demonstrating the ability to Rickroll the printer via remote code execution (RCE). Dixken shared the video and findings – charting “roughly 23 individual defects” with Prusa and published his amusing but detailed Never gonna print you up! blog in coordination with the 3D printer maker. Yes, all the vulnerabilities are now patched in the Buddy firmware versions >7.0.0.
Dixken is an experienced Freelance Cloud Architect, DevOps and Platform Engineer. Security research is more of a hobby, he notes in the blog post, but it is clearly a passion strong enough to spend a whole week probing the MK4S for vulnerabilities. The result is far more than the funny old Rickroll. The week of debugging, fuzzing and reverse engineering “armed with Opus 4.8 and a fuzzer” resulted in “14 findings, roughly 23 individual defects, and a chain that ends with the printer's main controller running code I sent it over the network,” noted Dixken. “Yup, fully fledged RCE.”
The headlining RCE scored 8.1 and is officially described as High Severity. This serious bug was in the cloud (or self-hosted) management platform called Prusa Connect. You can see proof-of-concept code Rickrolling the user in Dixken’s embedded video. He sent this video to Prusa.
The methods used to uncover these vulnerabilities are outlined in the source blog, if you’d like to know more. Meanwhile, there were many other vulnerabilities uncovered and cataloged. These include a USB filename attack, heap overflows triggered by malformed encrypted print files, and network denial-of-service flaws. Many of the bugs were probably symptoms of the original developers’ use of assert statements to enforce assumptions.
Happily for Prusa 3D printer users, Dixken has responsibly disclosed this multitude of vulnerabilities. The engineer says that within 24 hours of the Rickroll video being shared on social media, the 3D printing firm’s team coordinated professionally, efficiently, and kindly. Companies don’t always react so positively to those helping them find vulnerabilities in their wares.
It's November, which means we're officially in the season for deals on tech. While it's a few weeks before the big sales event starts, 3D printer manufacturers are already slashing their prices. If you fancied investing in a new 3D printer ahead of the holidays, Elegoo's big sale has started, and it's slashing prices by as much as 54%, according to its website.
Elegoo is a big name in the 3D printing world, with some of its models sitting in our best 3D printer guide. These discounts make it a brilliant time to invest in a new printer, whether you're a beginner starting out or a seasoned pro looking to expand their setup further.
Yes, this is officially Elegoo's Black Friday sales event, and it'll be running until December 1, but there's no guarantee that the printers themselves will still be around by then. We've seen stock dry up in previous events from the big brands before the sales are over, so if you want a printer to arrive before the holidays, you'll need to make sure you get your order in sooner, rather than later.
To help you pick, we've put together a list of some of the best Elegoo 3D printers currently on sale below.
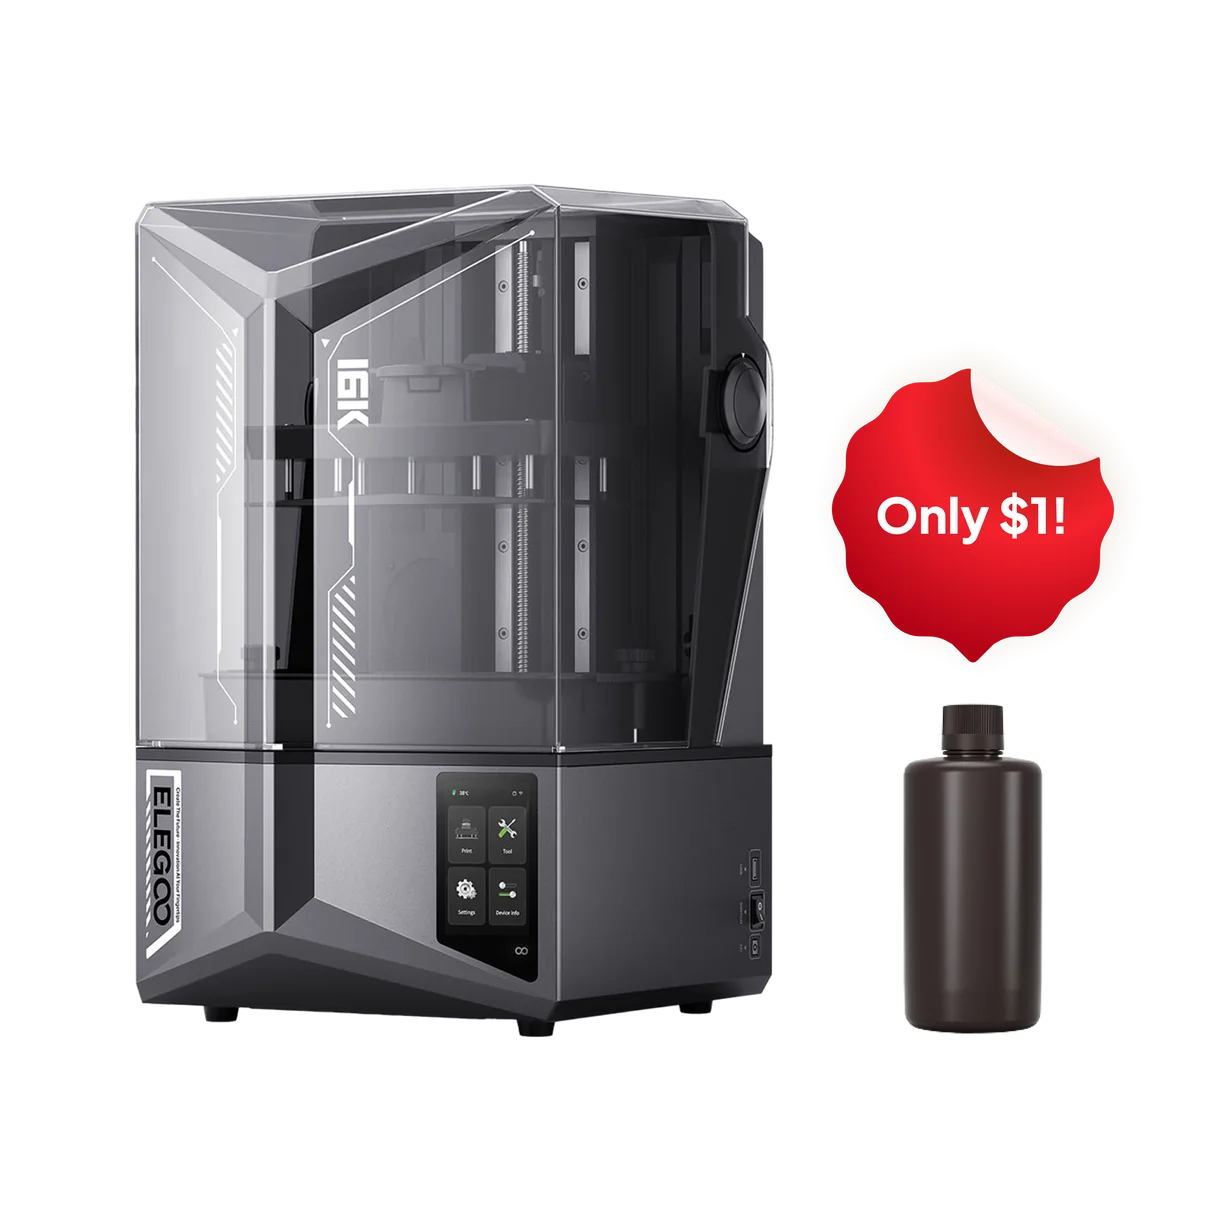
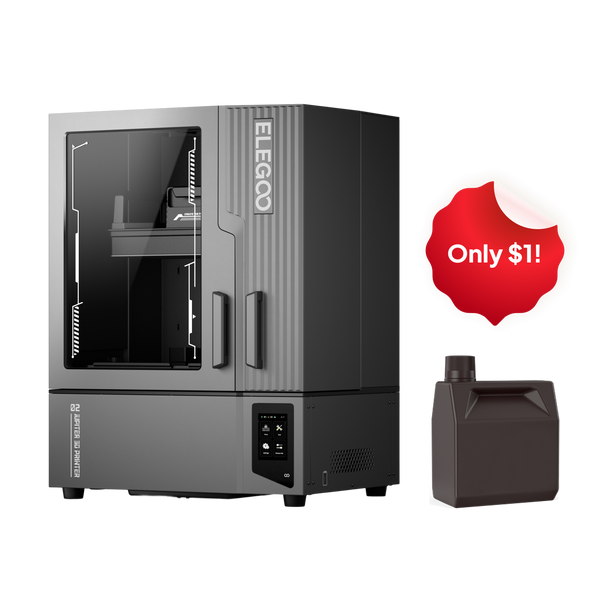
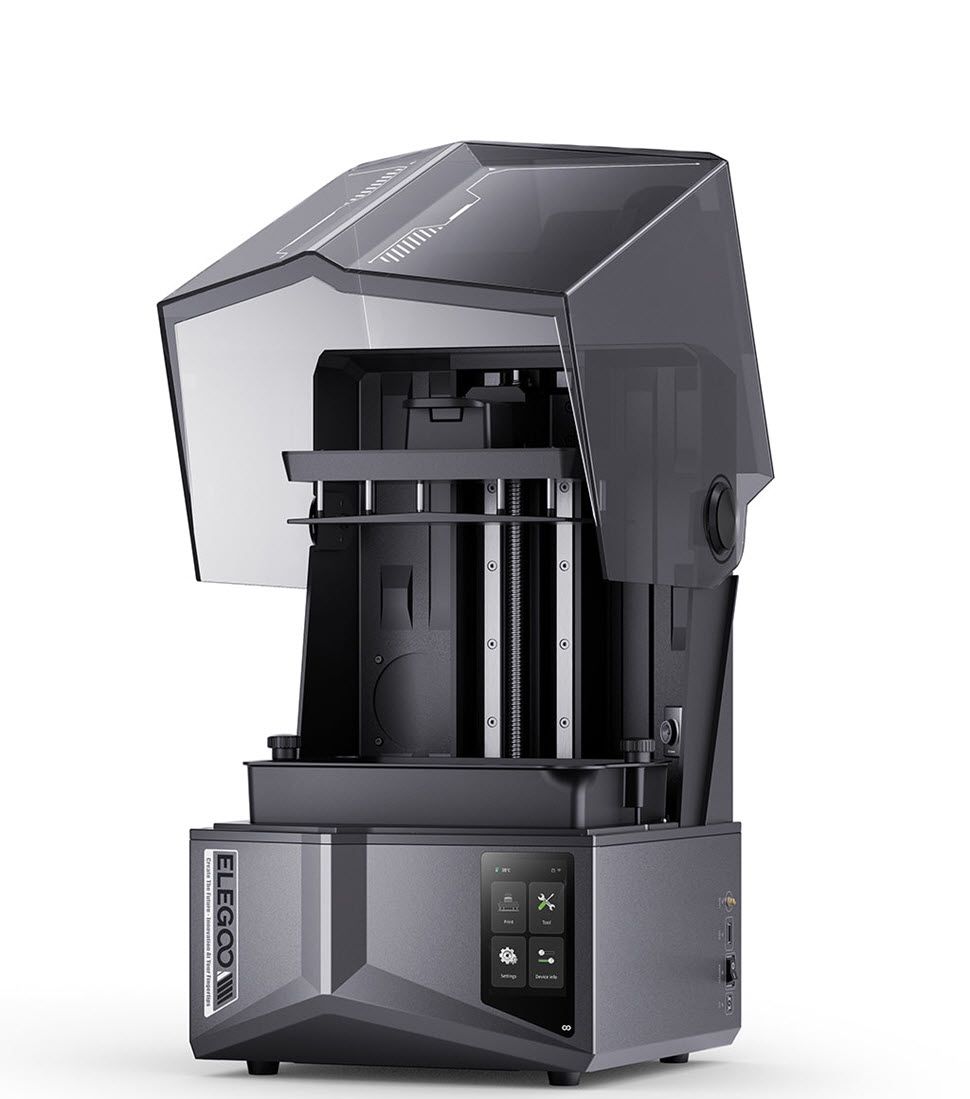
Saturn 4 Ultra 16K with 1KG resin for $1: was $674.98 now $400 Elegoo's top-tier resin 3D printer with a staggeringly detailed 16K print resolution for amazing, detailed prints. Comes complete with auto-bed leveling and tilt-release for easy print removal. There's even a camera for watching your prints take shape, with time-lapse stills.
This deal means you can get 1KG of resin with this printer for just a $1.View Deal
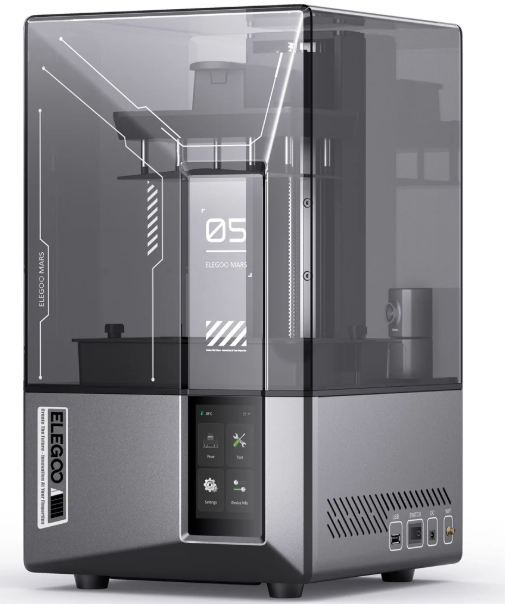
Mars 5 Ultra 9K: was $338 now $259 We loved the excellent 9K resolution as it brought crisp details to prints, making it ideal for gaming miniatures. As with many resin 3D printers, the small build volume is a downside, but these printers are made for detail, not large functional parts.
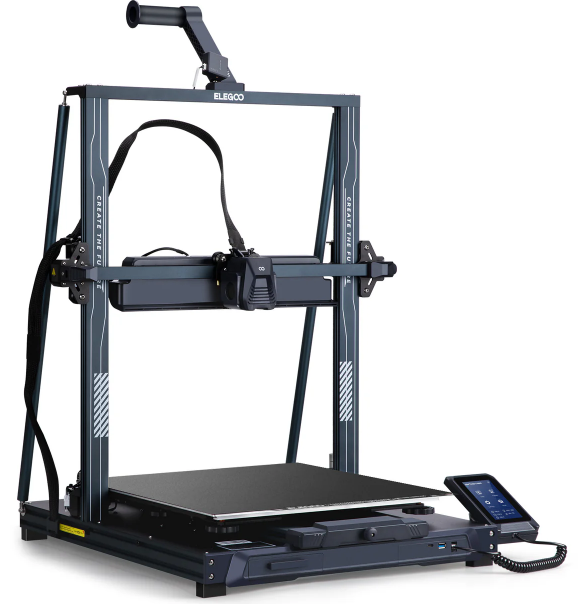
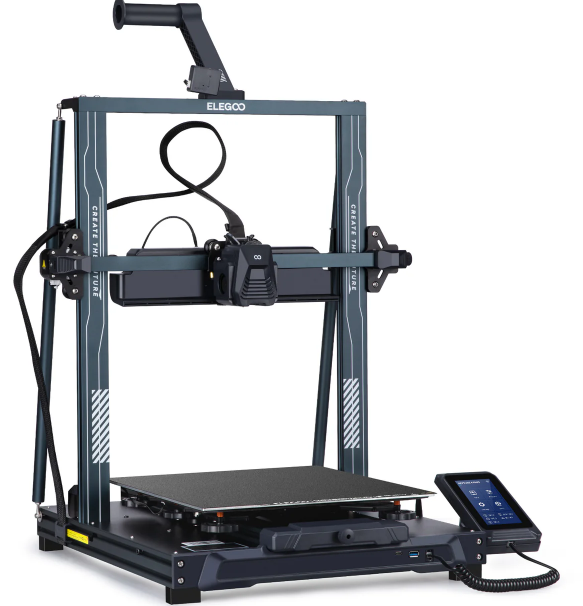
The Neptune 4 max has a 420mm x 420mm x 480mm build volume and can print with speeds up to 500 mm/s. Other features include a 300 °C high-temperature nozzle and automatic print bed leveling.
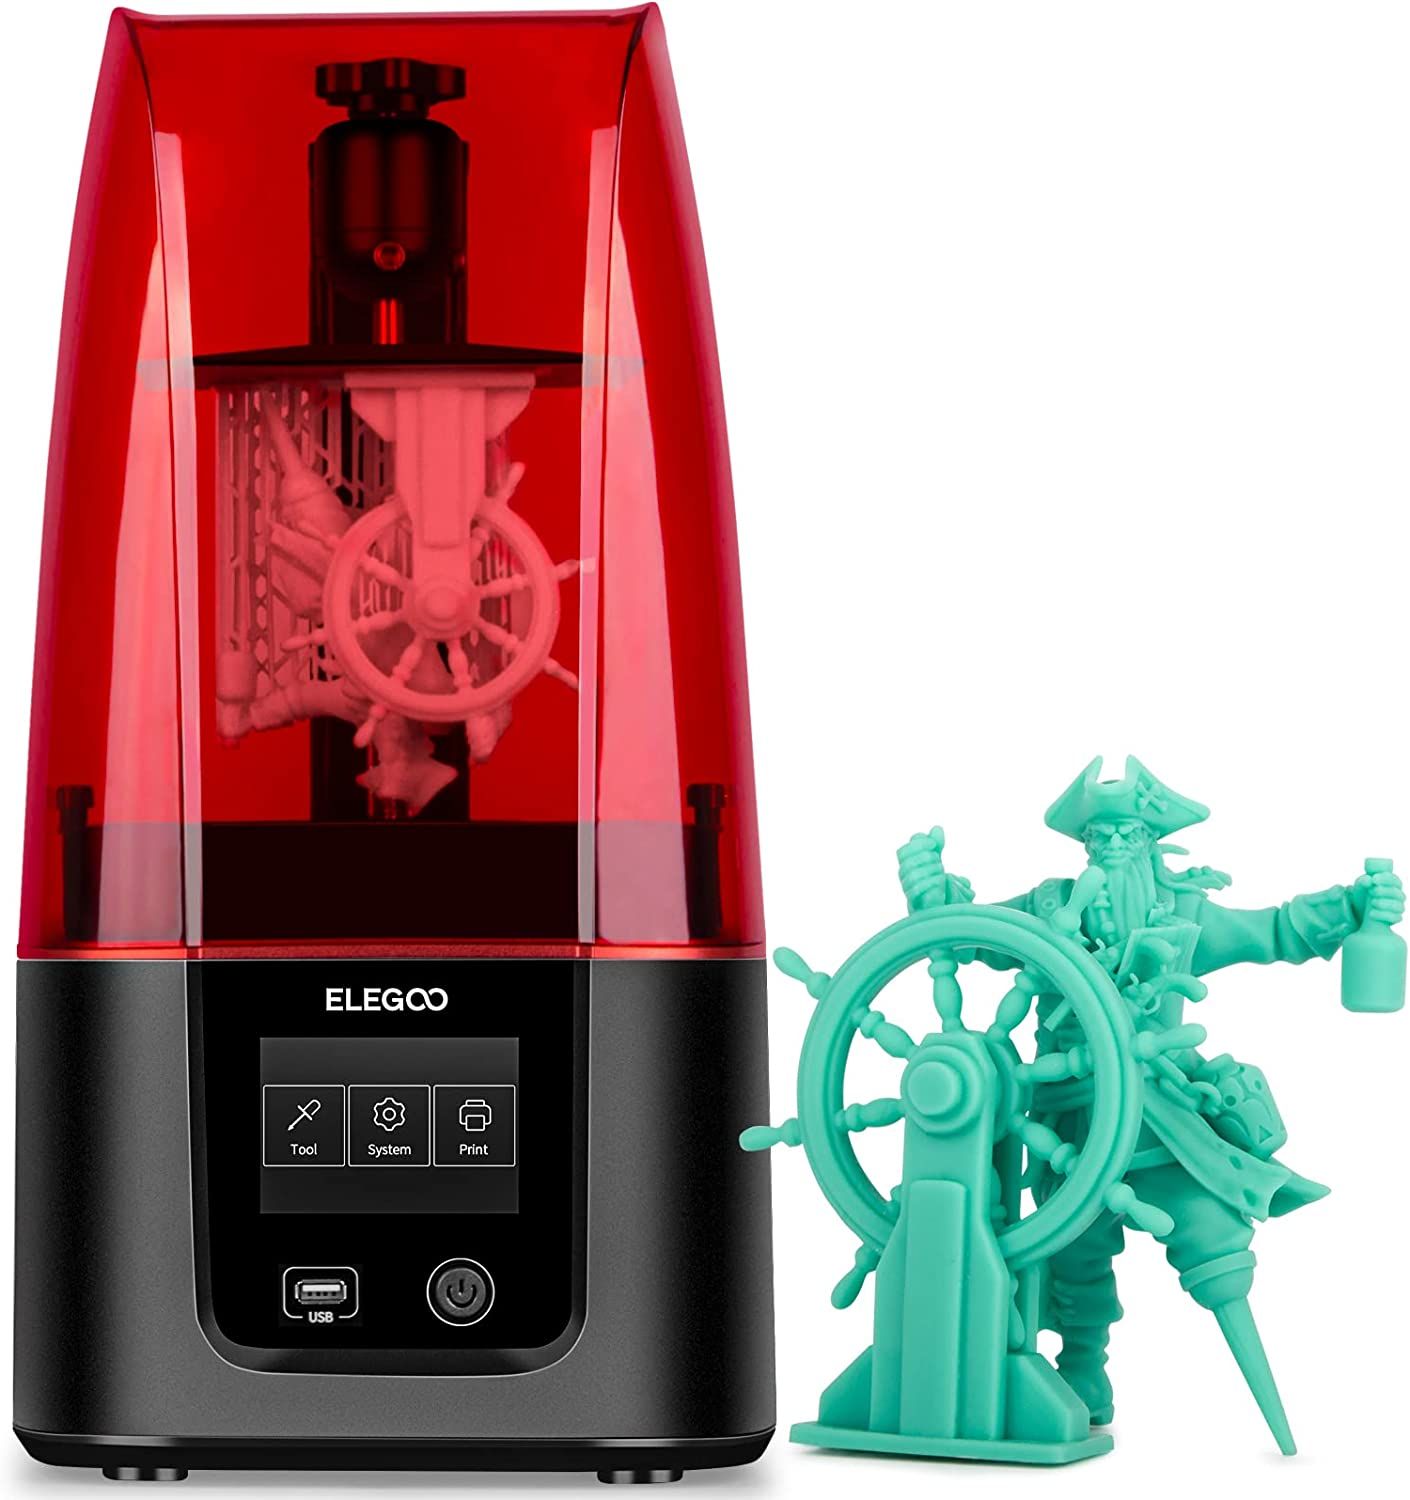
Mars 4 Resin 3D printer: was $299.98 now $239.99 If you want to start 3D printing or need a second machine for detailed models, a resin 3D printer is a good buy. Elegoo's Mars 4 is a compact and easy-to-use resin 3D printer. With a 4K resolution, your prints will be crisp, and a layer cure time of 2.5 seconds means you won't be left waiting. When compared to FDM printers, the build volume is small at 143 x 89 x 175mm.View Deal
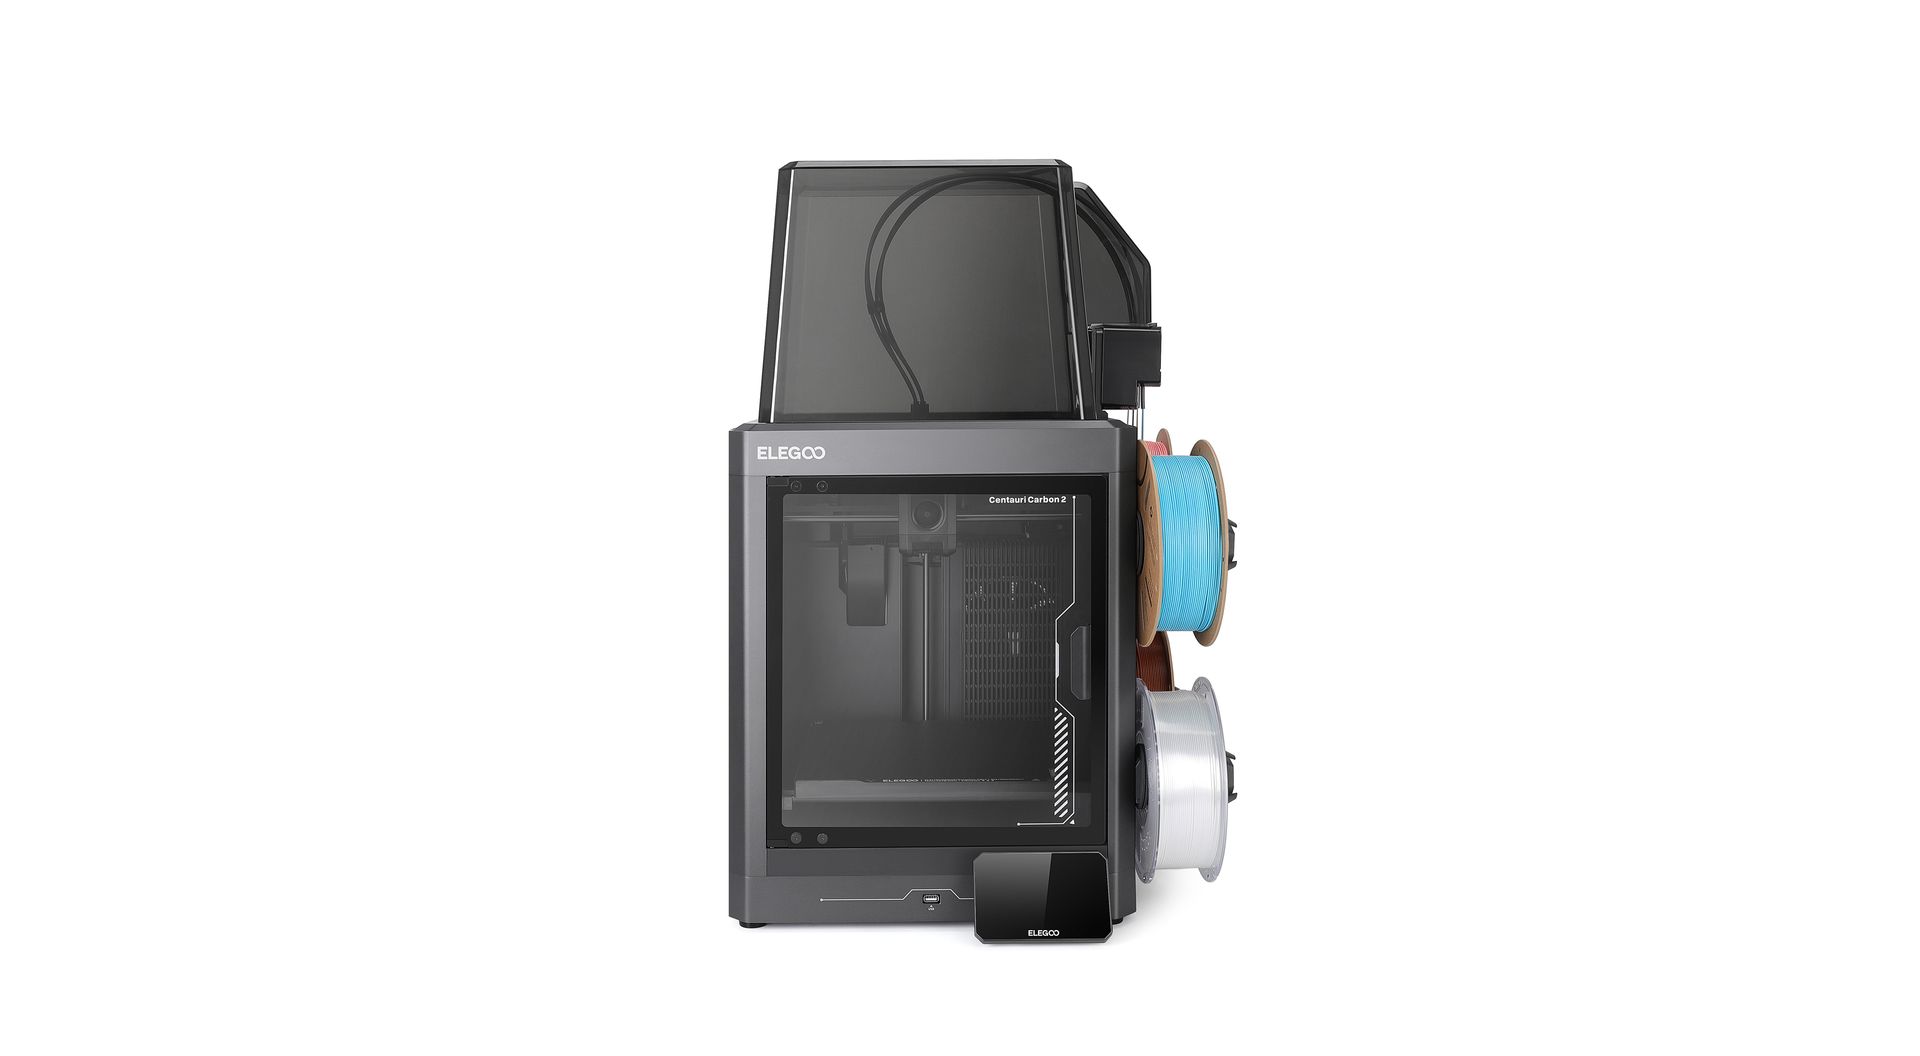
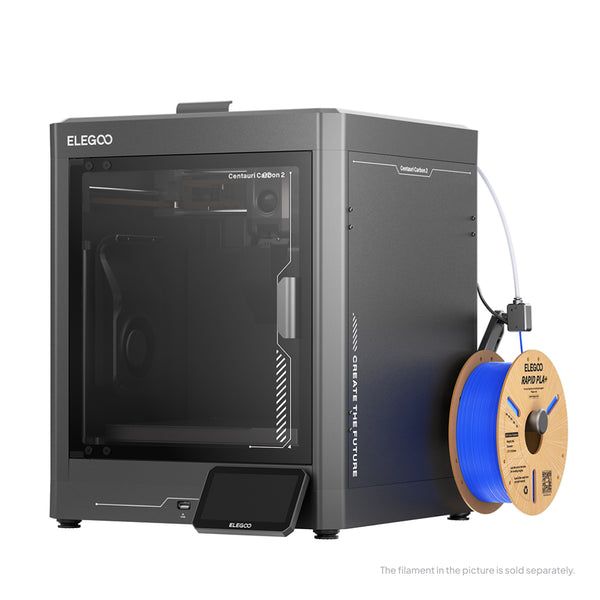
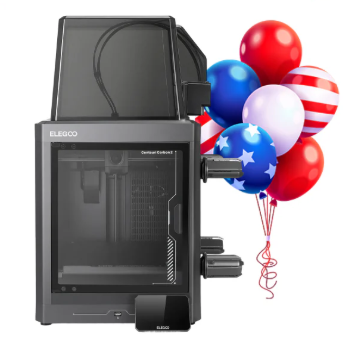
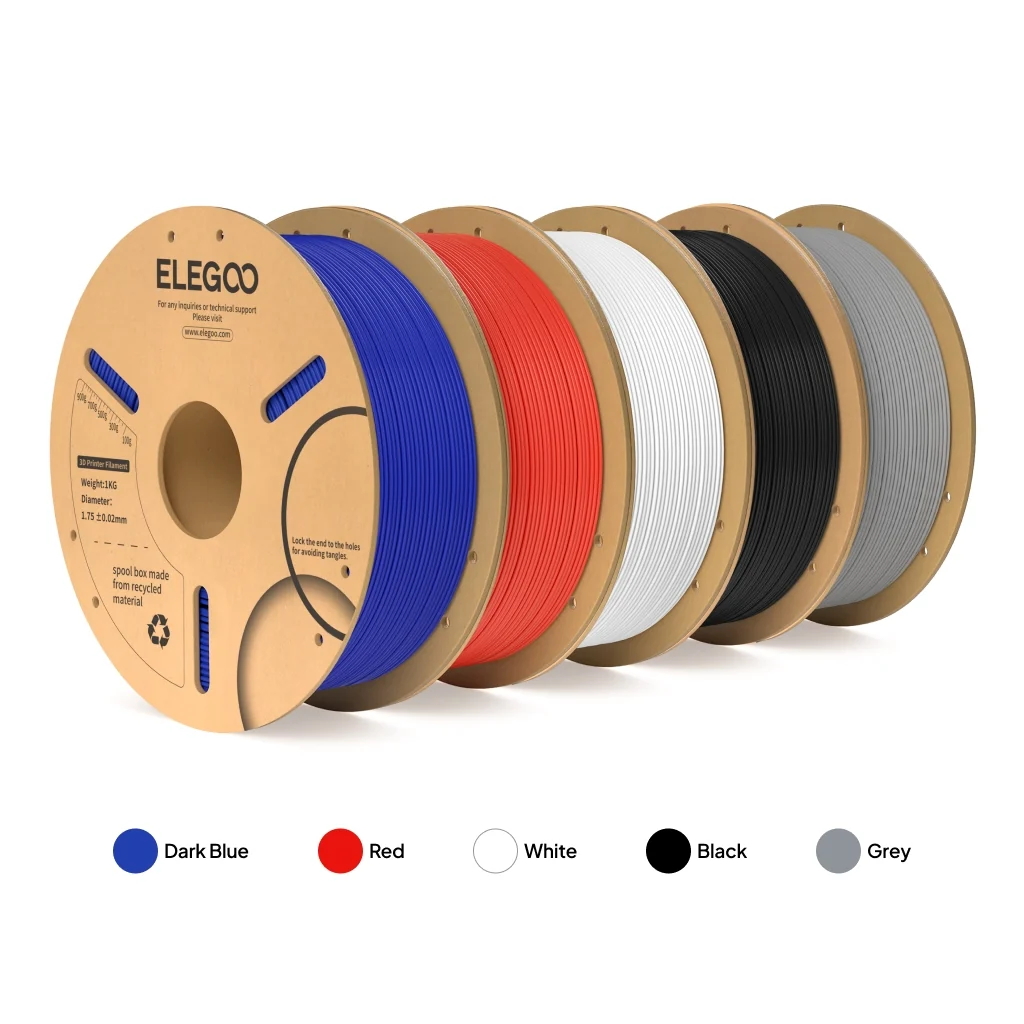
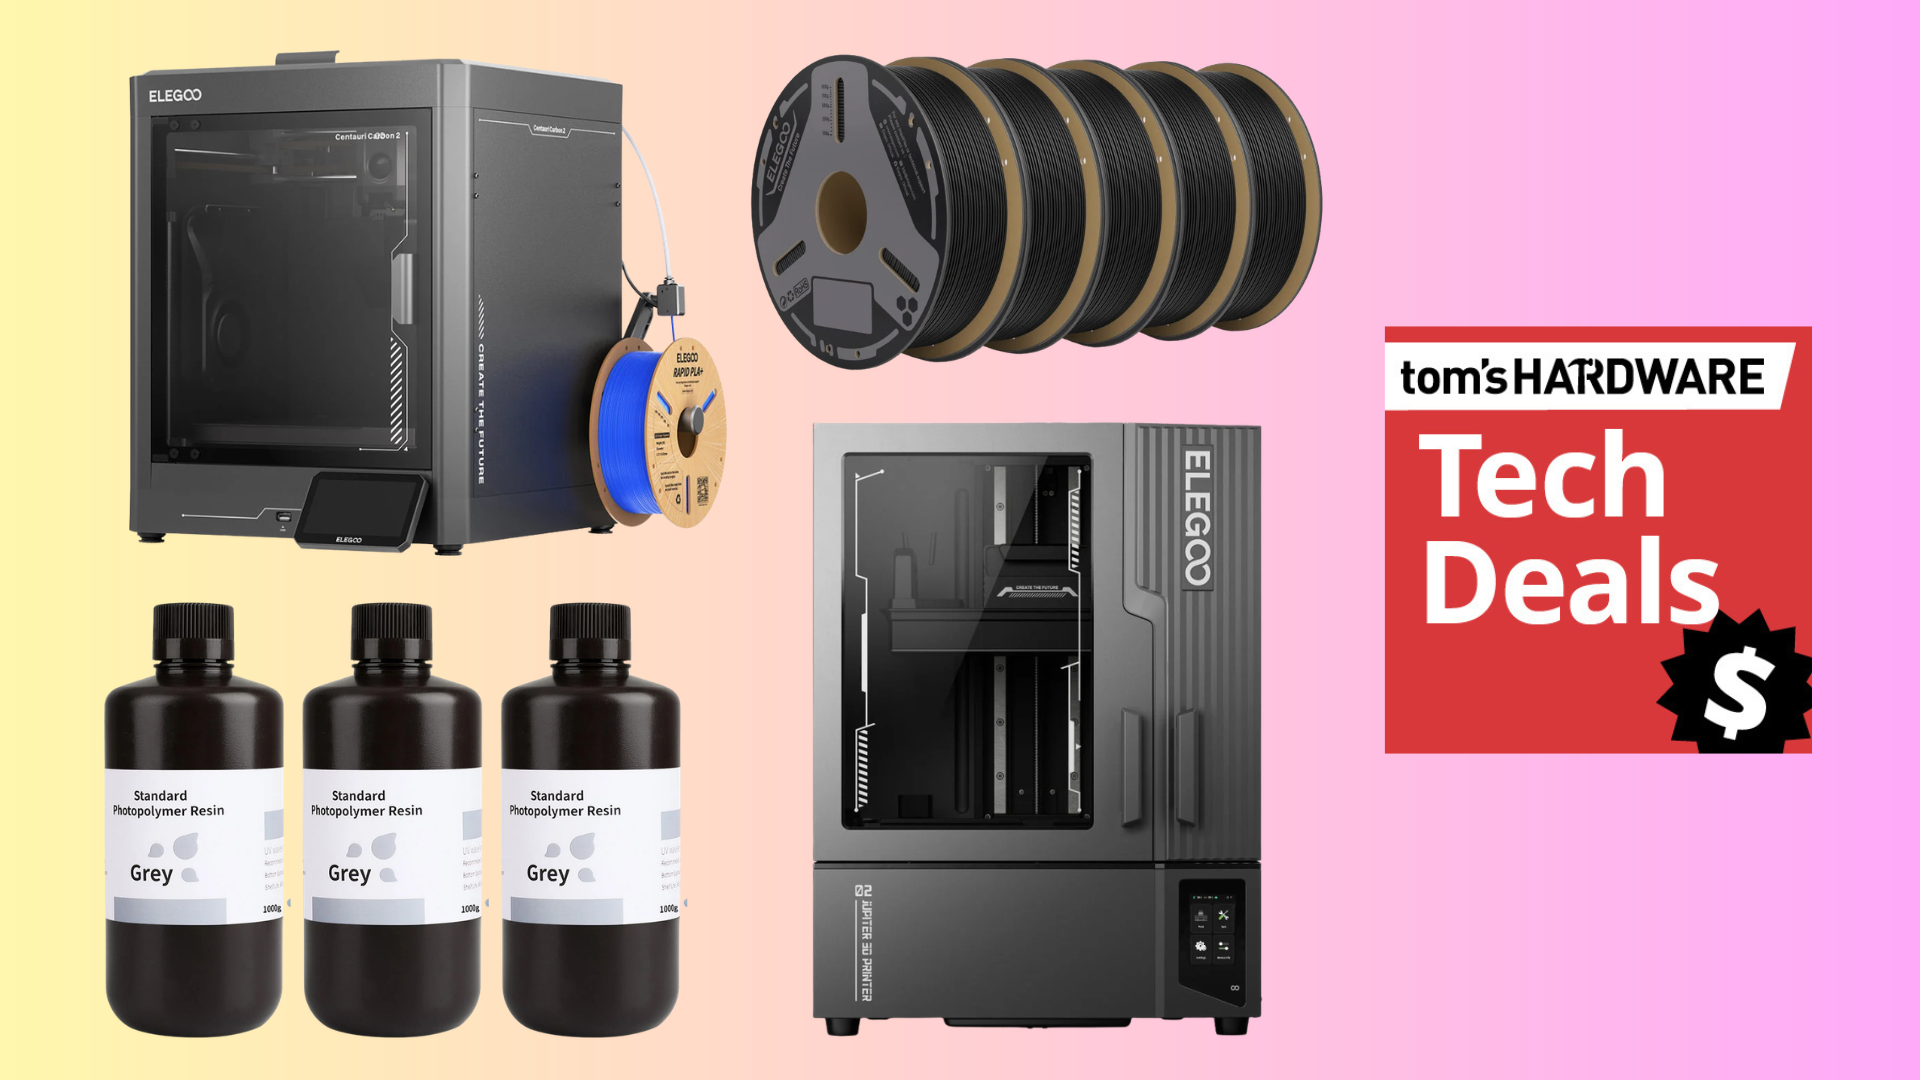
Centauri Carbon 2 3D Printer Combo: was $449.00 now $369.00 Elegoo bundles four different colored (Black, White, Red, Blue) 1KG spools of PLA filament with their excellent Centauri Carbon 2 3D printer. Get printing straight away, and make 4-color prints with the 256 x 256 x 256 mm build volume. View Deal
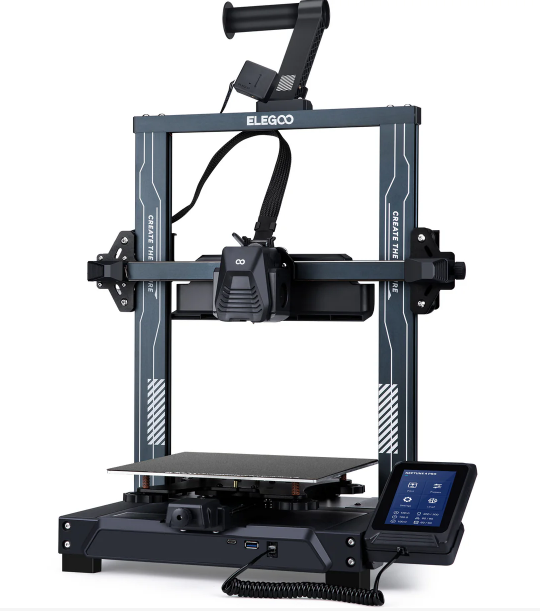
The Neptune 4 Pro has auto-bed leveling with a 225mm x 225mm x 265mm build area, an intelligent segmented heat bed, a 300 °C high-temp nozzle, and up to 500 mm/s print speed.
A 320 x 320 x 385 mm build volume with up to 500 mm/s print speeds, a 300 °C high-temperature nozzle, and automatic print bed leveling. Includes Wi-Fi/WLAN/USB transfer for importing prints.
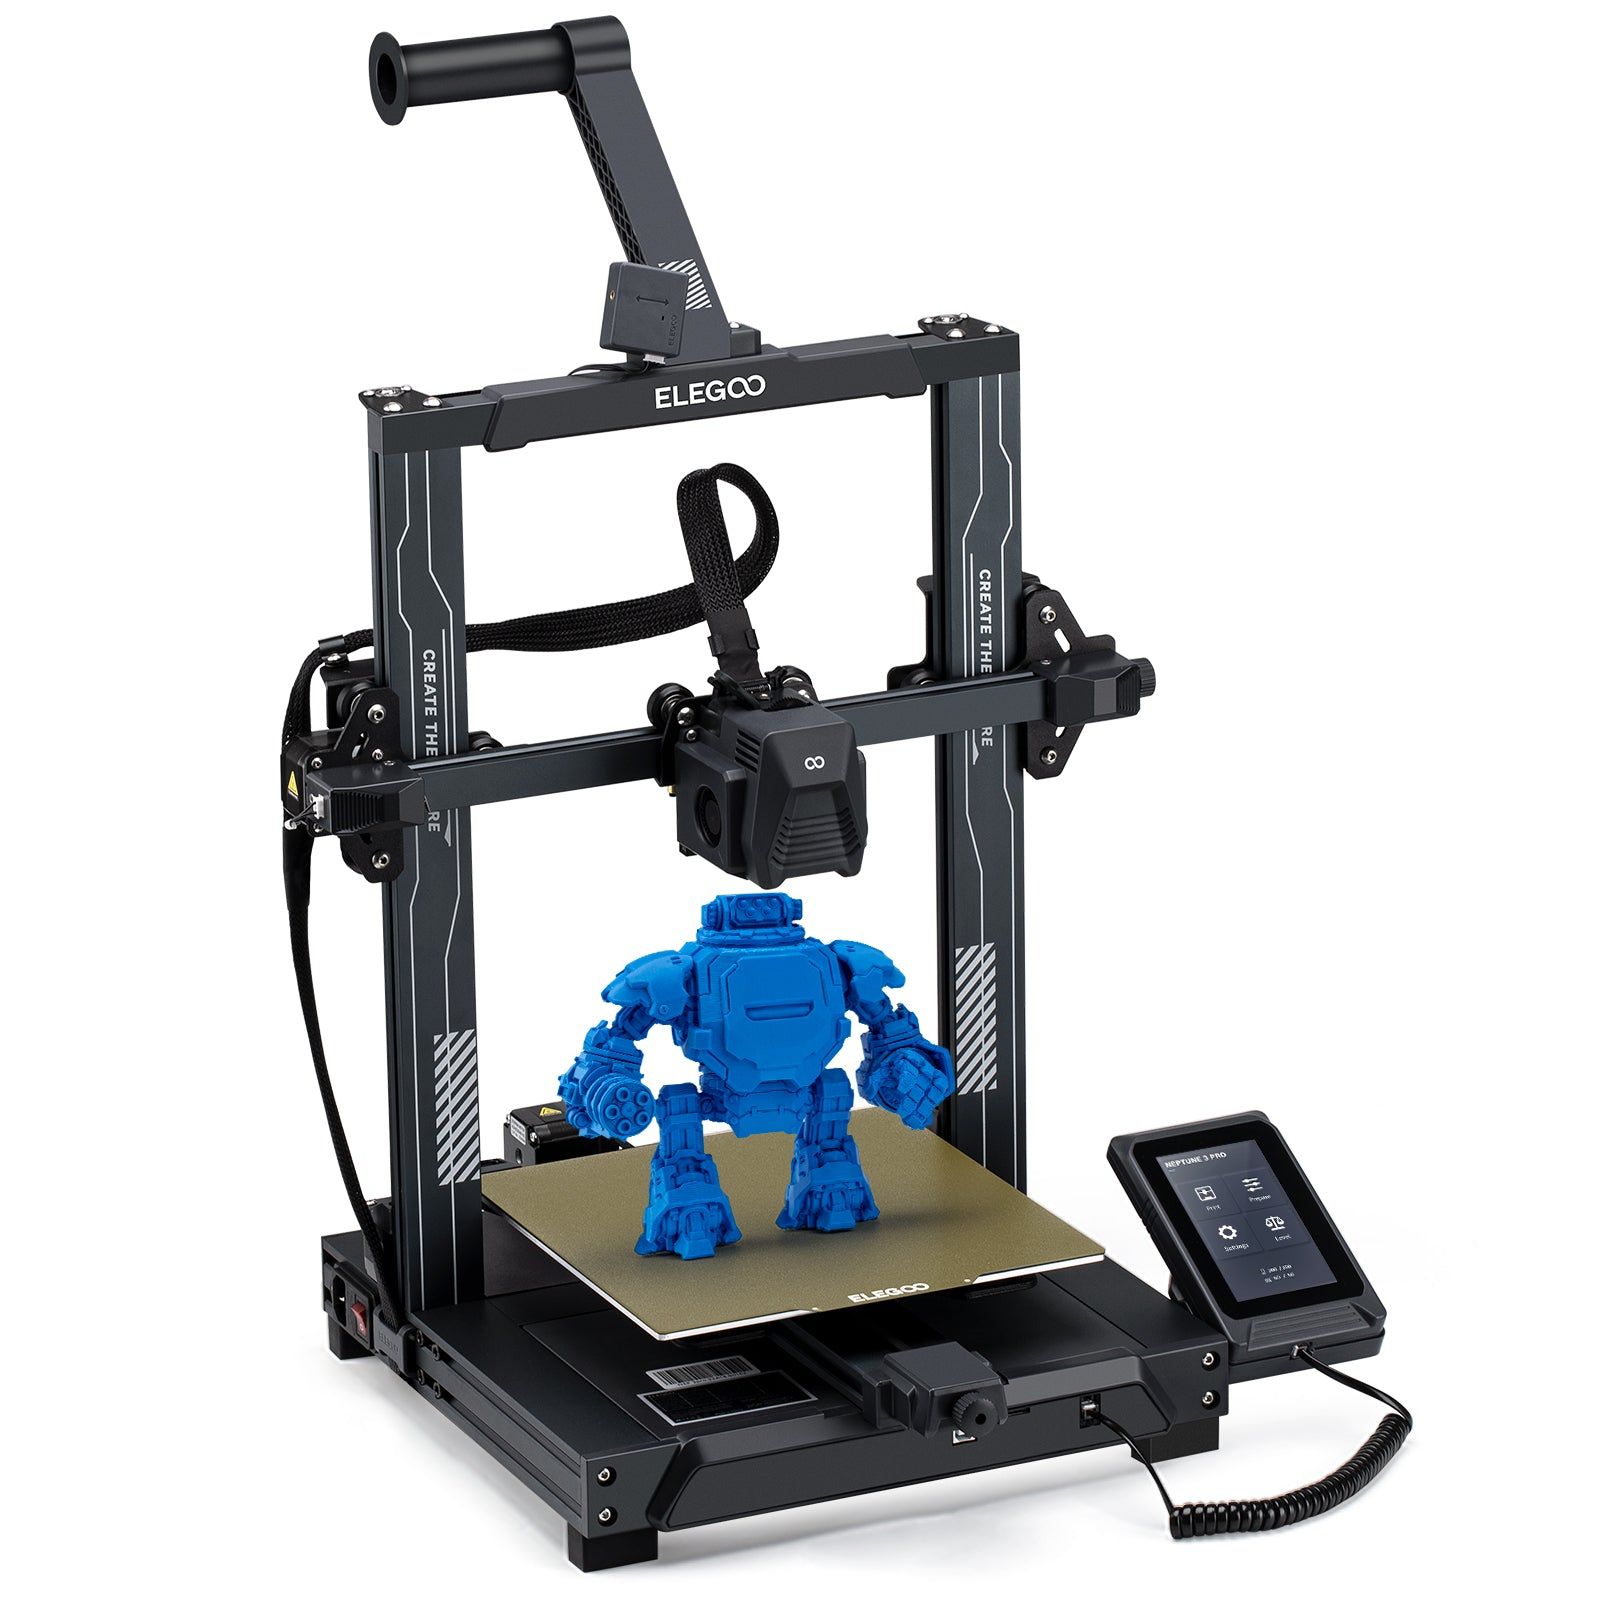
This budget-friendly 3D printer comes with a direct drive suitable for use with TPU, PETG, and PLA, auto bed leveling, and a heated flex PEI textured platform, making it easy to use. Assembly takes less than an hour (seven screws) and produces clean, detailed prints.
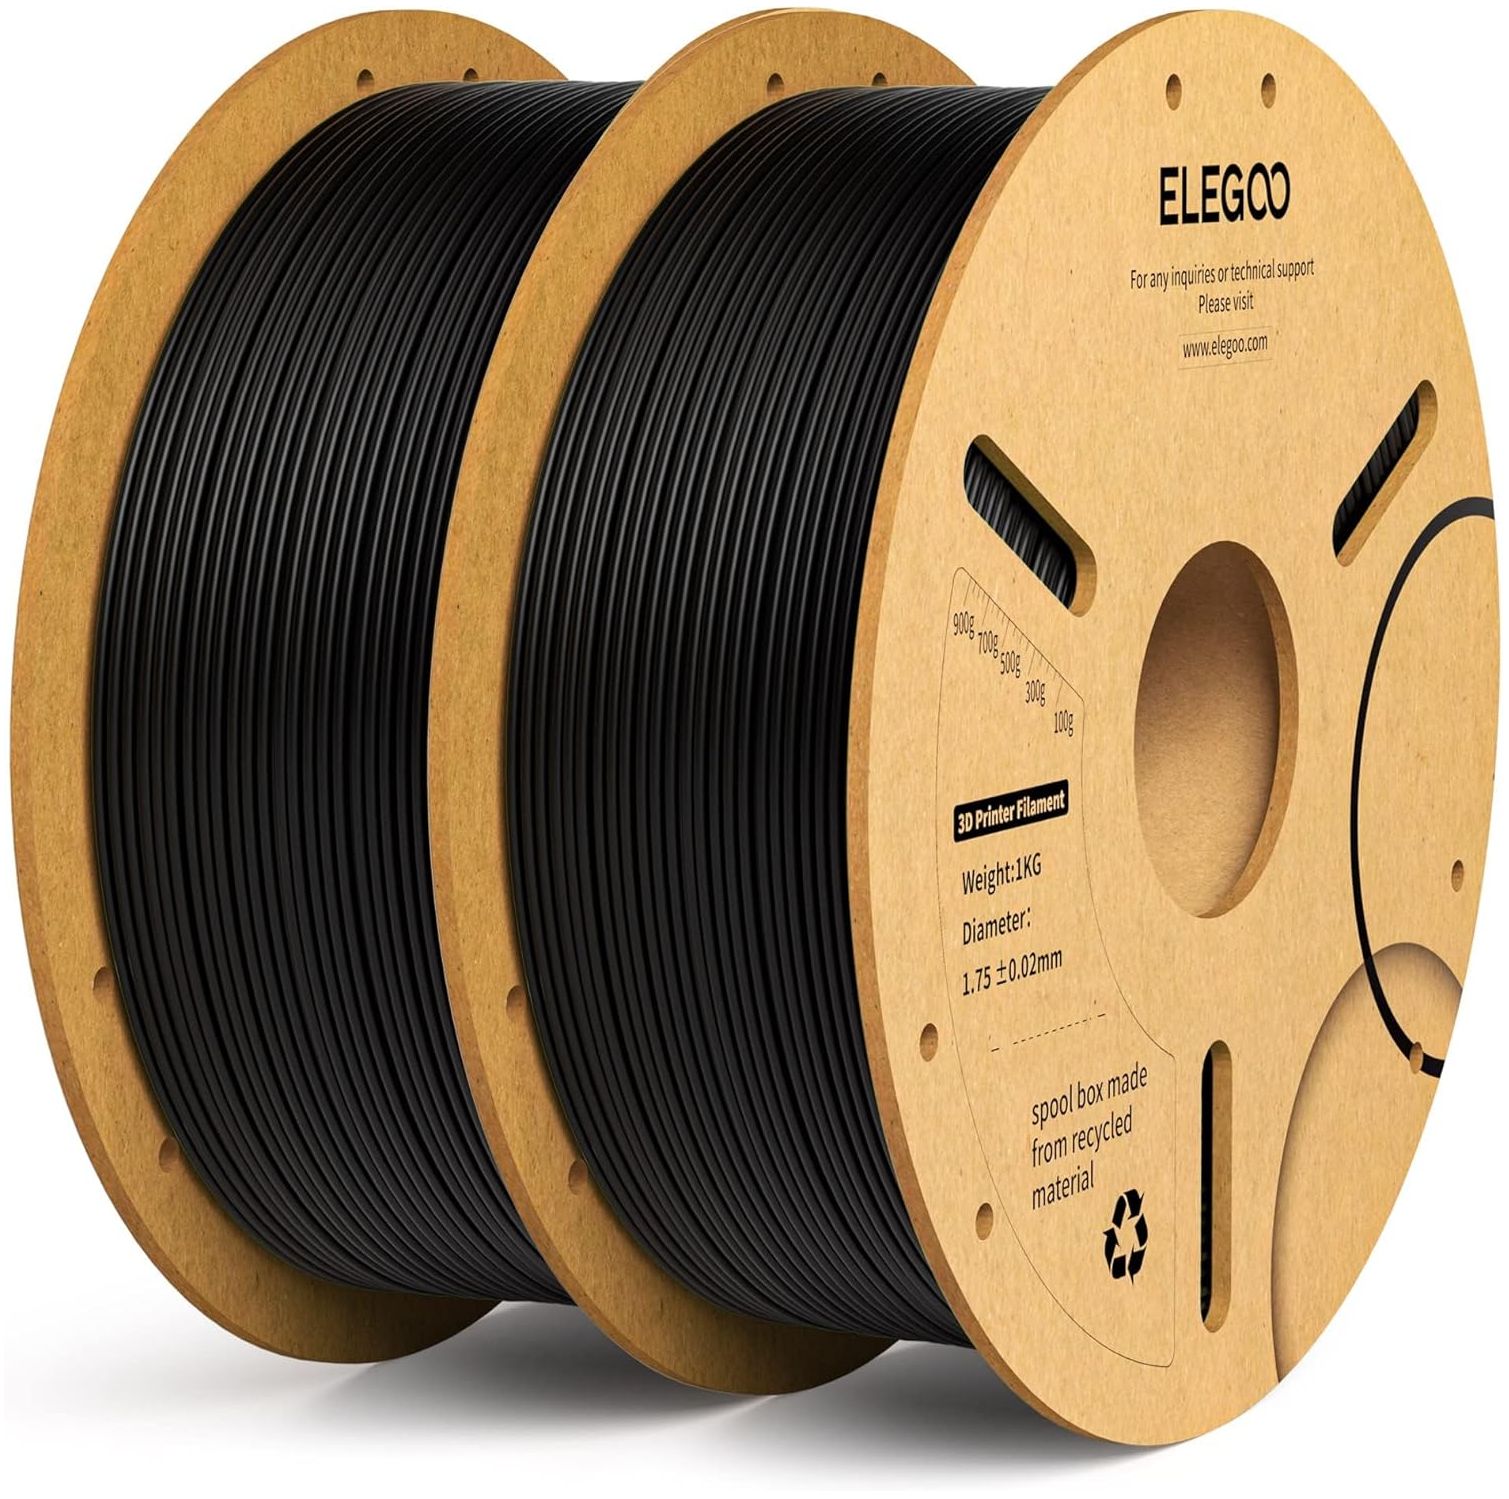
2-Pack PLA Plus Filament: $26.98 PLA Plus is a stronger version of PLA. While not as tough as PETG, PLA Plus is stronger than, and prints using the same profile as PLA. We've used PLA Plus in a number of projects and found Elegoo's to be perfect for strong, functional prints.
This two-pack is ideal for makers who want to stock up on filament to feed their latest 3D printer purchase.View Deal
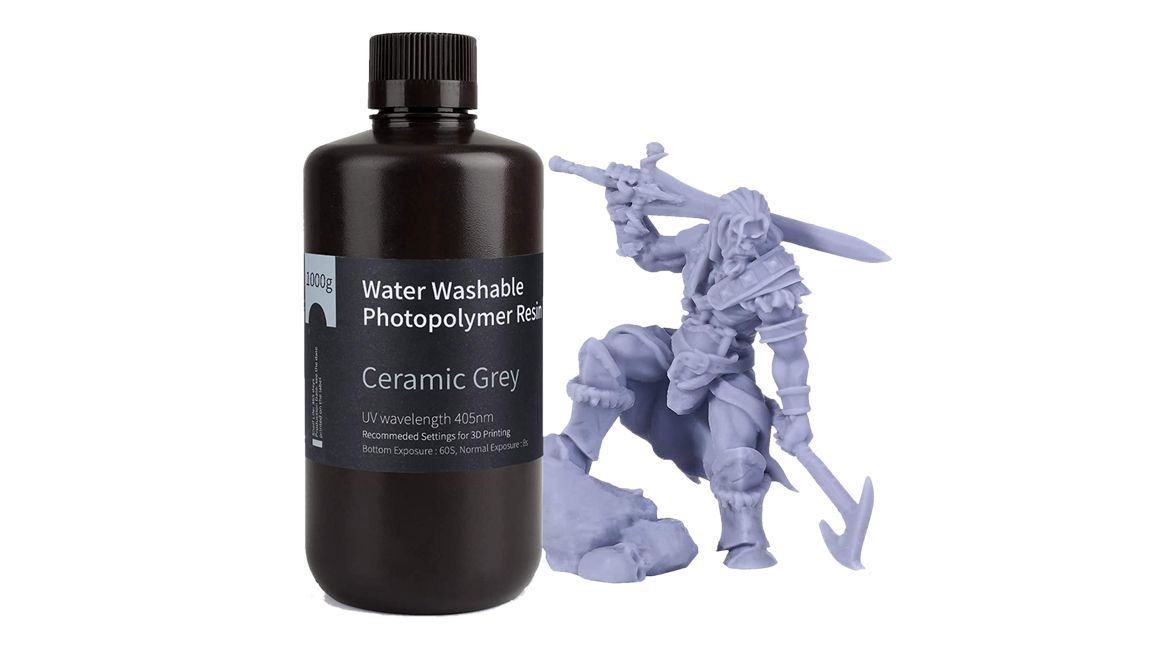
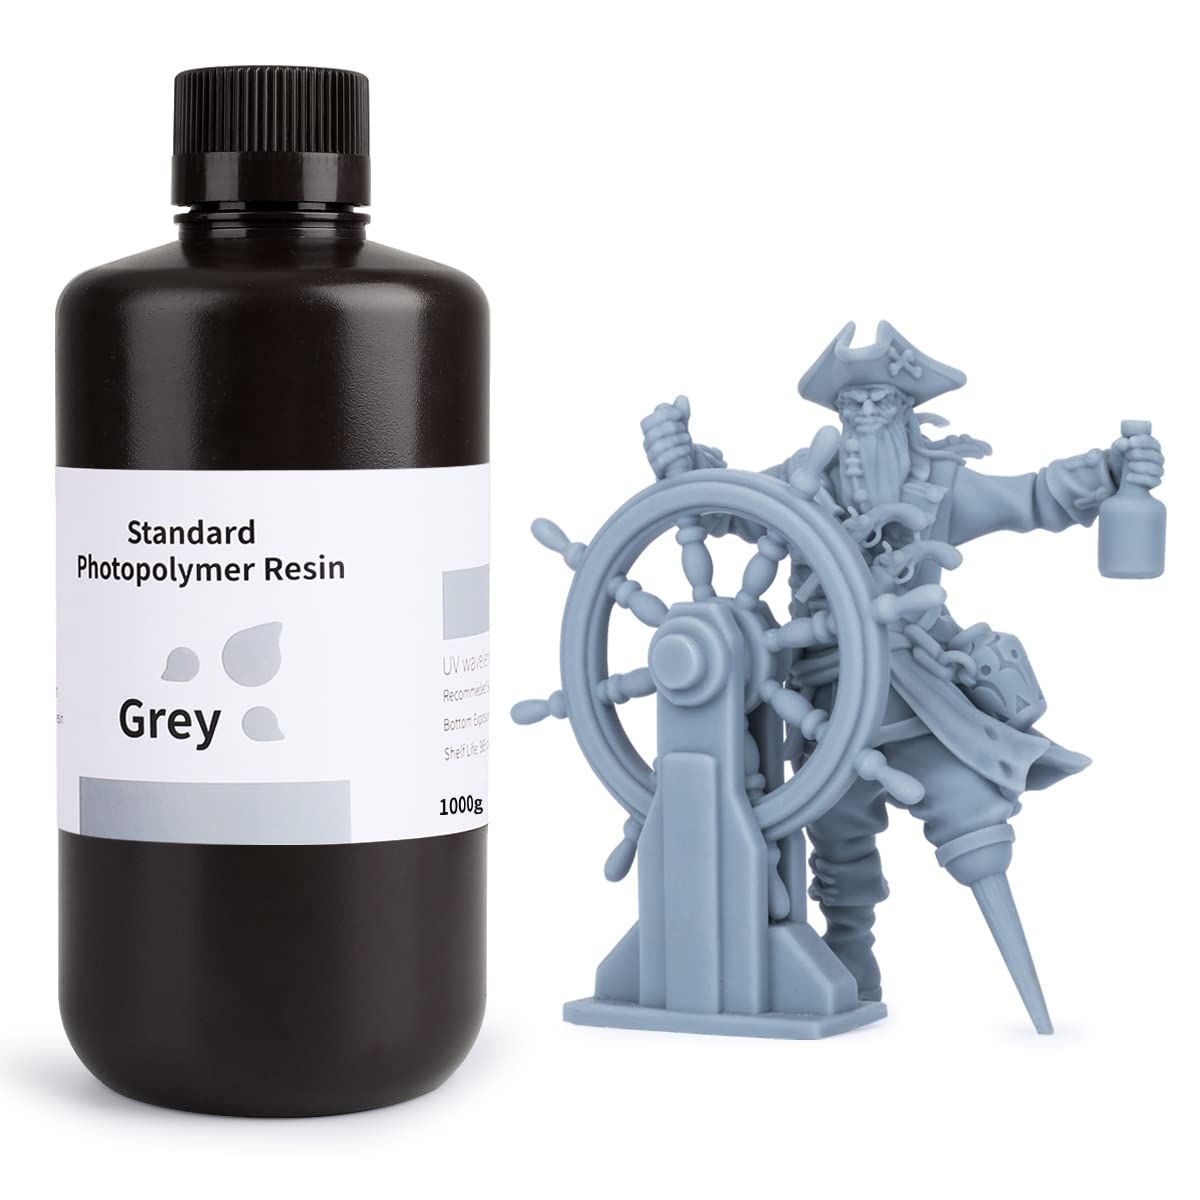
3D Printer Resin LCD UV-Curing Resin: was $21.99 now $16.99 This photopolymer resin is designed to reduce printing time and to reduce volume shrinkage during the curing process to ensure a smooth finish. Suitable for most DLP/LCD 3D printers. Less odor than other resins.View Deal
The M1 Ultra is Elegoo’s first entry into the 3D scanner market. It is a feature-rich scanner with five scanning modes, four blue light laser modes, and a NIR binocular structured light mode. Most importantly, the scanner has a 3-in color touch screen and long battery life. It even includes a spare rechargeable battery, so you’re always prepared.
The scanner can’t run without a fairly high end PC or Mac for processing power. It will need to be tethered to the laptop with a UBS-C cable or connected via Wi-Fi. I was able to get about five feet away from my subject in a harsh RF environment. I didn’t test it further than that, so it may go farther. The cable connection provides the fastest connectivity, making tethered scanning worth the hassle.
The scanner’s output rivals any of the scanners I’ve tested, but it did require a little extra work to get there. At a current price of $1,599 at Elegoo, the M1 Ultra has features not found in other scanners at this price point.
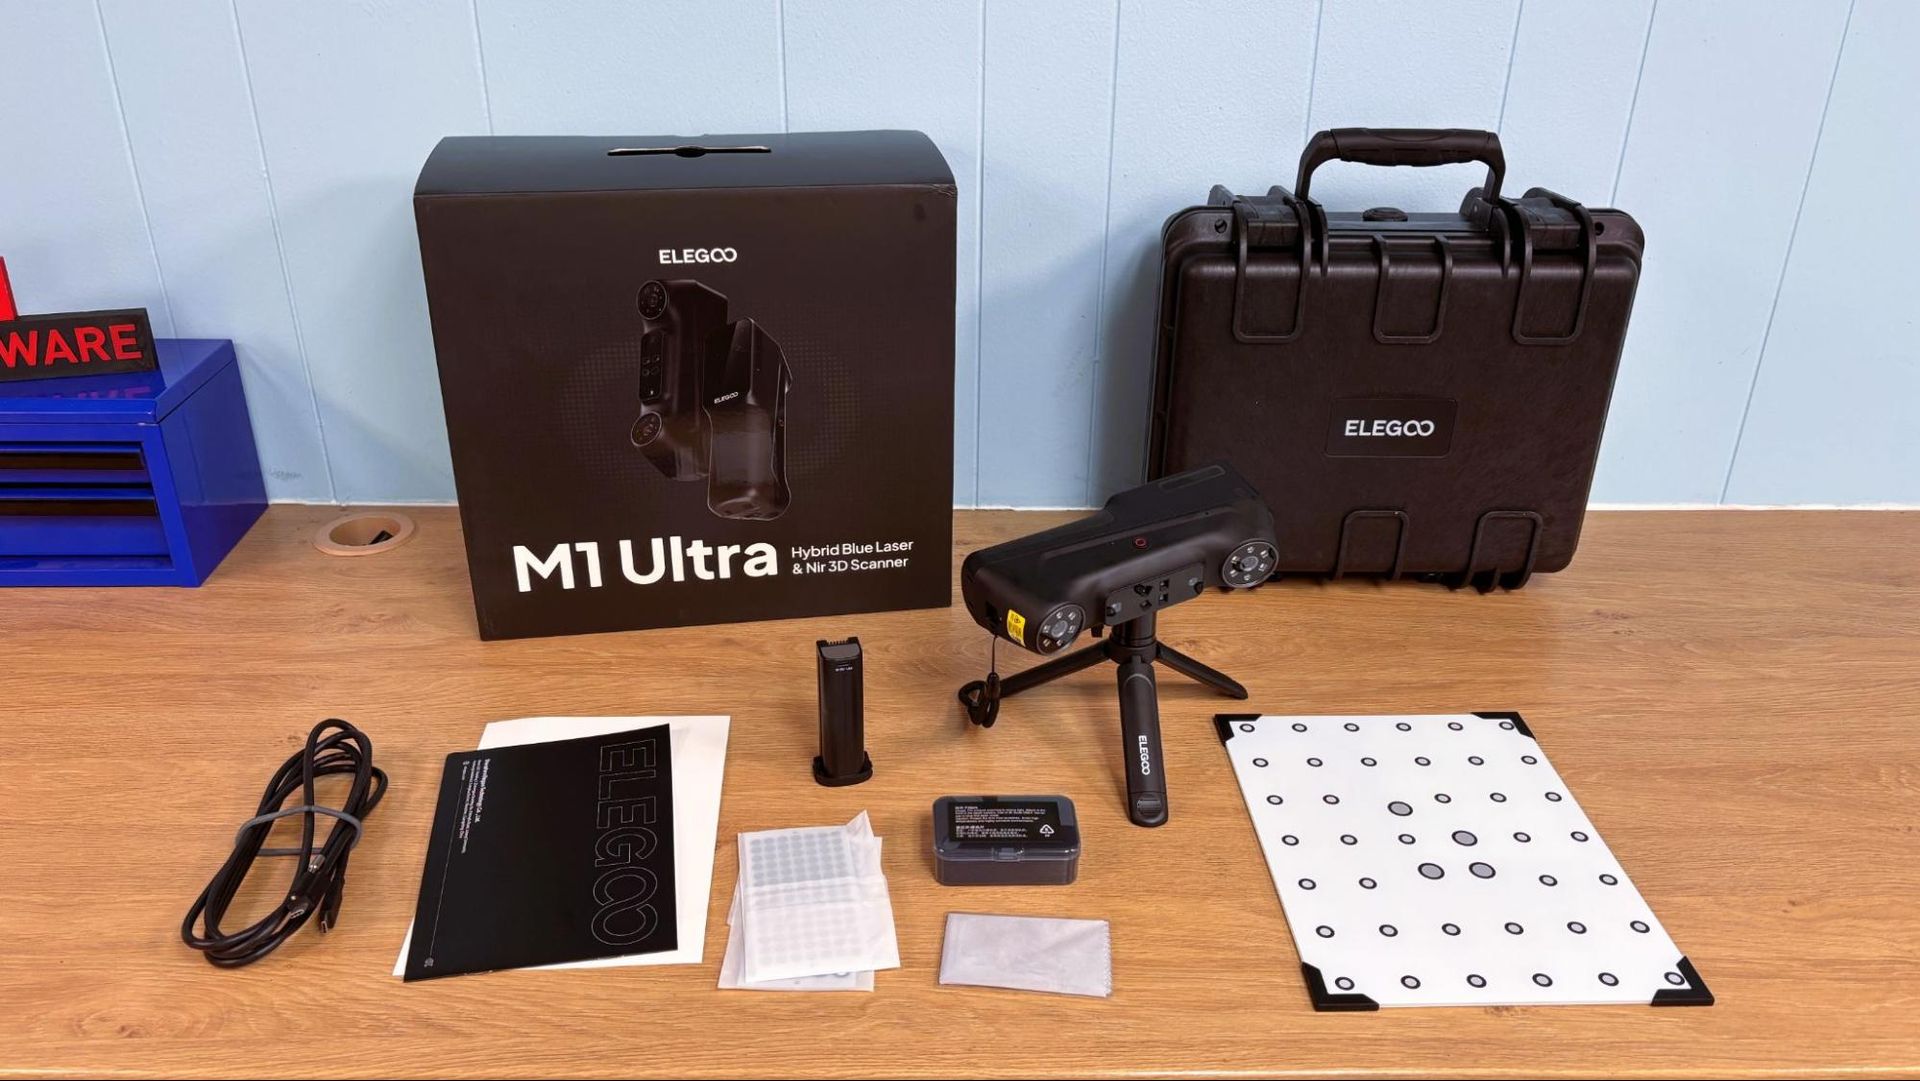
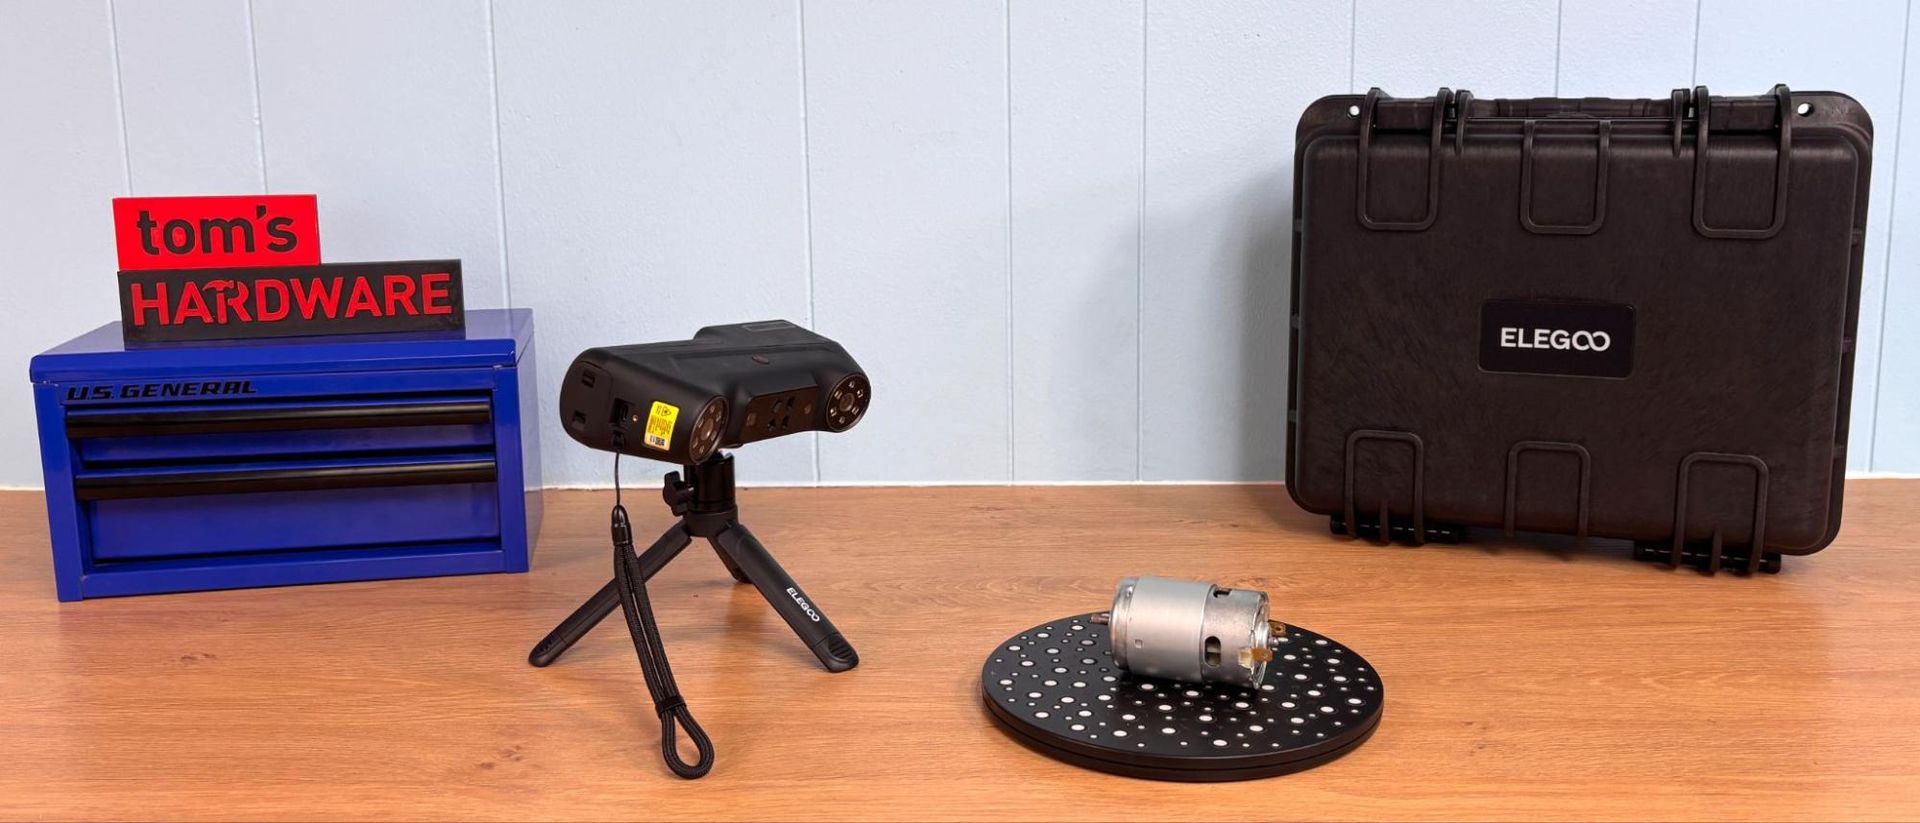
The Elegoo M1 Ultra comes with a nice hard case for travel, with a padded interior to protect the scanner, glass calibration board, spare battery, NIR filters, and a USB-C cable. Also included are a lens cleaning cloth and a packet of marker dots. Noticeably absent is a turntable for scanning smaller objects. (We borrowed a turntable from another scanner during this test.)
Design of the Elegoo M1 Ultra
(Image credit: Tom's Hardware)
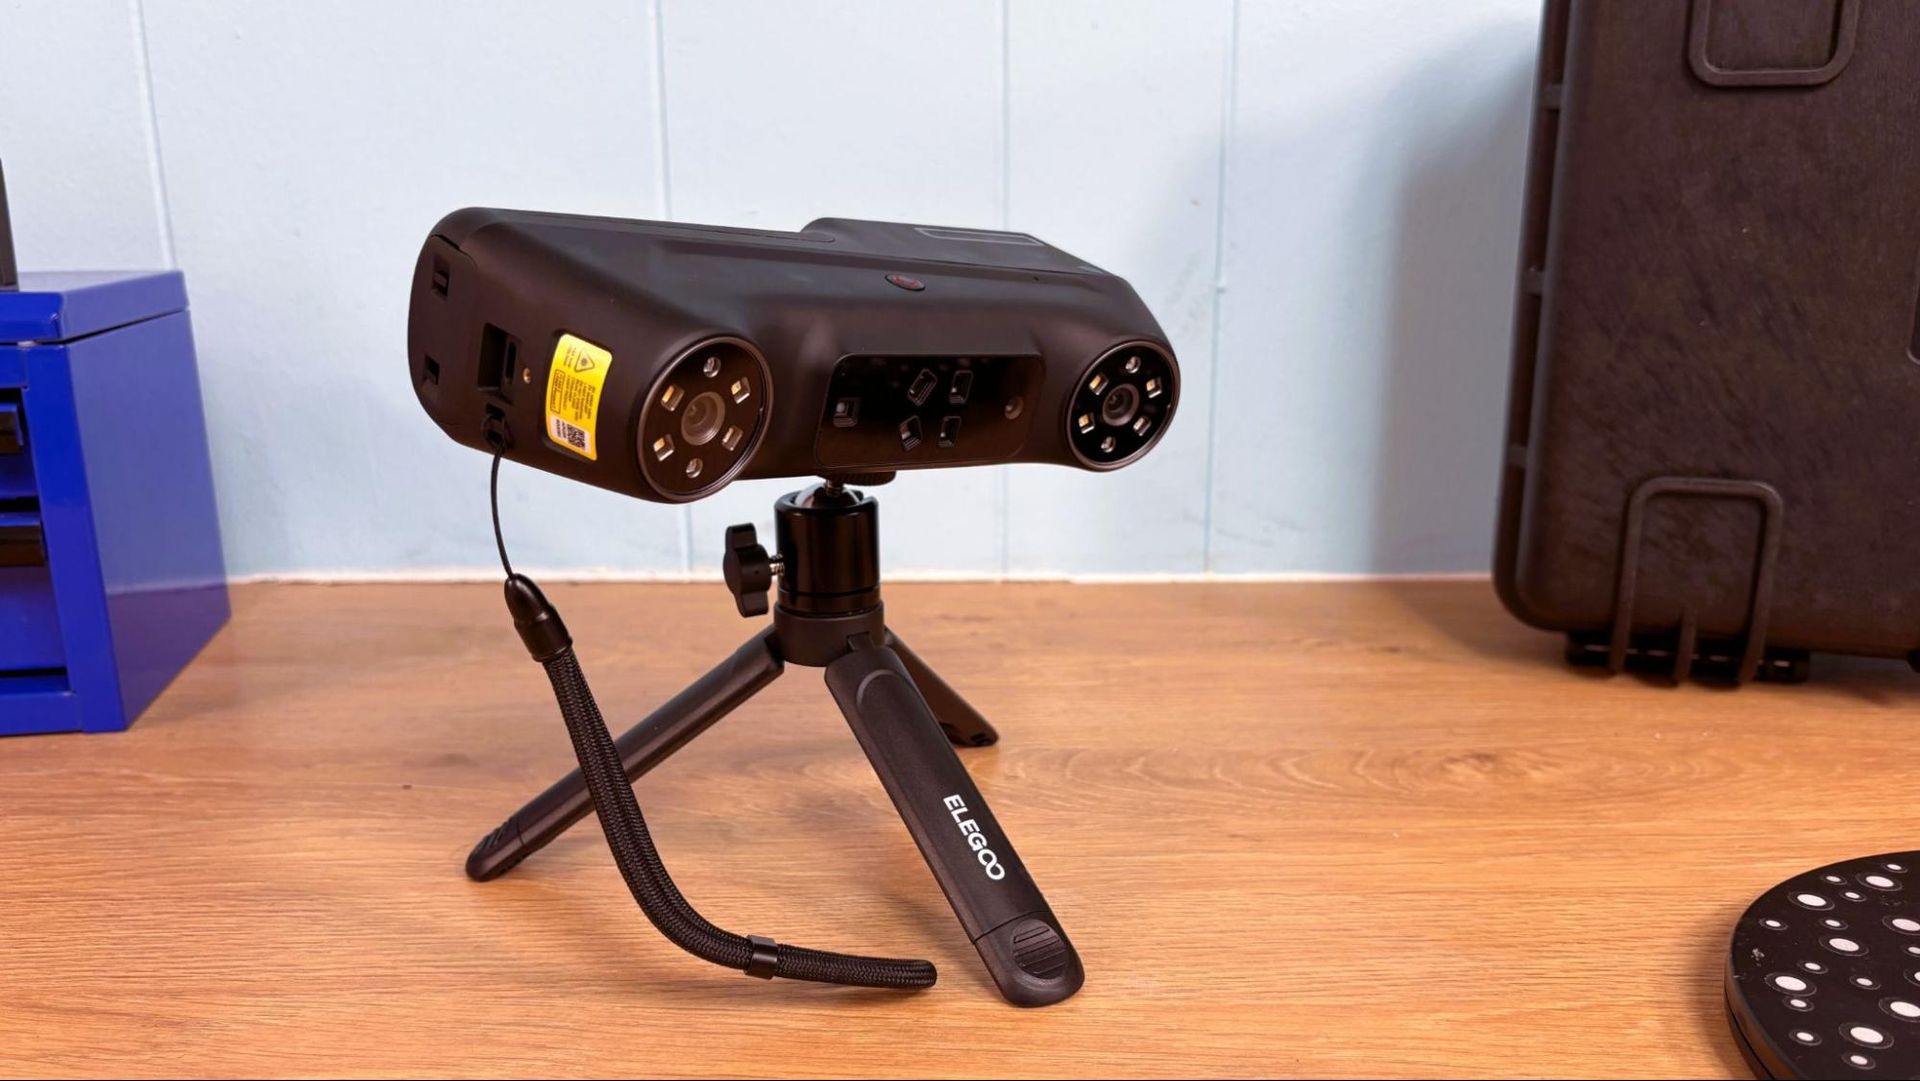
The Elegoo M1 Ultra weighs 511g (1.12lbs) with its battery installed. It has a rubber grip below the screen and is nicely balanced. Users with large hands may find their thumbs blocking the screen.
The onboard screen can be used to set the scanning parameters, start and stop scans, and monitor the scans as they progress. The 3-inch screen is small, but the UI is laid out perfectly. When setting parameters for a scan, the touch screen takes precedence over the tethered computer if you’re starting the scan from the scanner itself.
The business end of the scanner has a series of blue, white, and infrared LEDs, blue lasers, and cameras. The included NIR filters are needed when scanning outdoors or in harsh light conditions. The battery and the spare can be charged using a USB-C cable when unmounted, and can be charged from the computer when operating the scanner in USB mode. The battery life is excellent. Almost all of our testing was done with one charge of the battery and its spare.
Getting Started and Calibrating the Elegoo M1 Ultra
(Image credit: Tom's Hardware)
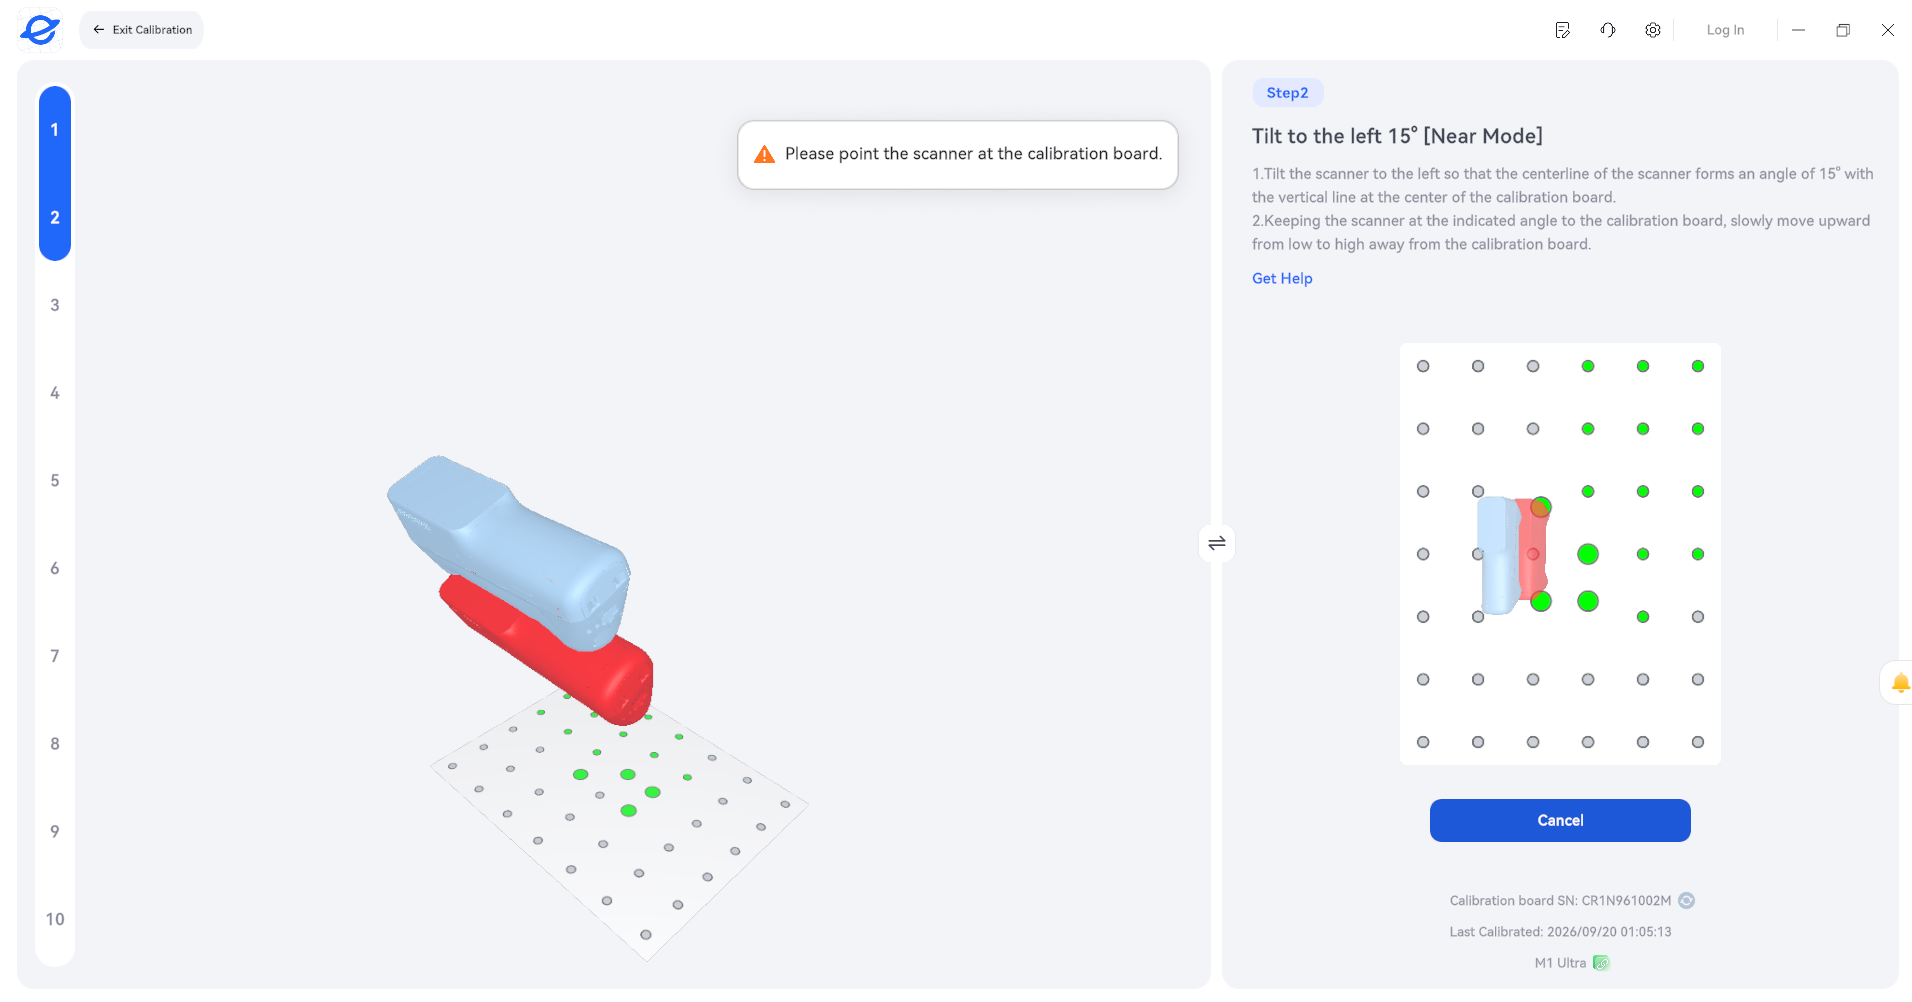
Calibrating the Elegoo M1 Ultra is fairly easy given its light weight and the easy-to-follow software. Using the glass calibration board, the scanner is aimed at various angles and heights, following the directions on screen. The software shows an image of where the scanner should be and an image of the scanner as you move it. You have to match the two before moving on to the next spot. Scanner calibration can be a chore, but calibrating the M1 Ultra was simple.
Installing the Software for Elegoo M1 Ultra
(Image credit: Tom's Hardware)
Elegoo Scan can be downloaded from Elegoo’s website for Windows and Mac. The software works and looks like CrealityScan, which is a good thing since both make cleaning up individual scans and stitching multiple scans together fairly easy. The software does require a bunch of memory, with the more, the merrier. I tried running the software on an older PC laptop which met the minimum requirements, except it had only 8 GB of RAM, and it was not enough.
Elegoo recommends a PC with Windows 10/11 (64-bit), an Intel Core i7 (13th Gen) or higher, an NVIDIA GeForce RTX 4060 or higher (8 GB VRAM), and 32 GB or more of RAM. For Mac, they recommend macOS 14 or later, with an Apple M4 or later, and 32 GB or more of RAM. Minimum specs for both are 16gb of RAM, with Windows 10/11 (64-bit), Intel Core i7 (7th Gen), and an Nvidia GPU (6 GB VRAM) for PC, and macOS 14 or later, with an Apple M2 CPU.
Blue Laser Line 3D Scanning with the Elegoo M1 Ultra
(Image credit: Tom's Hardware)
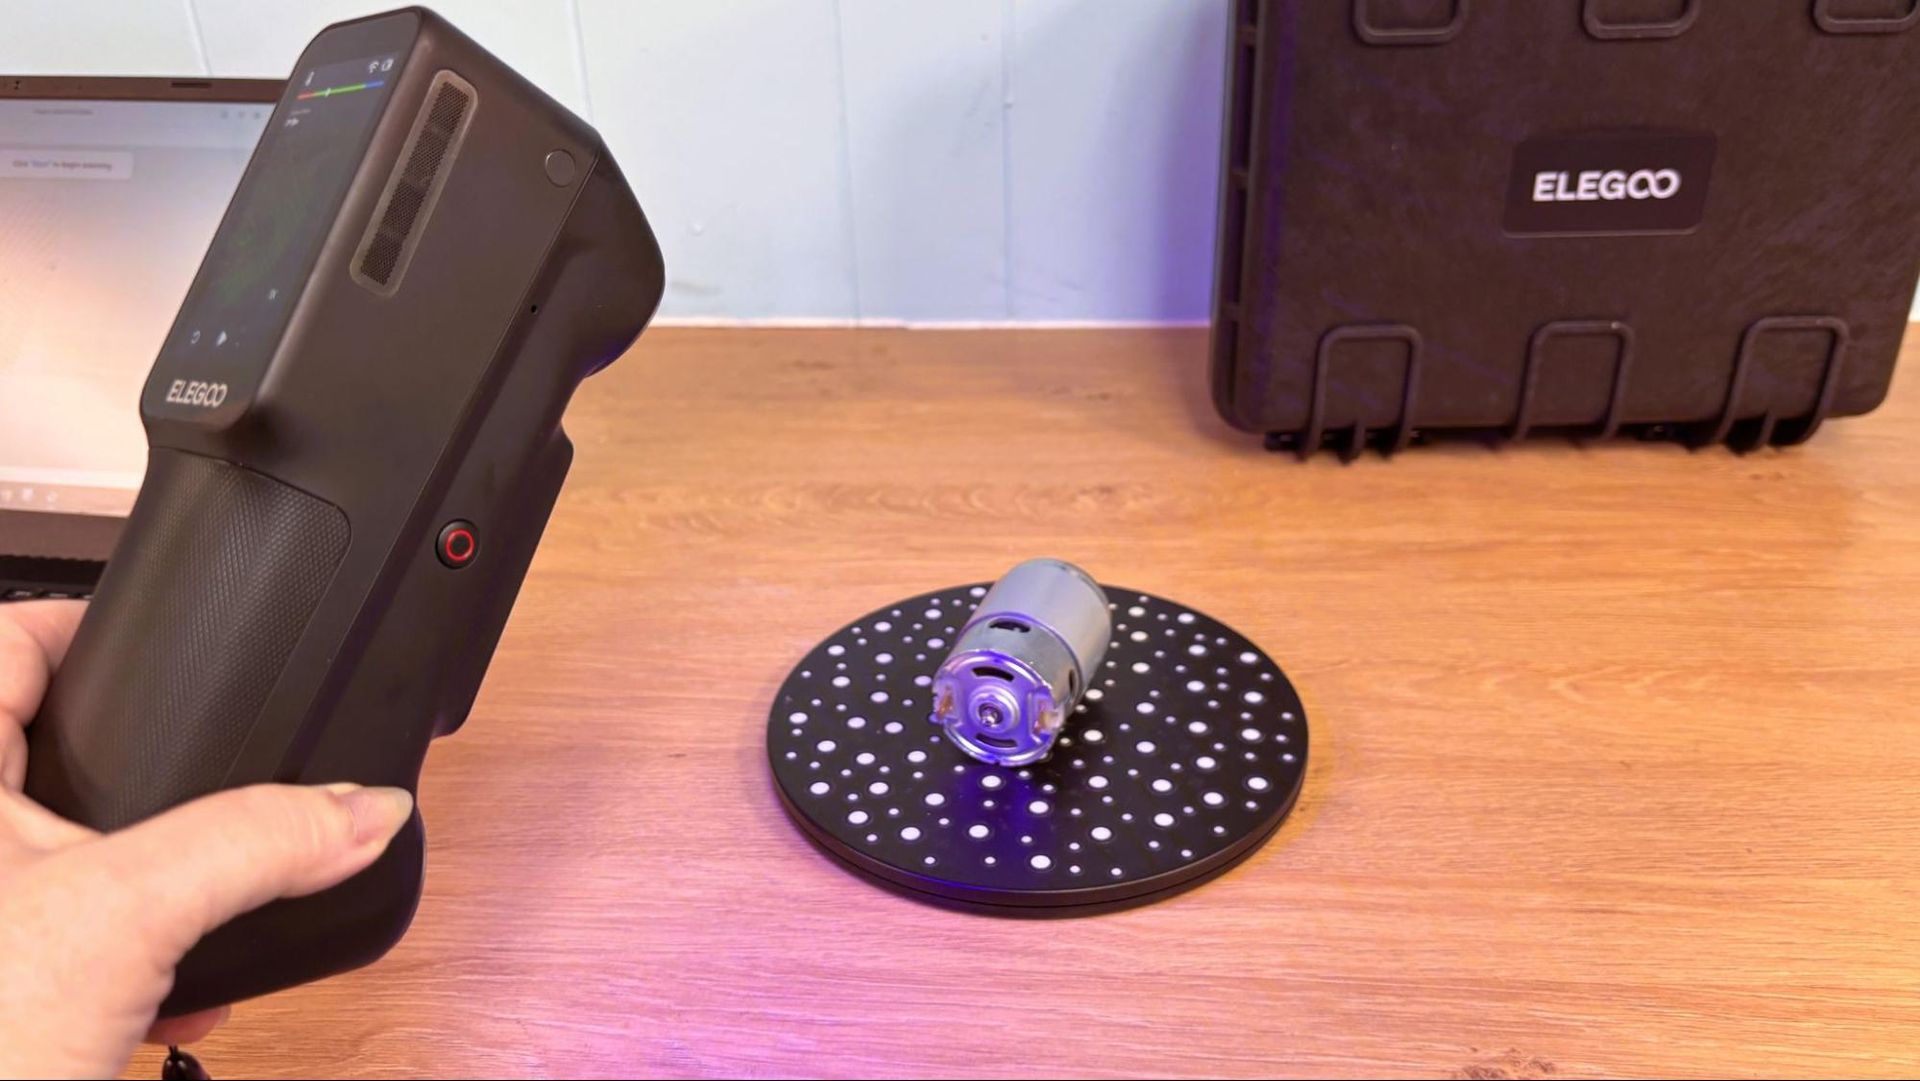
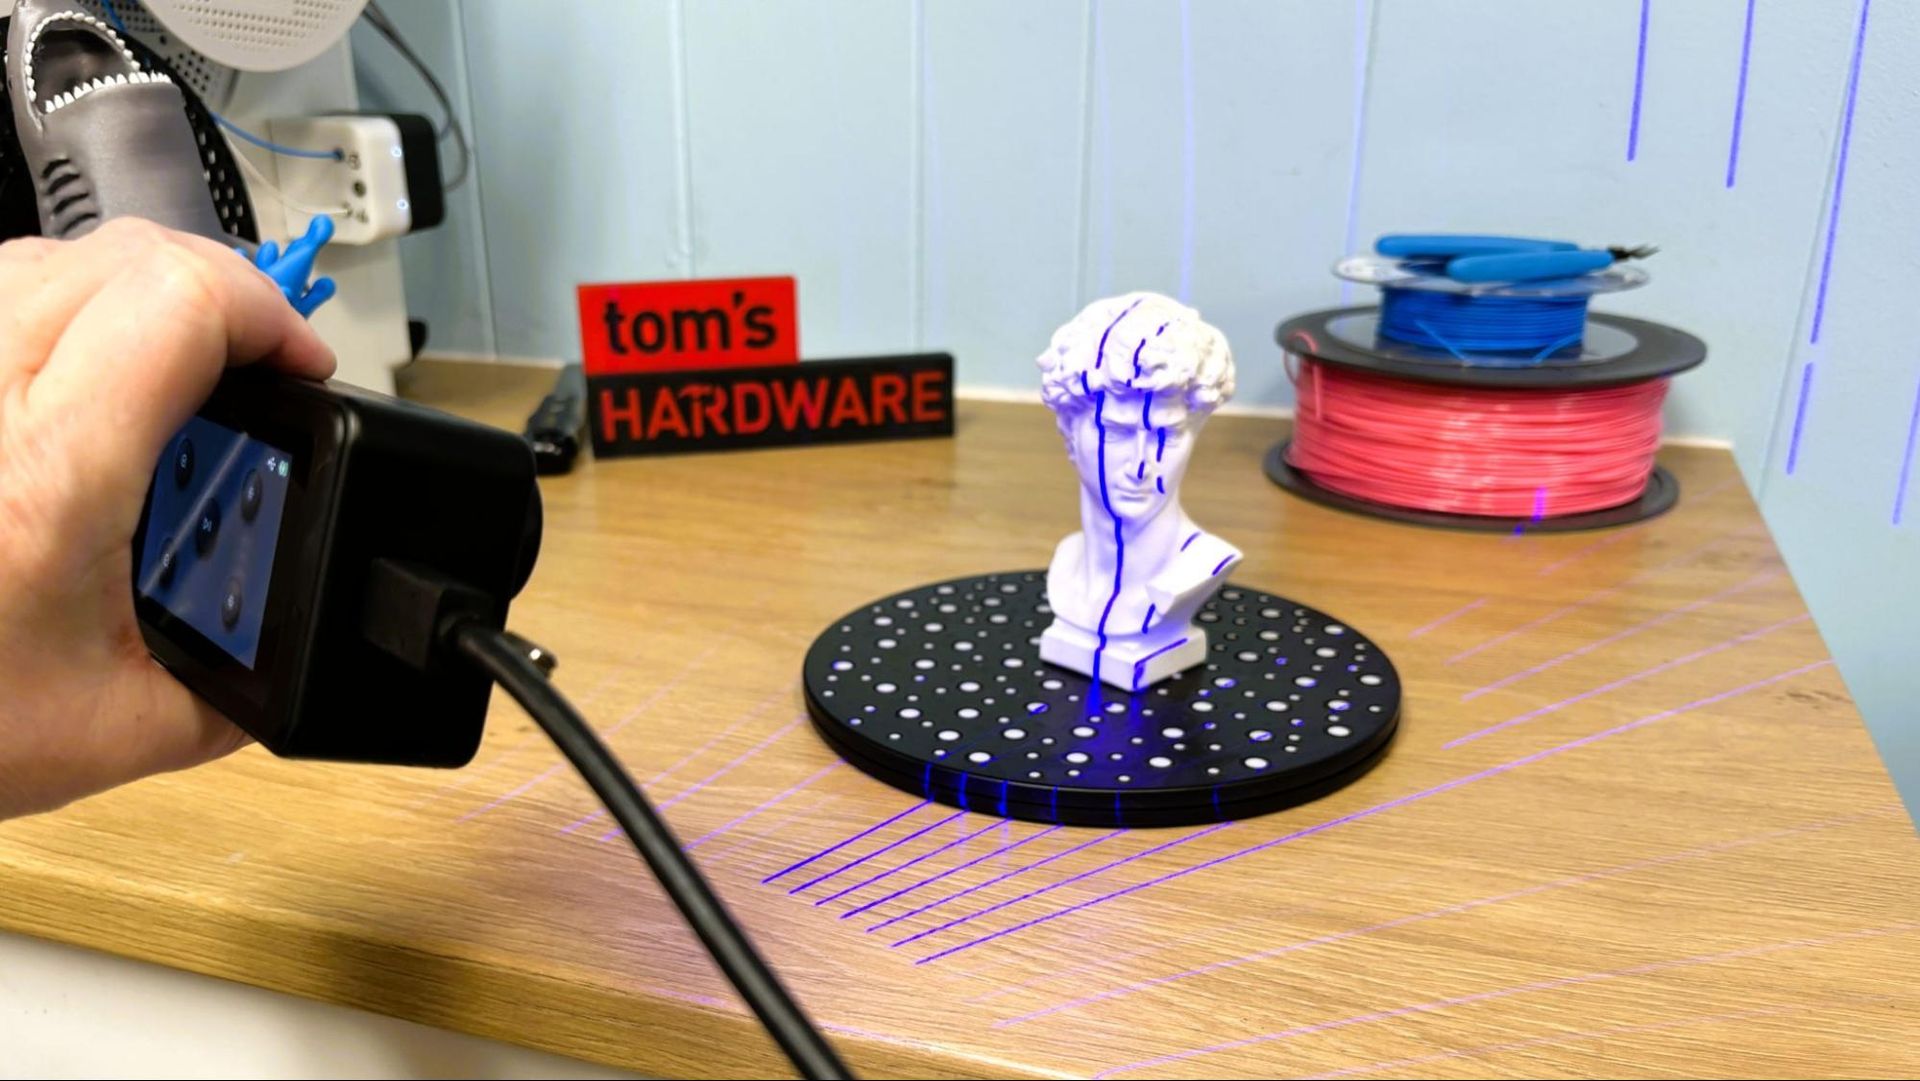
The Elegoo M1 Ultra has 4 blue laser scanning modes: 34 crossed laser lines for quick scanning, 7 parallel lines for finer details, 1 line for scanning deeper, more difficult-to-capture holes, and markerless. The fewer the lines, the more time the scans take. I should point out that the turntable in the photo was borrowed from the Creality Pika Scanner, which we reviewed previously.
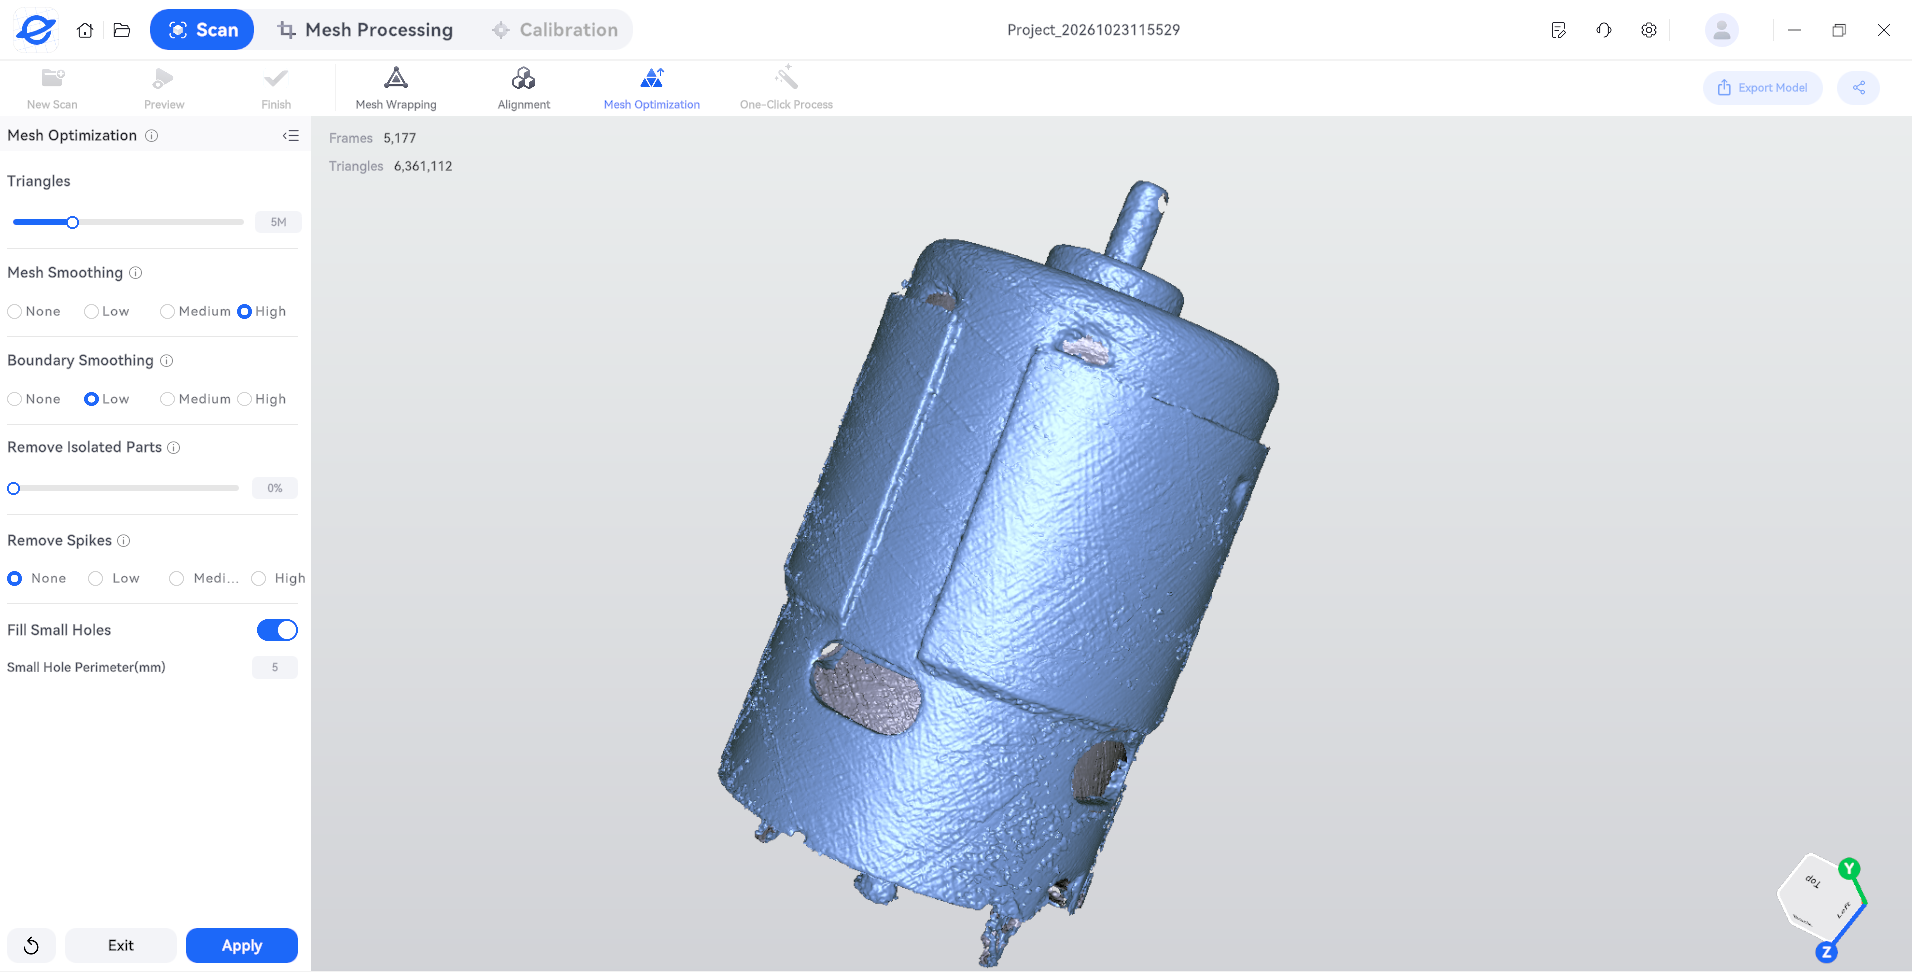
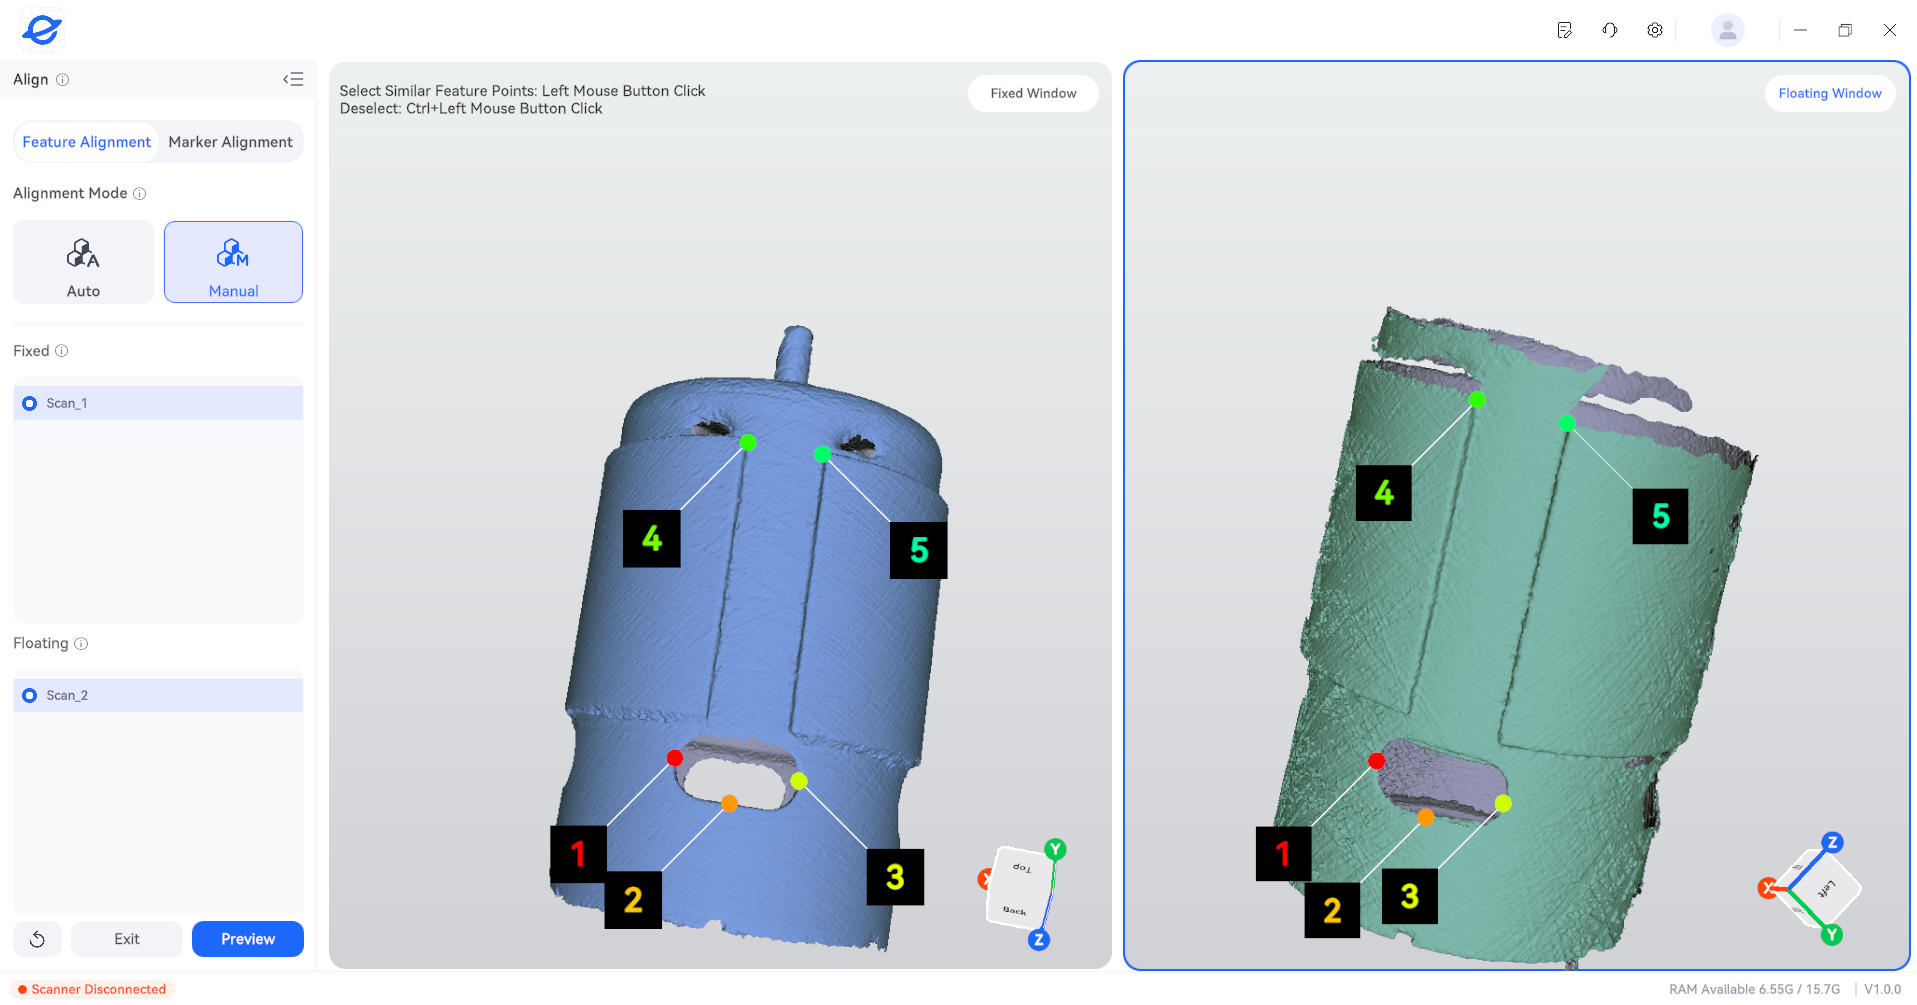
One of my favorite use cases is scanning an item for import into a 3D printing project I am working on. I scanned a cheap 895 brushed motor commonly found in drills. The motor required several scans, and the M1 Ultra seemed to have trouble capturing the shinier parts of the object. Ultimately, I captured two scans that had enough data to be useful. The software has an automatic alignment tool which does a good job in most cases. In this case, it was baffled by the geometry. The manual alignment worked perfectly.
(Image credit: Tom's Hardware)
Manual alignment requires adding markers matching points on both images. You do not have to be super exact with the placement. The software will smooth out any overlaps.
(Image credit: Tom's Hardware)
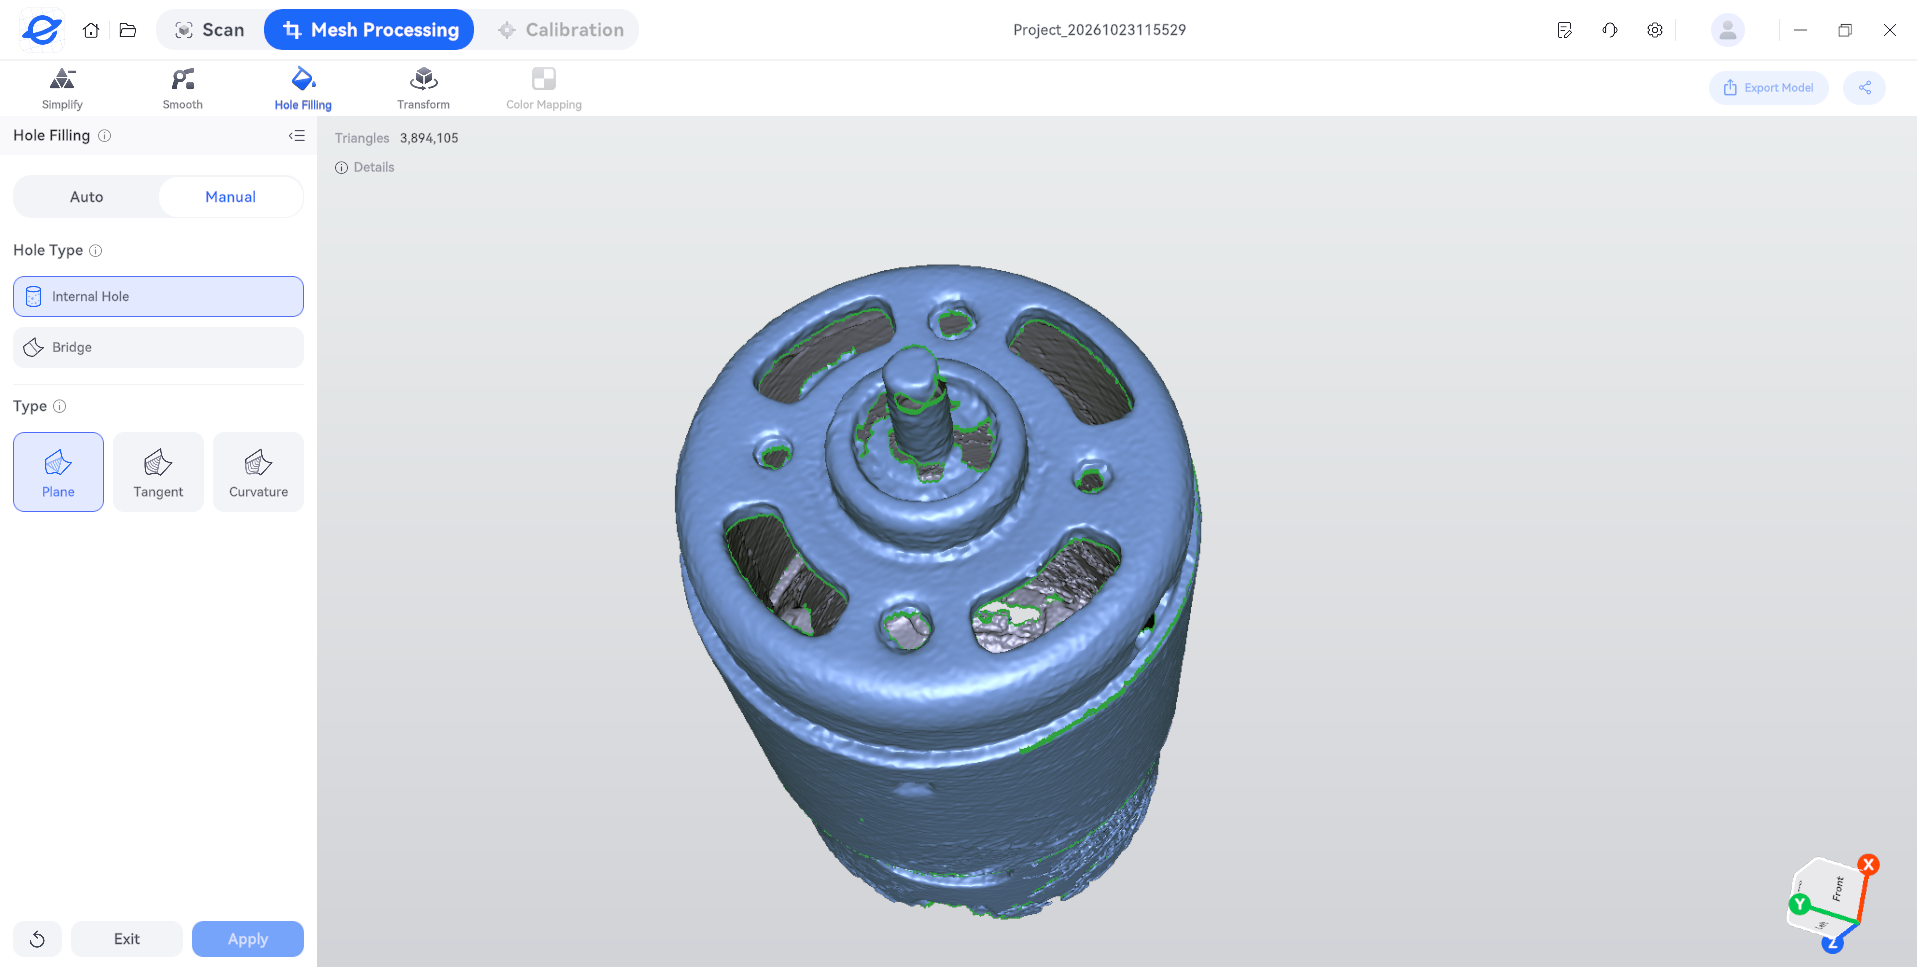
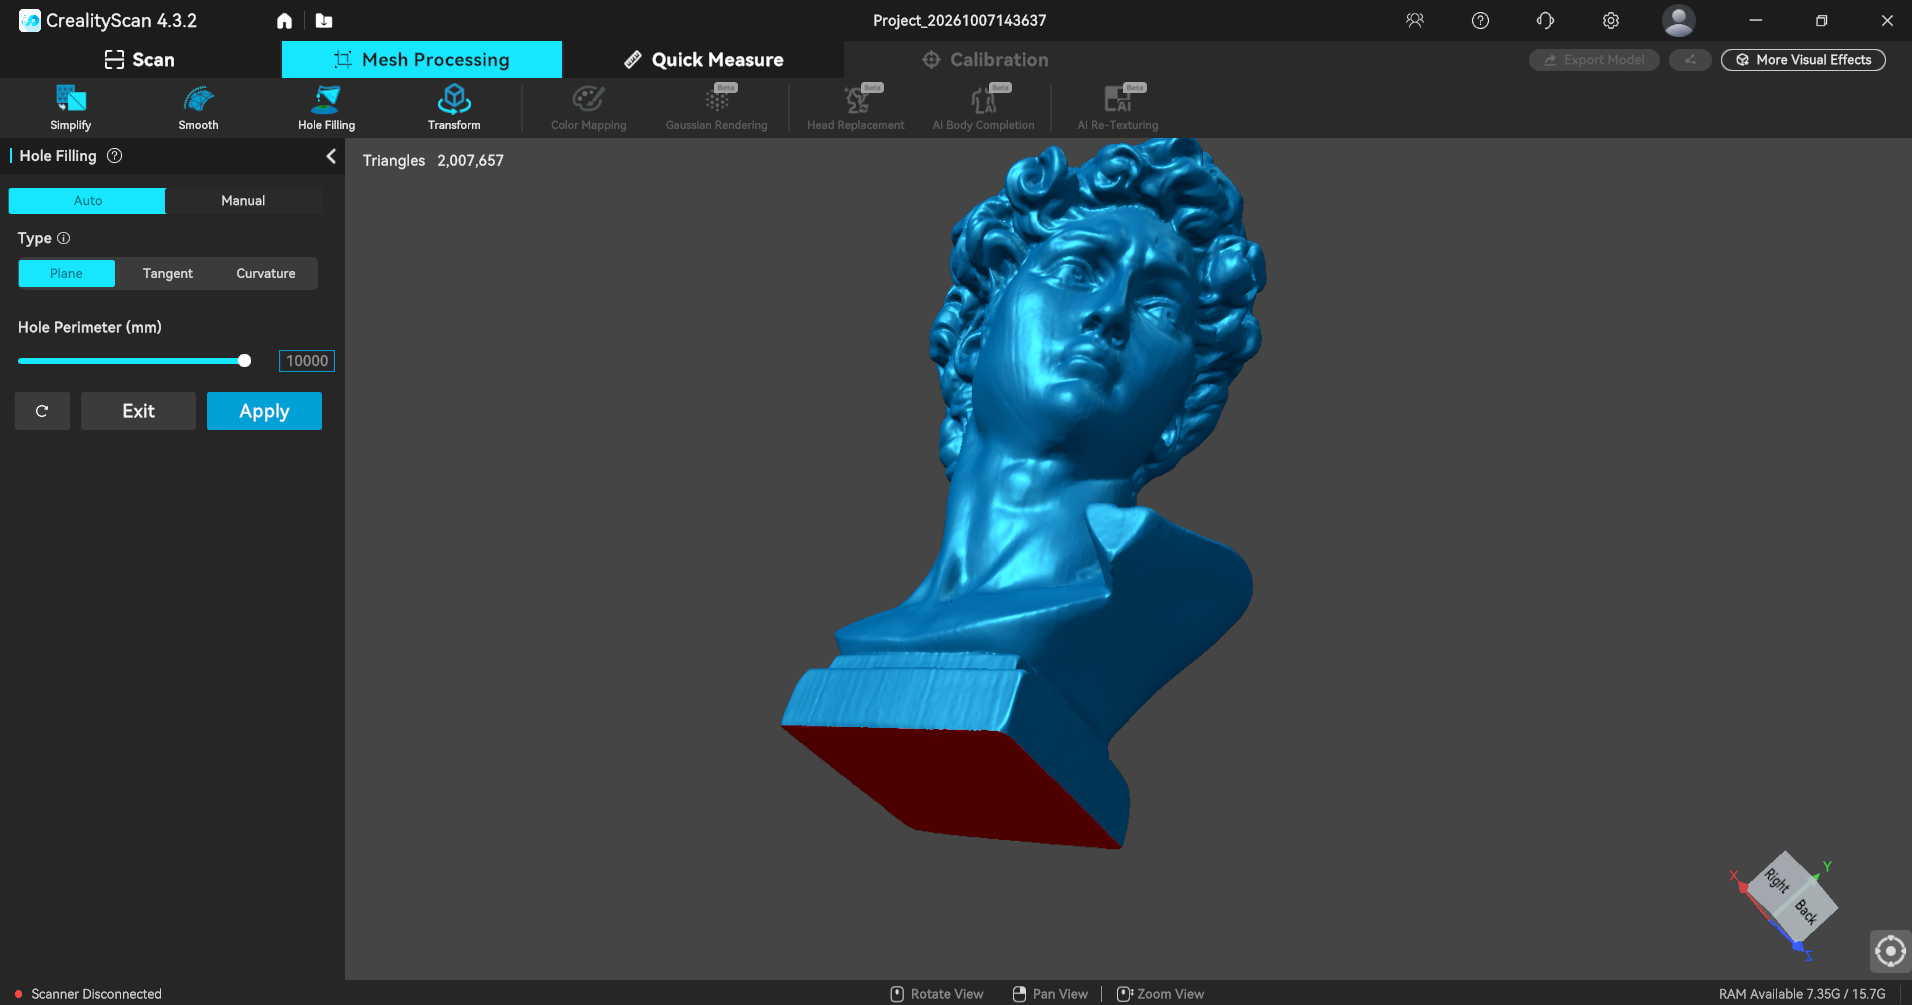
Part of the mesh processing is hole filling. This also has an automatic and manual mode. Since the automatic mode was going to fill in the screw holes and cooling holes, I had to fill in the holes manually by clicking on them. This is a little tedious, but it worked well.
(Image credit: Tom's Hardware)
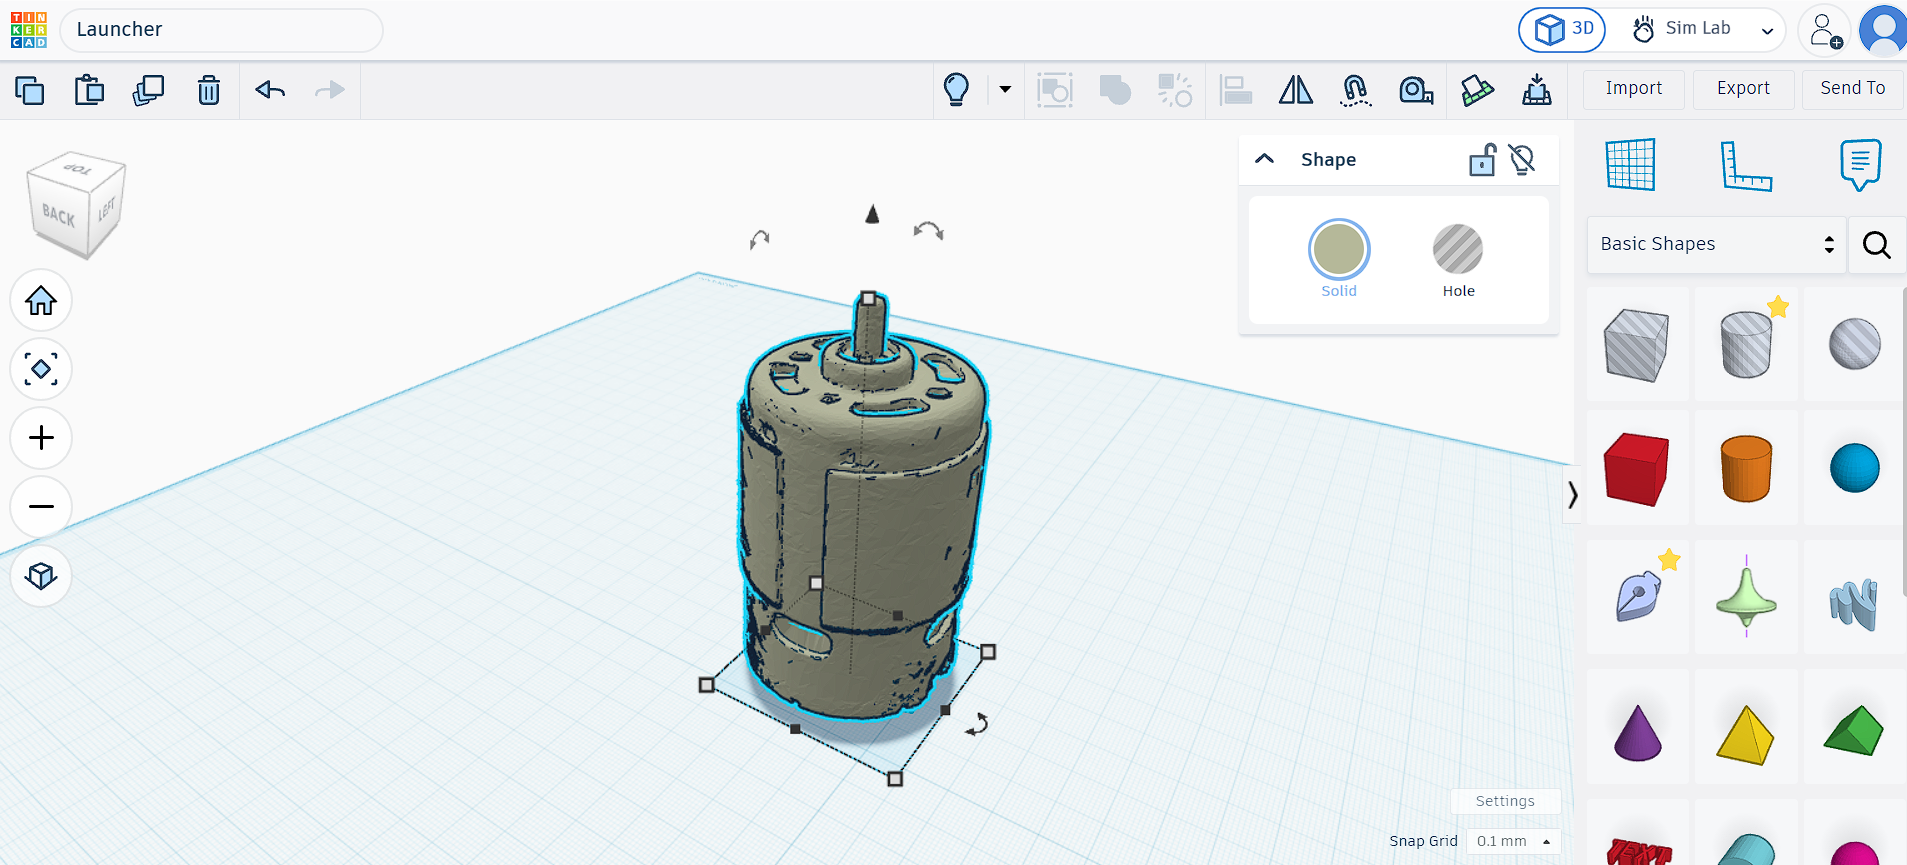
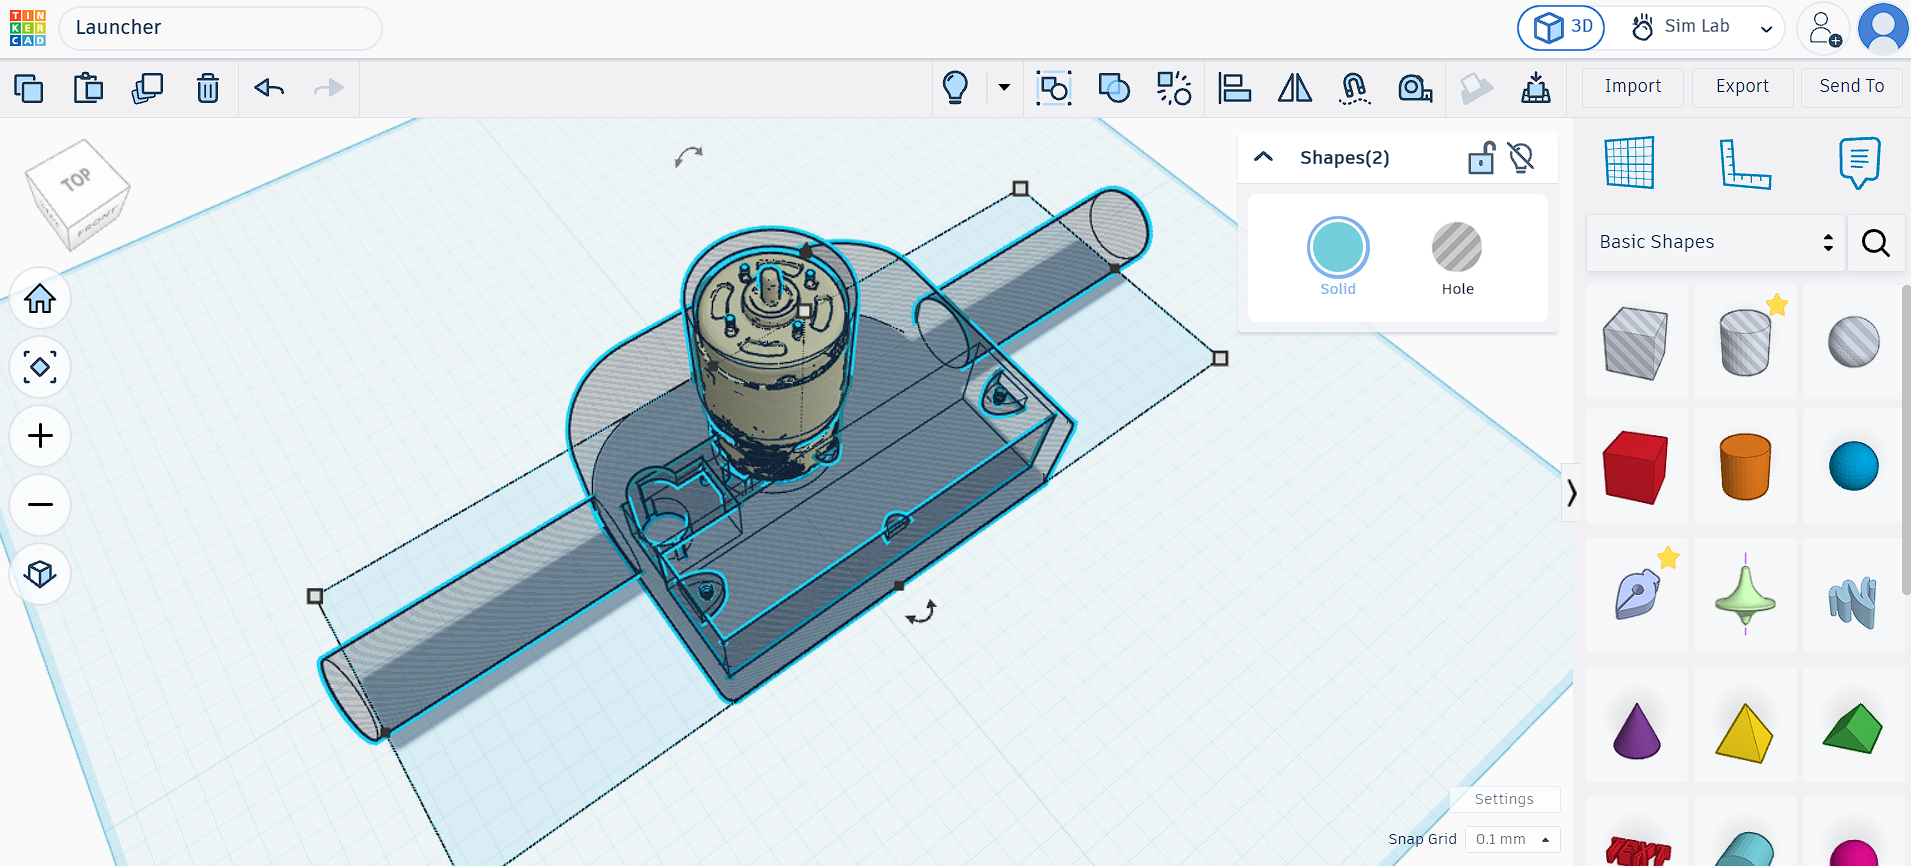
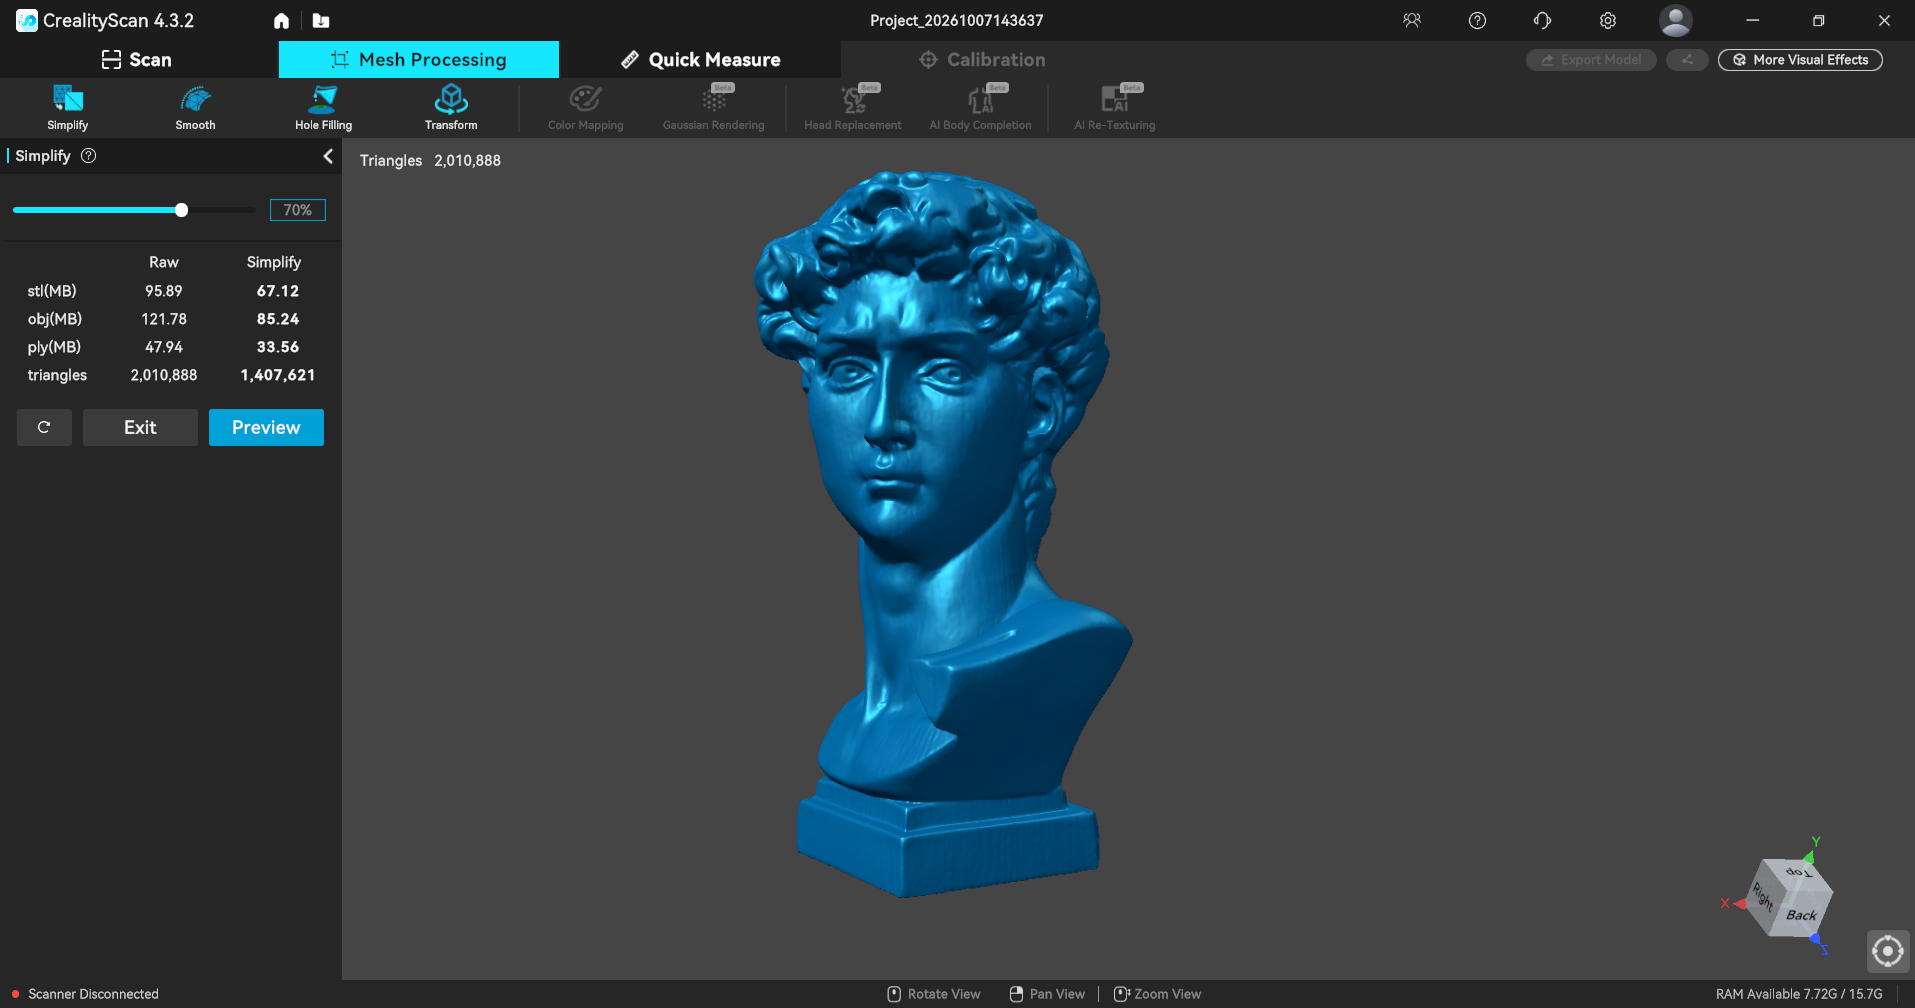
After hole filling, smoothing, and simplifying, I was able to export the file as an STL and open it in Tinkercad.
(Image credit: Tom's Hardware)
The size, and hole alignment were perfect for integrating the motor into a project.
(Image credit: Tom's Hardware)
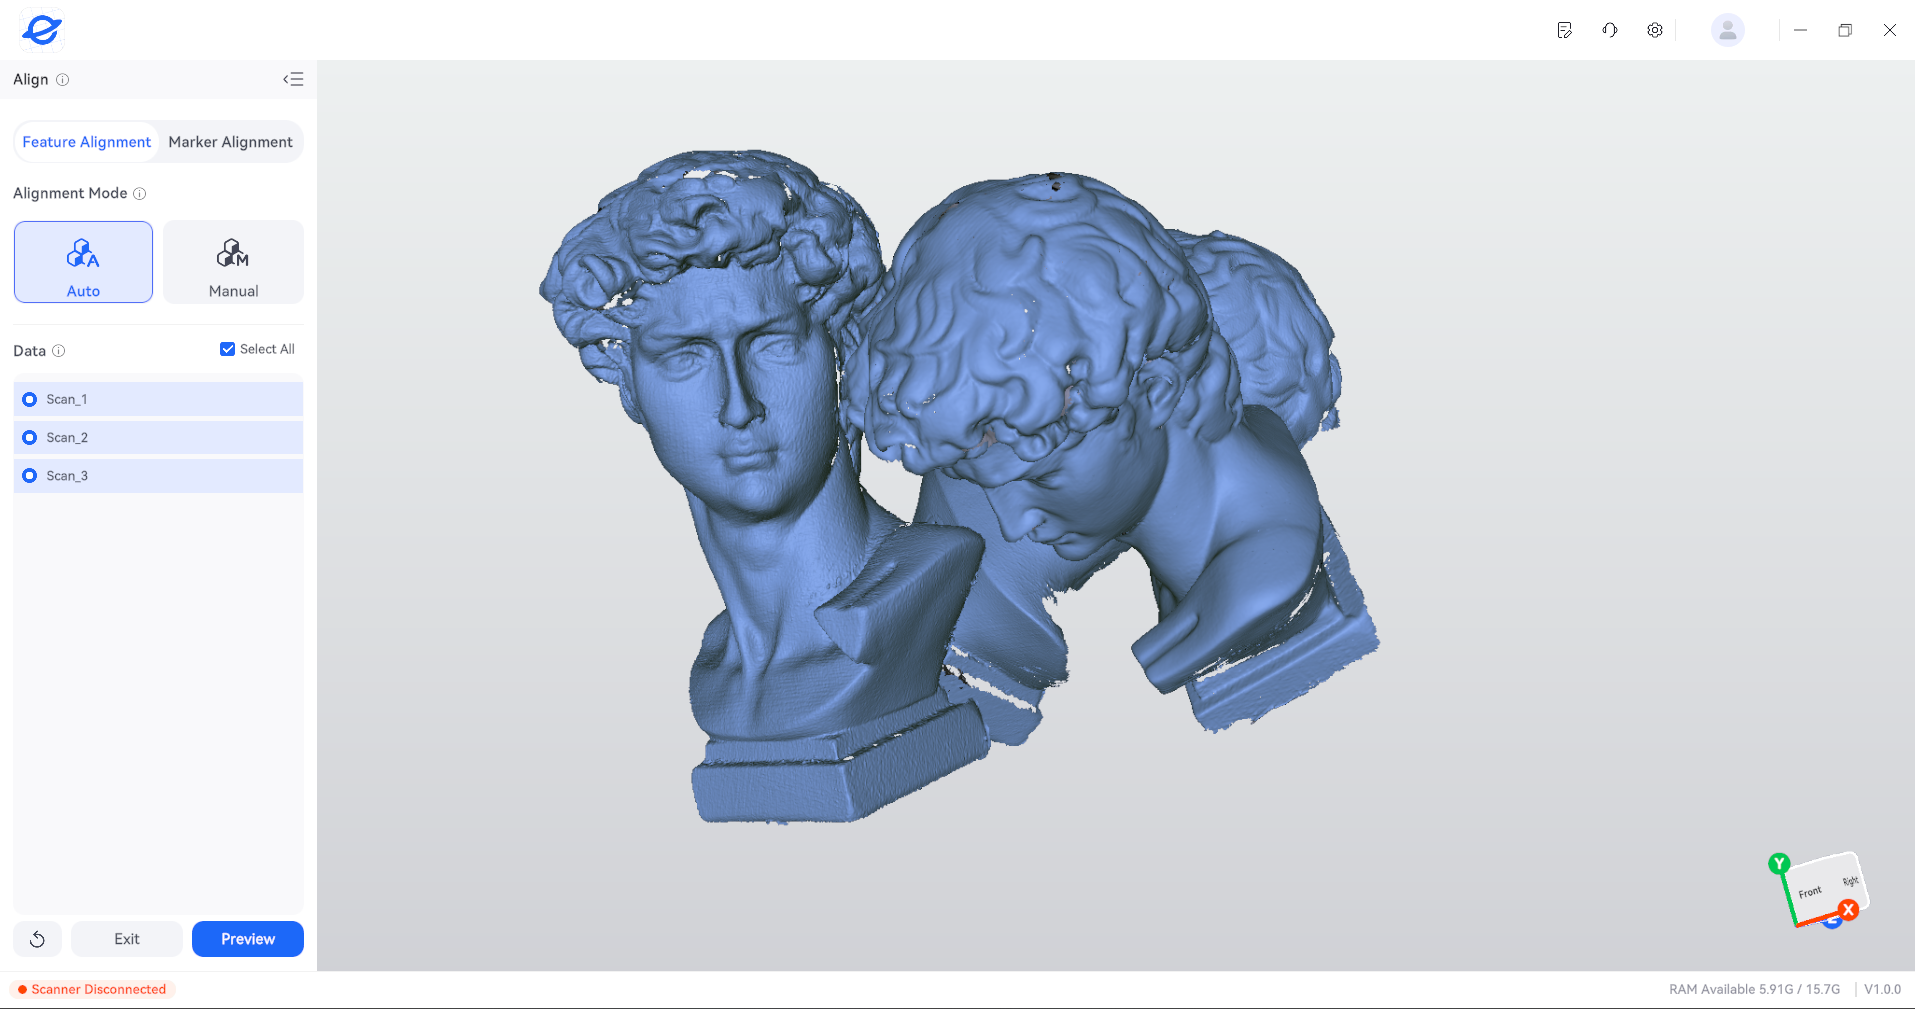
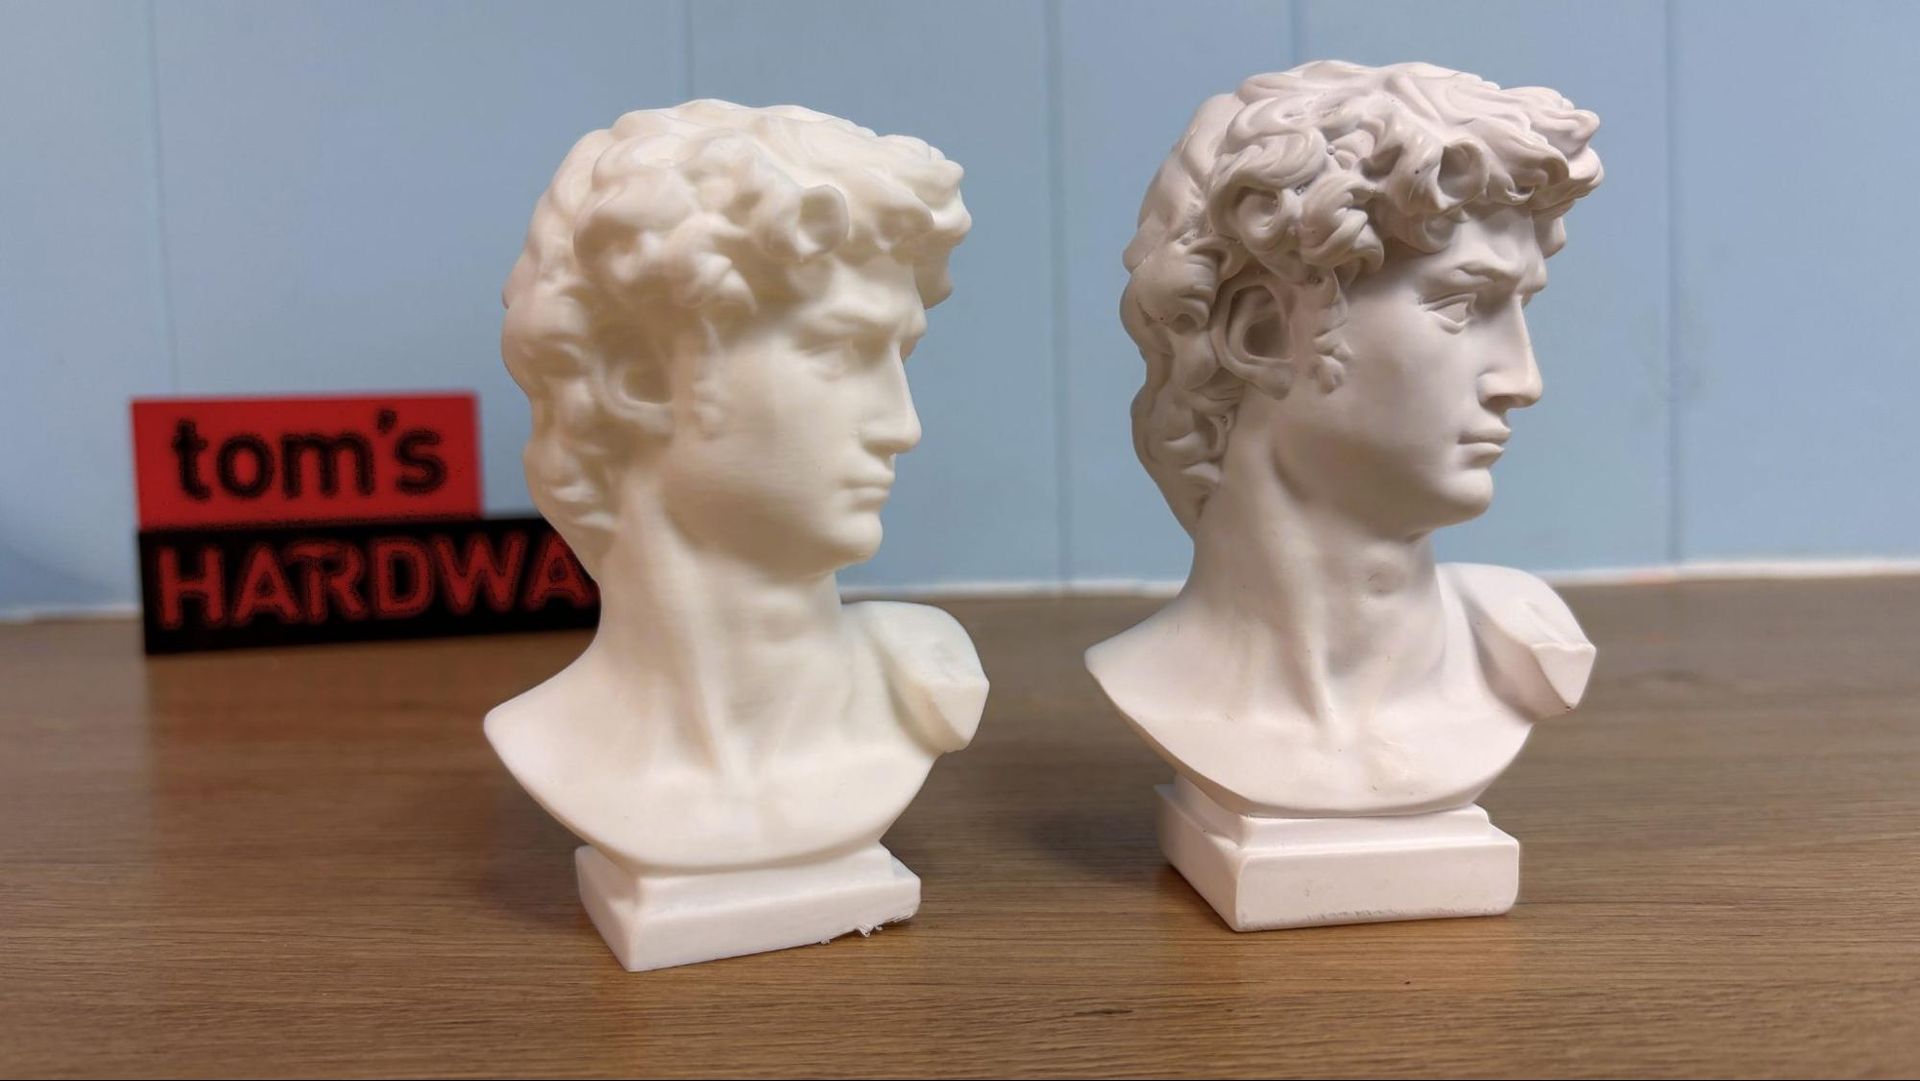
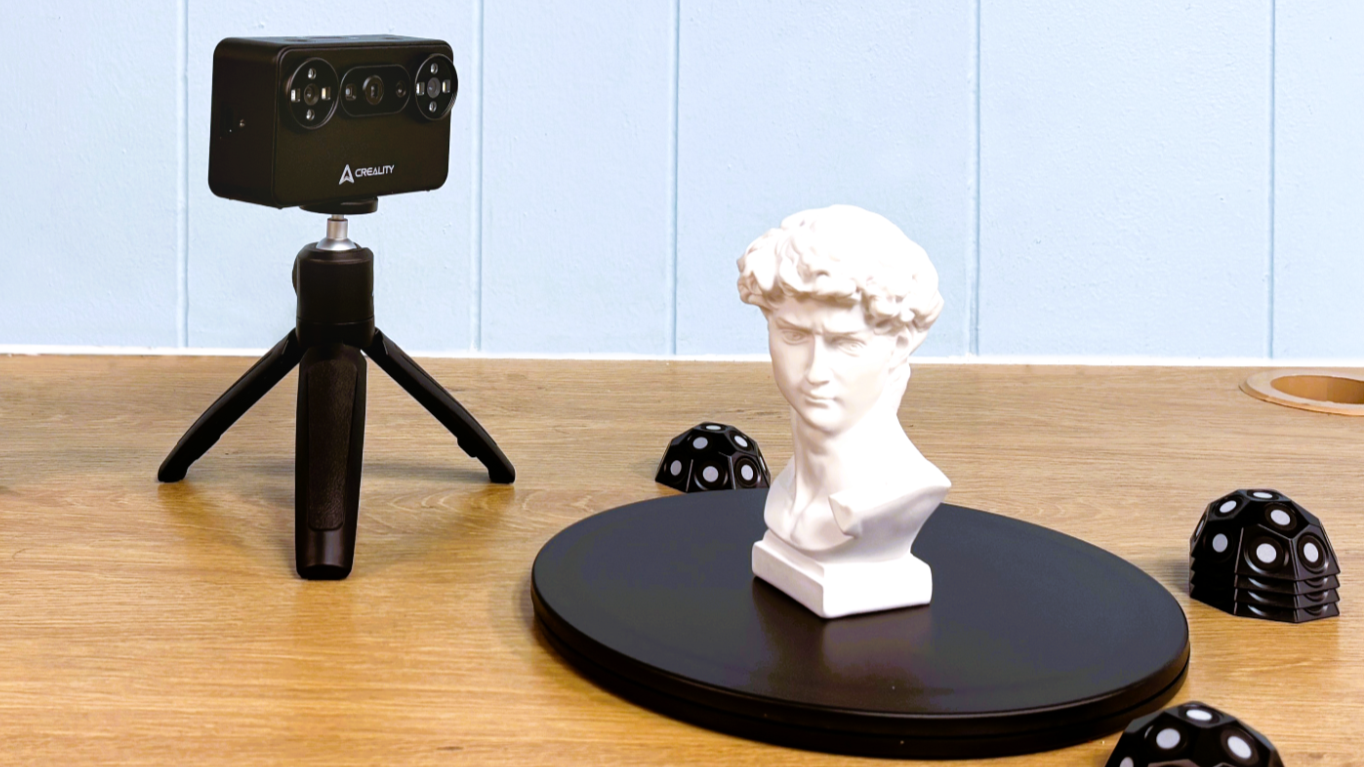
This bust of Michelangelo’s David came with an early Creality scanner and has become my main test file. It took three scans for me to get a good model, which was a recurring theme with the Elegoo M1 Ultra.
(Image credit: Tom's Hardware)
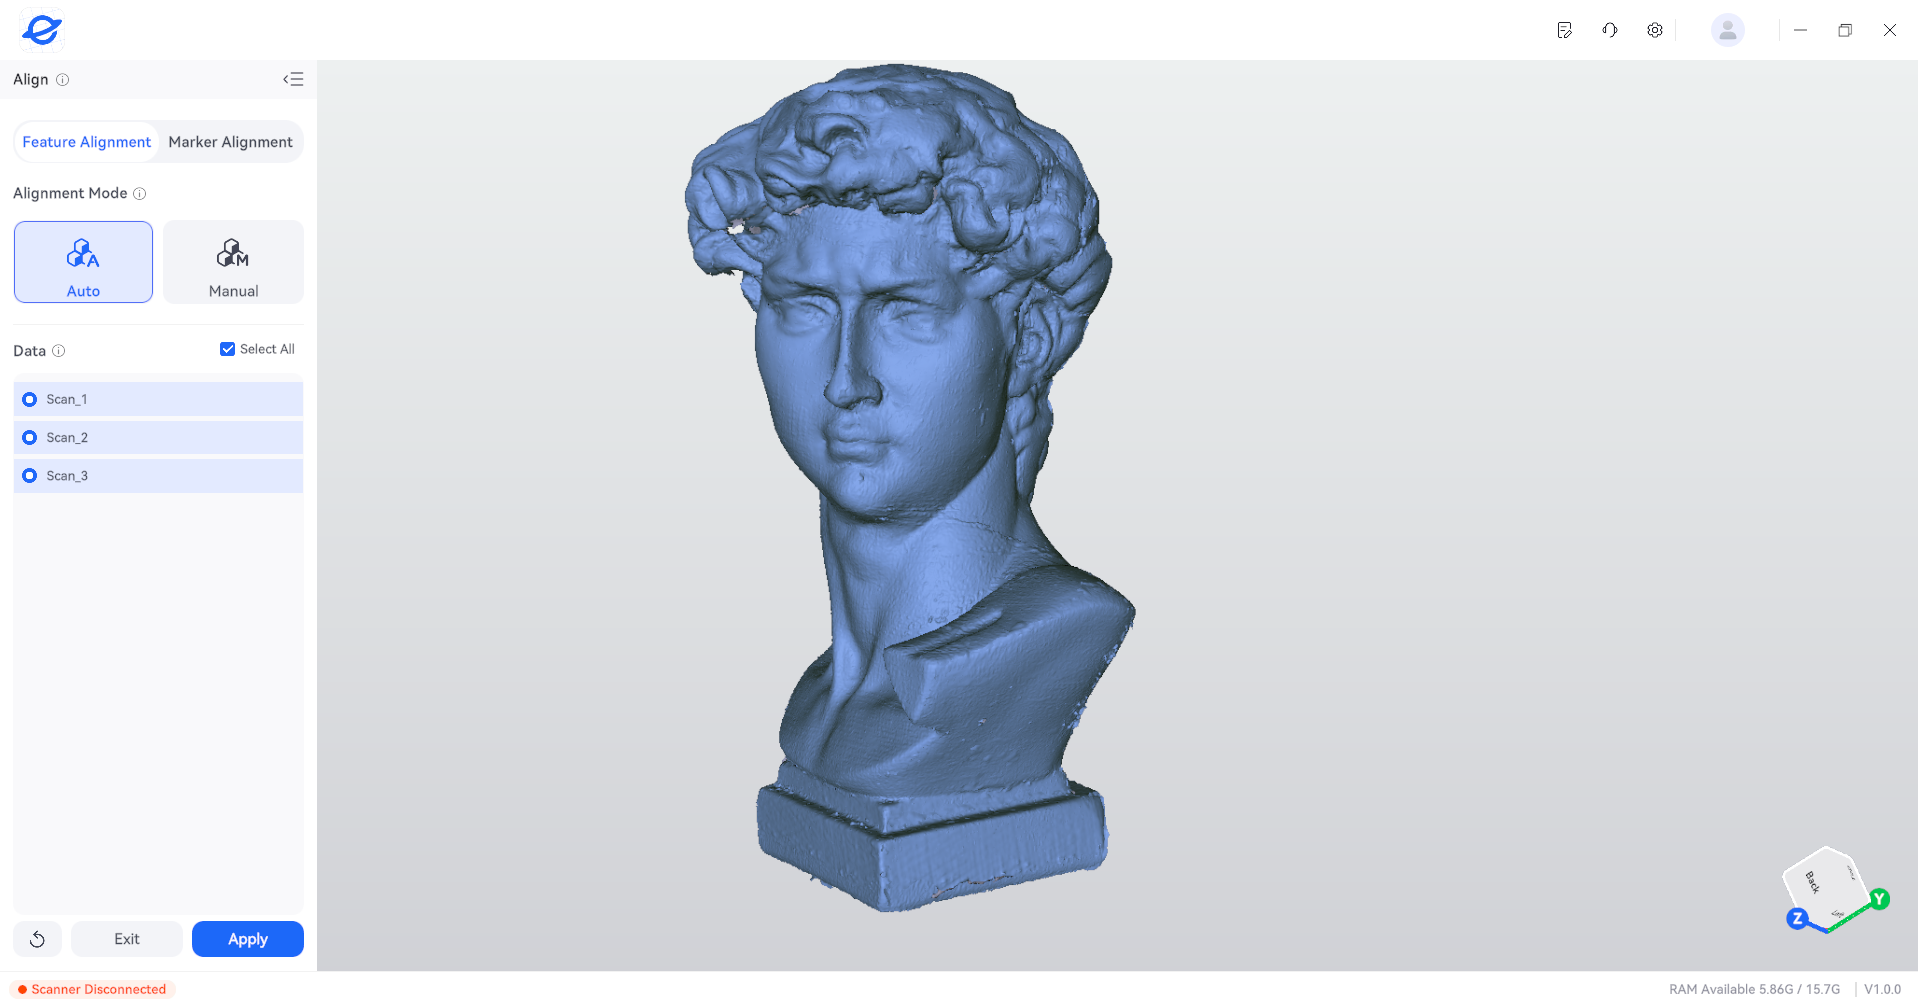
Fortunately in this case, the auto alignment function worked perfectly.
(Image credit: Tom's Hardware)
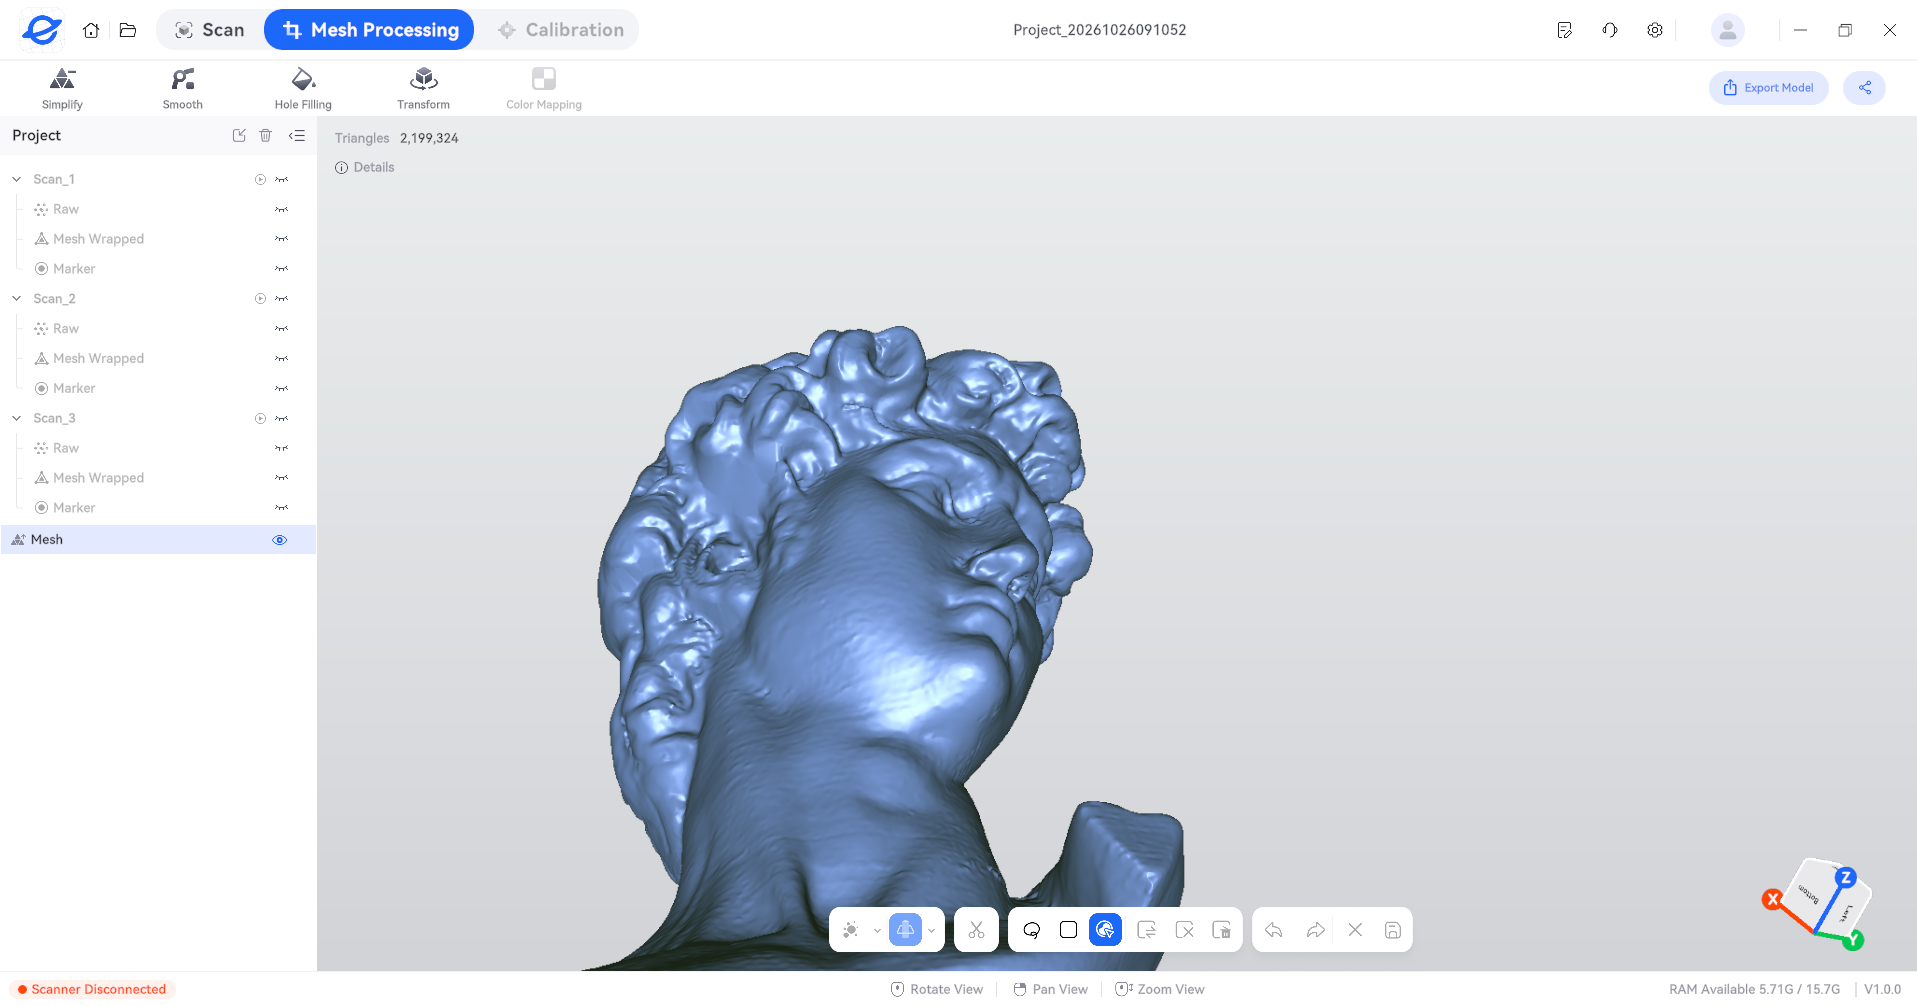
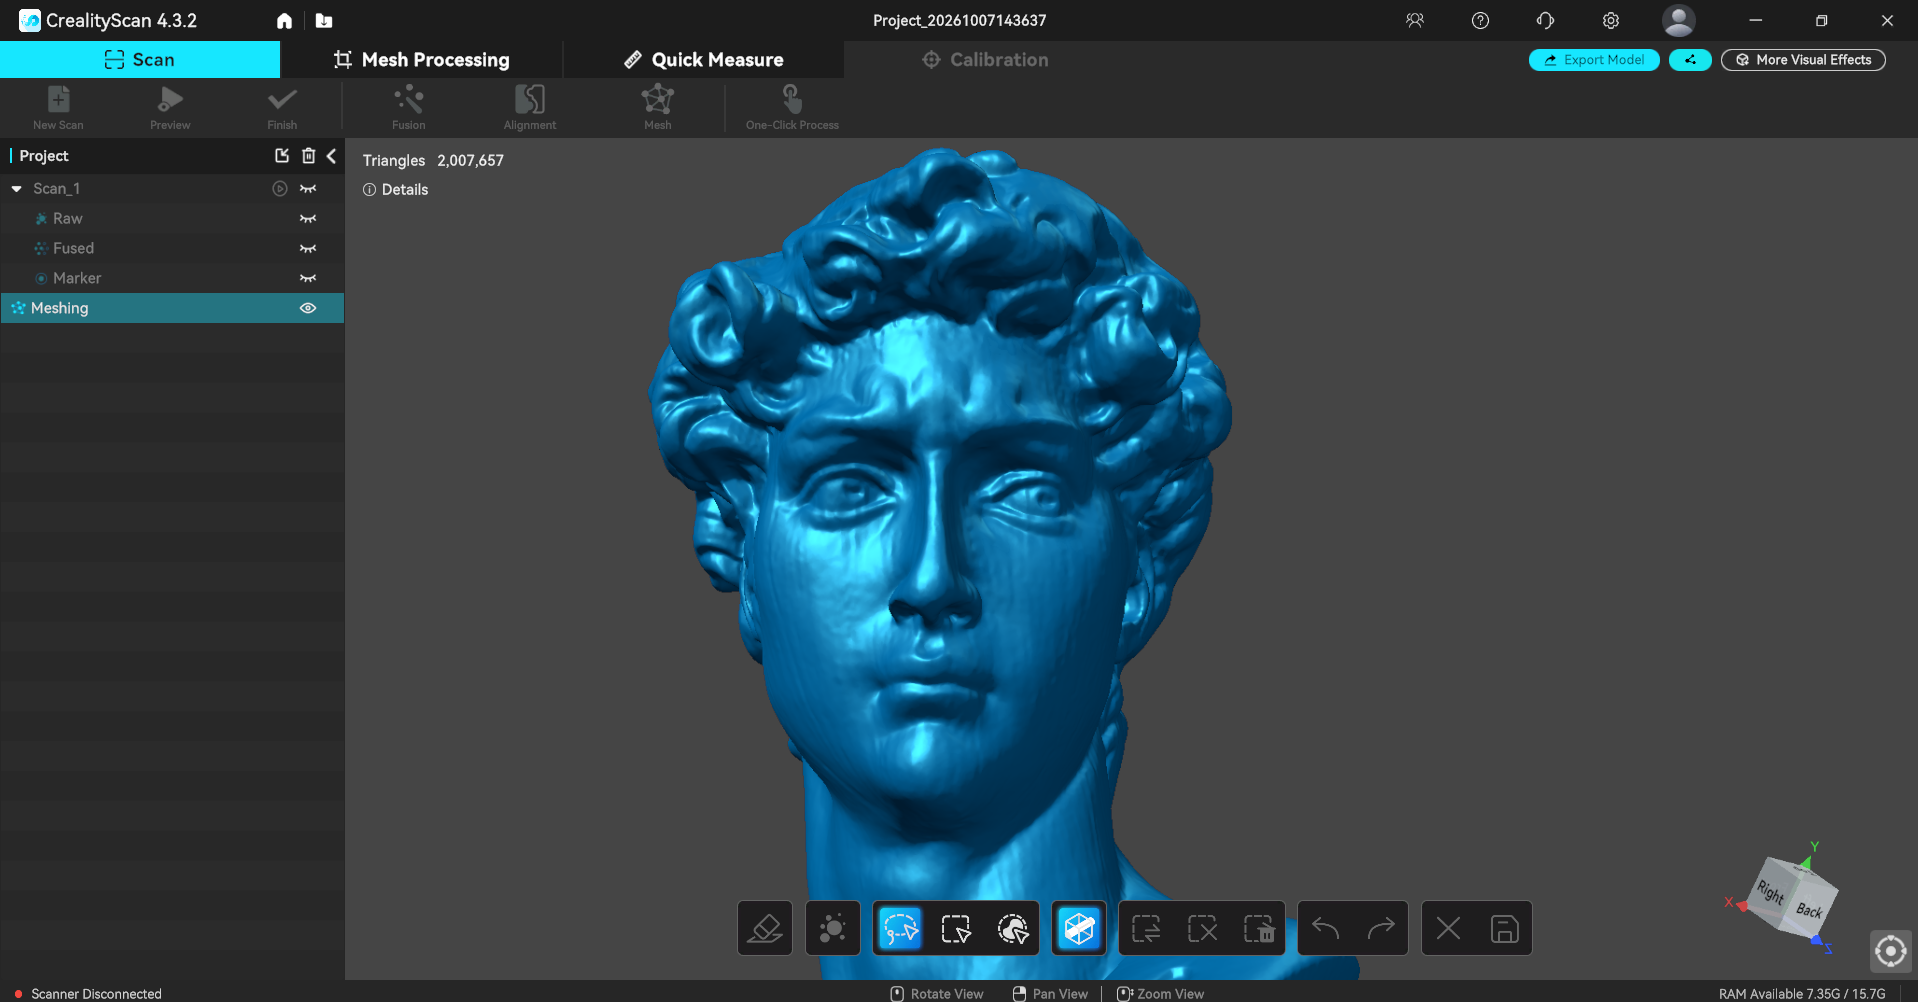
Even with multiple scans, there were still a few holes to fill. One of these can be seen in the finished model in the smooth, flat area above David’s left ear.
(Image credit: Tom's Hardware)
Overall, the model generated is one of the best I’ve seen, and it printed extremely well once exported. The flaw at the bottom of the print was a bed adhesion issue rather than a problem with the model.
(Image credit: Tom's Hardware)
NIR 3D Scanning with the Elegoo M1 Ultra
(Image credit: Tom's Hardware)
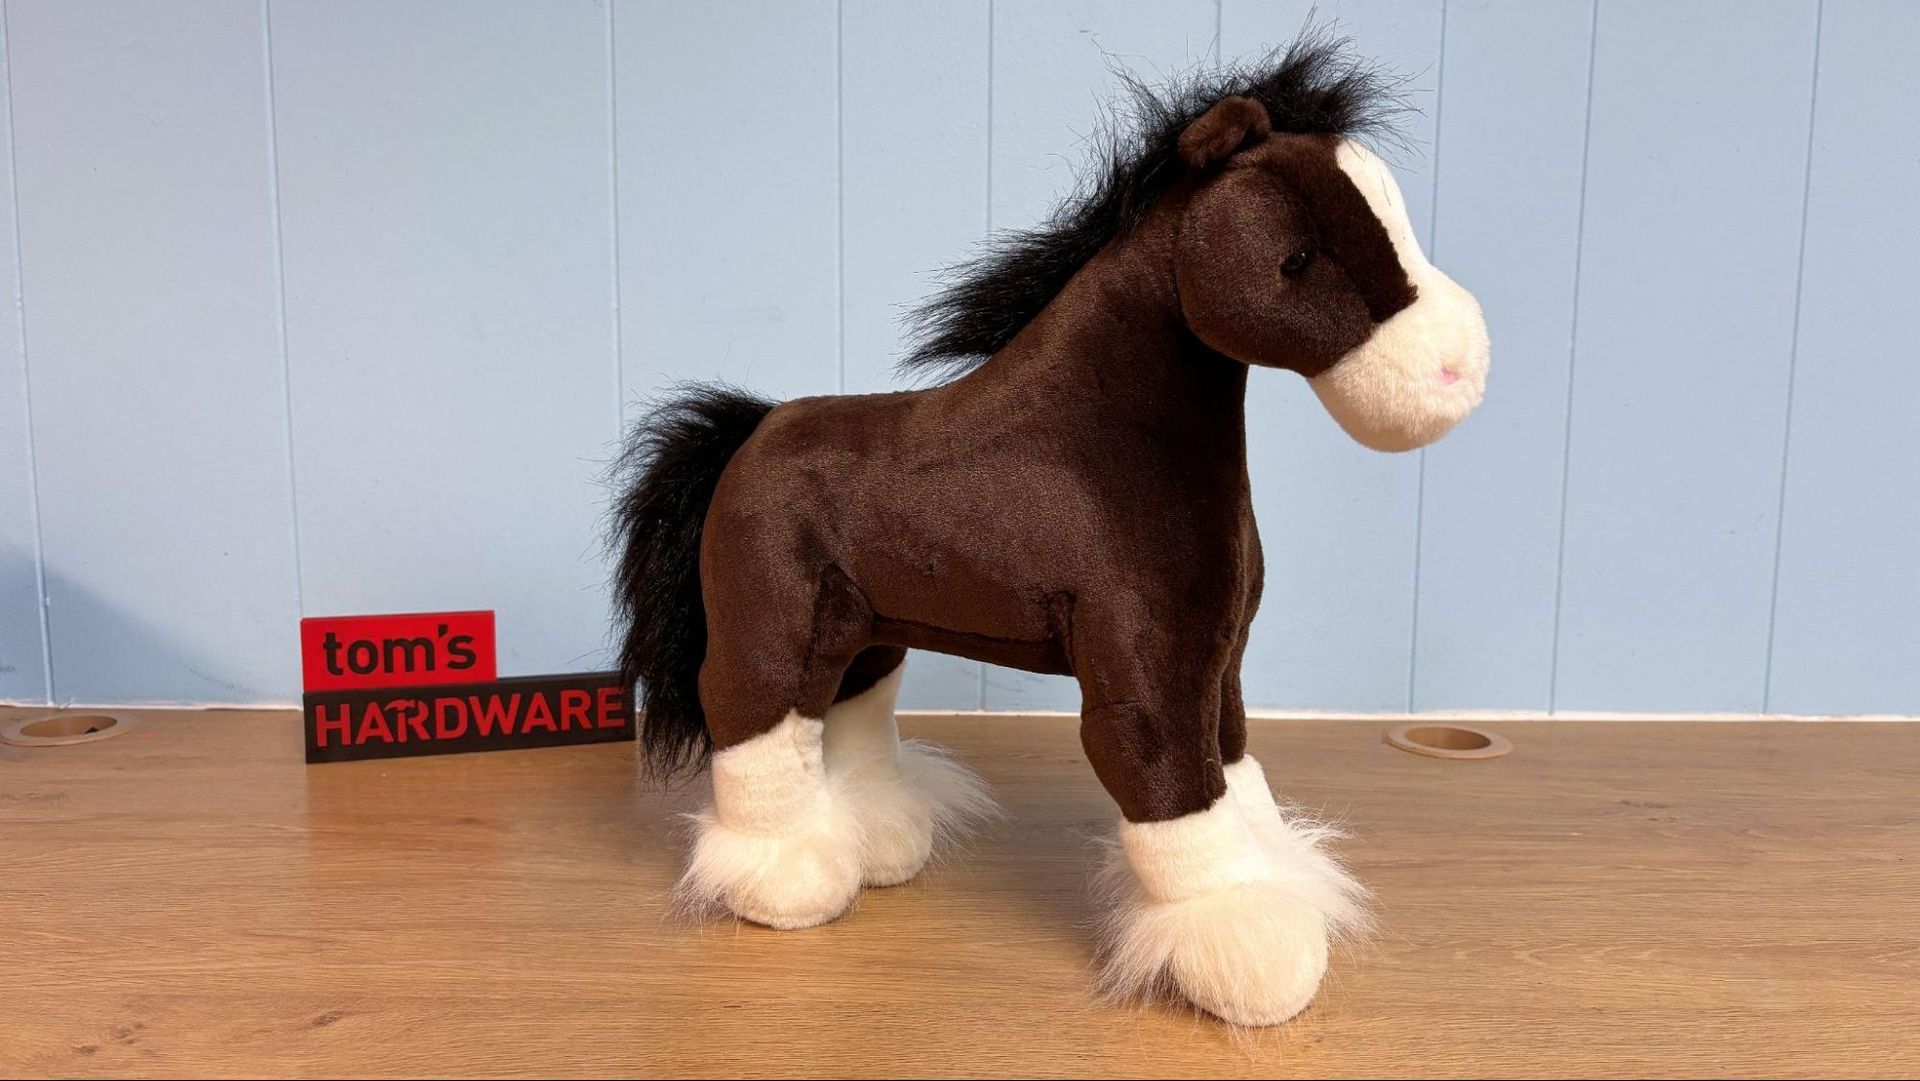
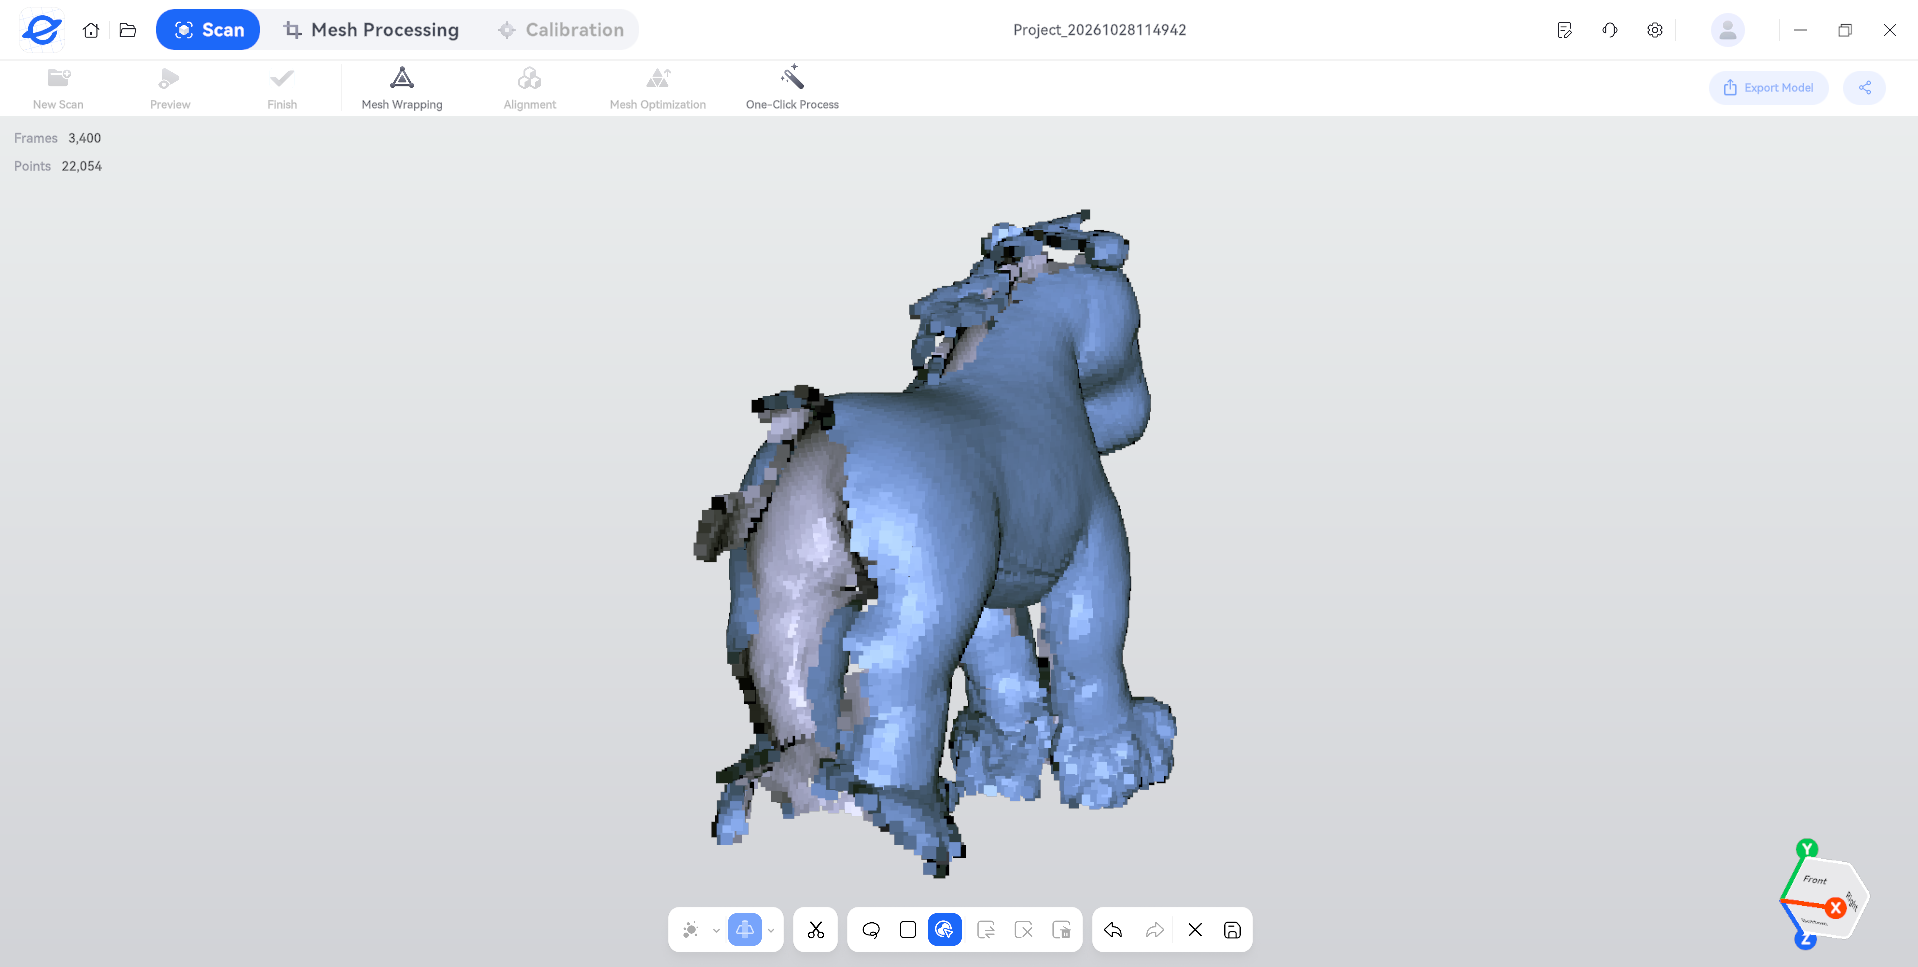
Since I could not find a willing human victim…I mean, subject…to scan, I tried using the NIR mode to scan Clyde, our family’s favorite stuffed Clydesdale. This is a cautionary tale because 3D scanners in general have a tough time scanning black objects, as they absorb light rather than reflecting it.
(Image credit: Tom's Hardware)
The scans weren’t bad, but they did leave big holes where the mane and tail were too dark to read.
(Image credit: Tom's Hardware)
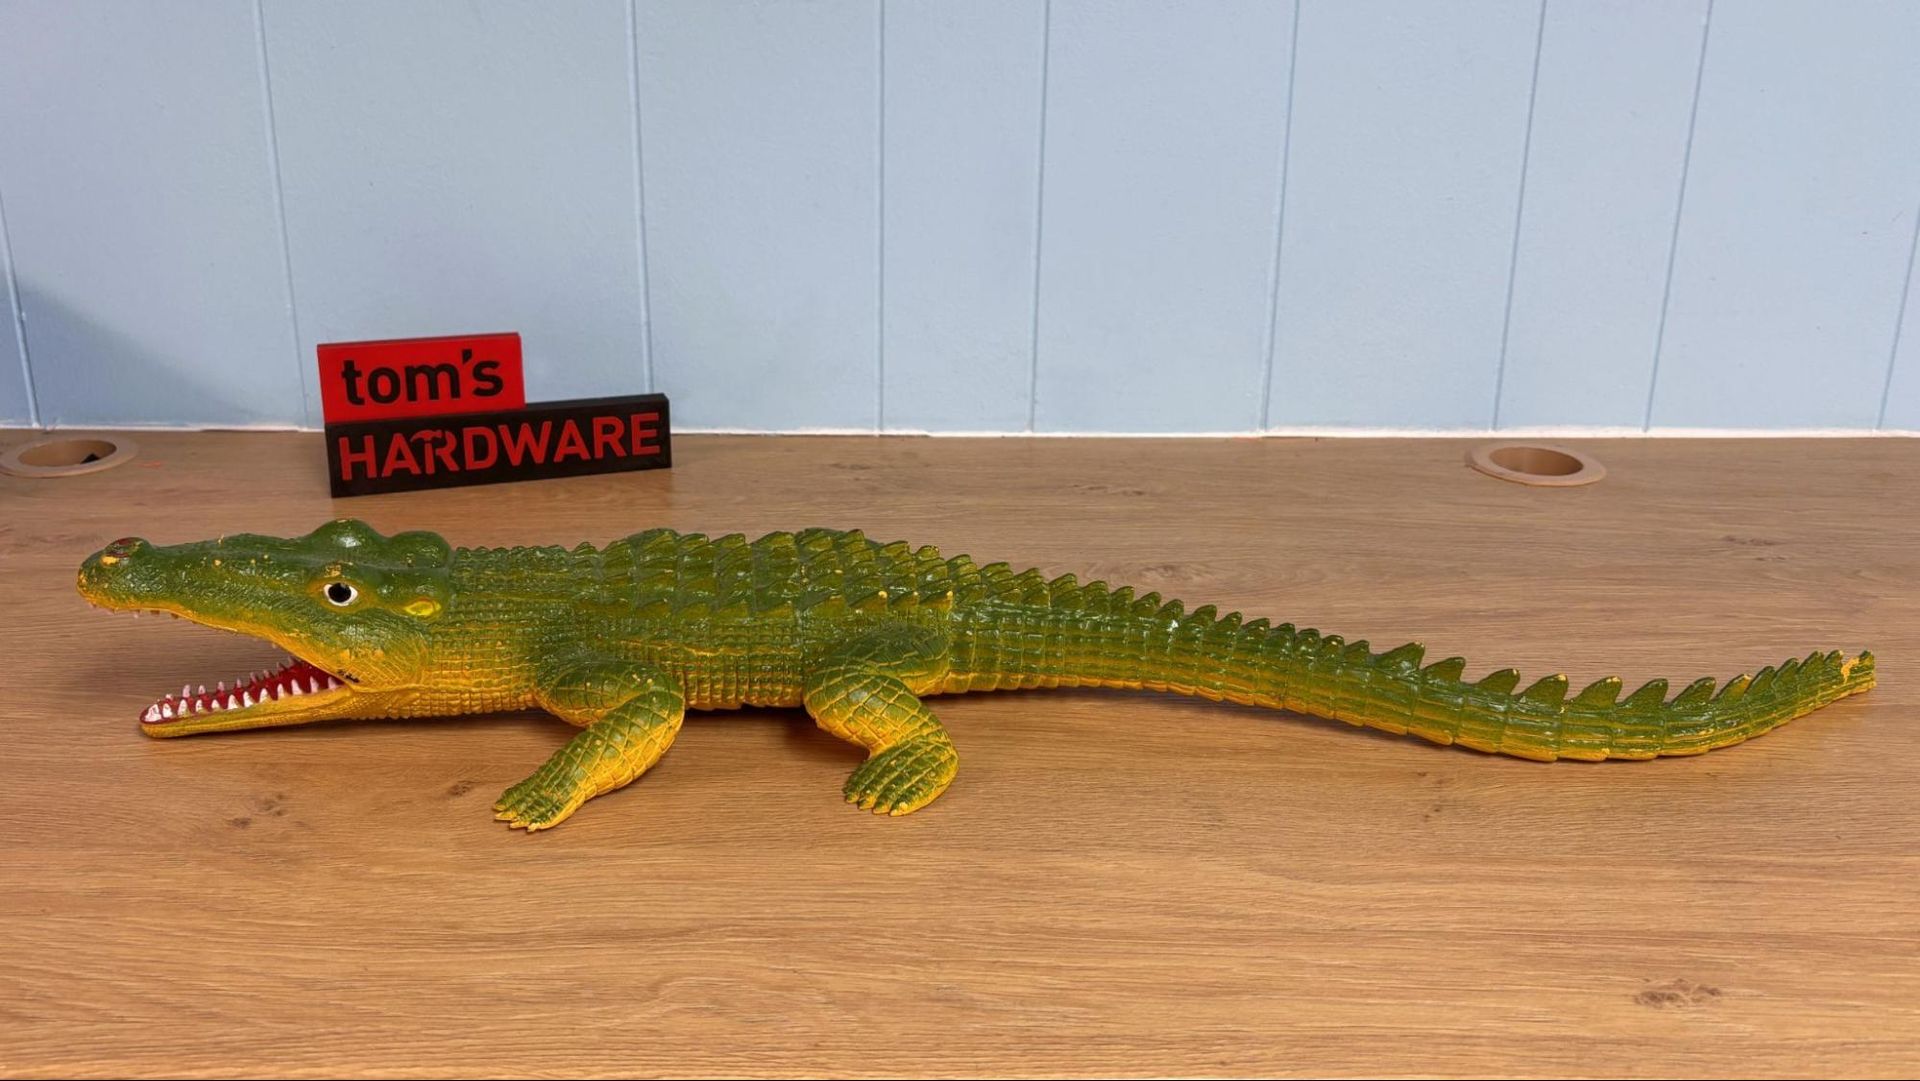
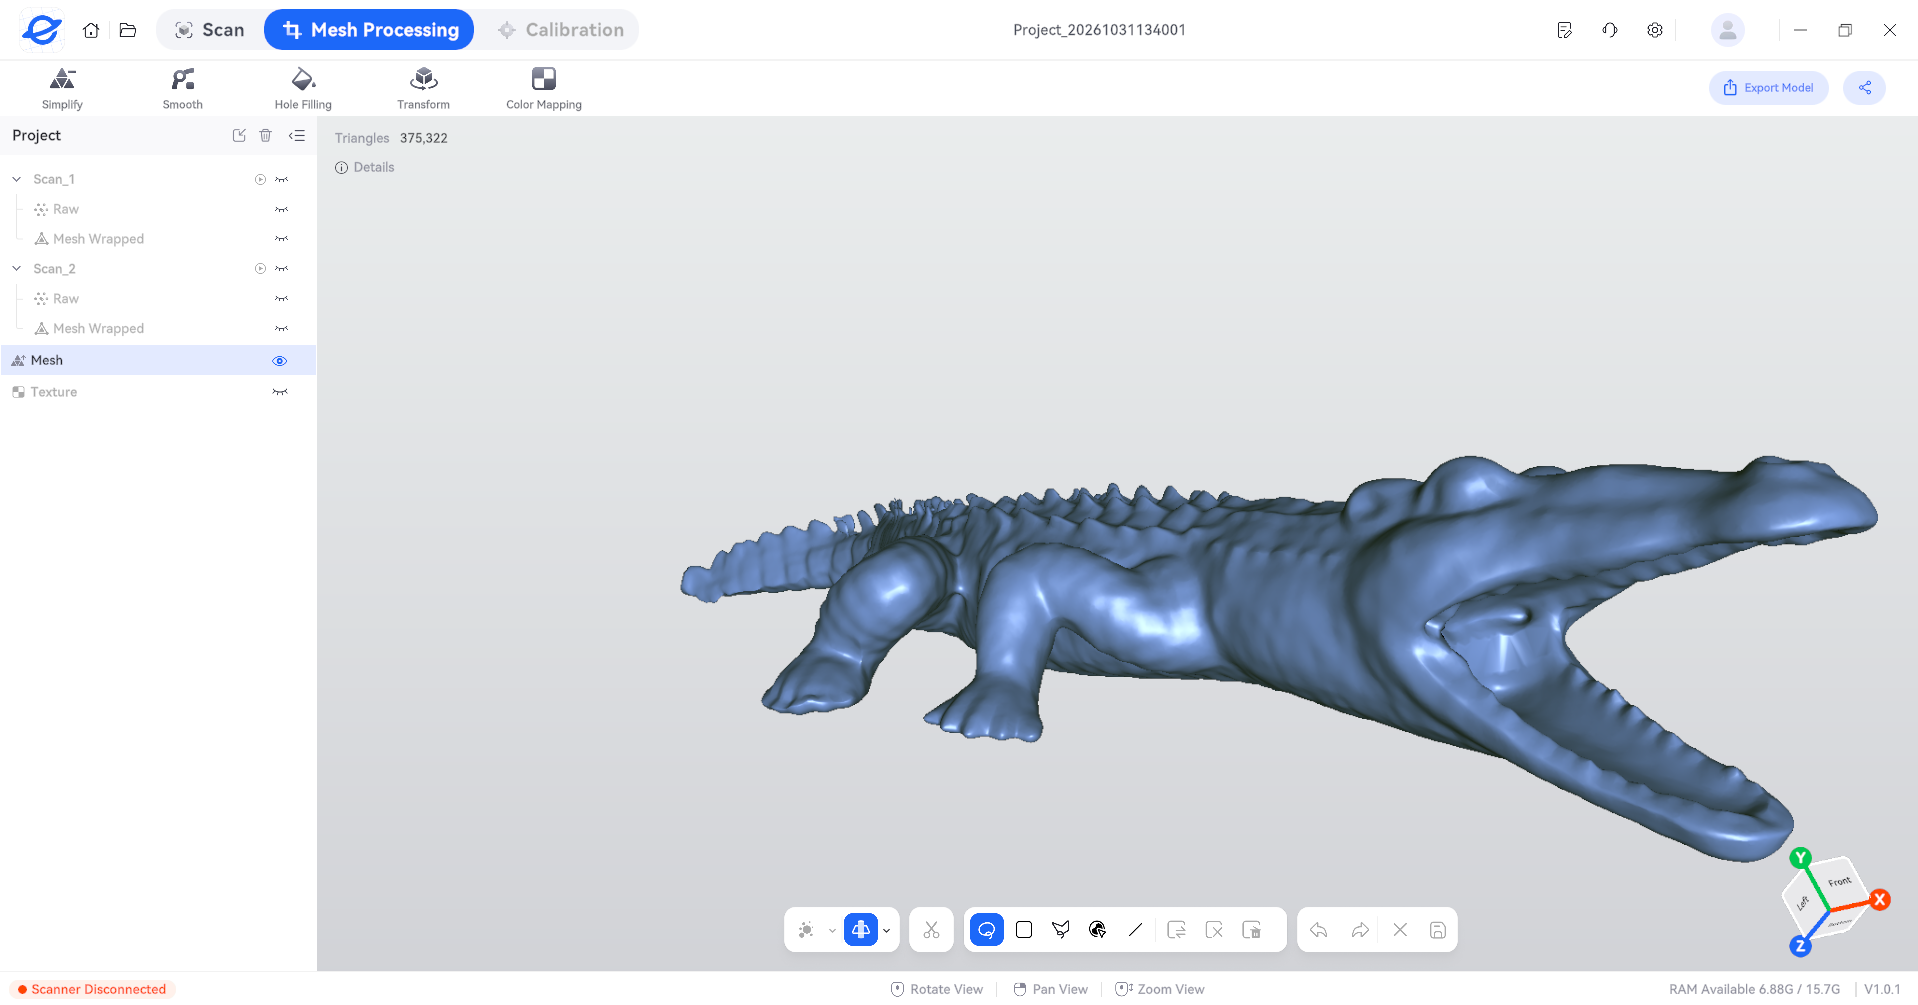
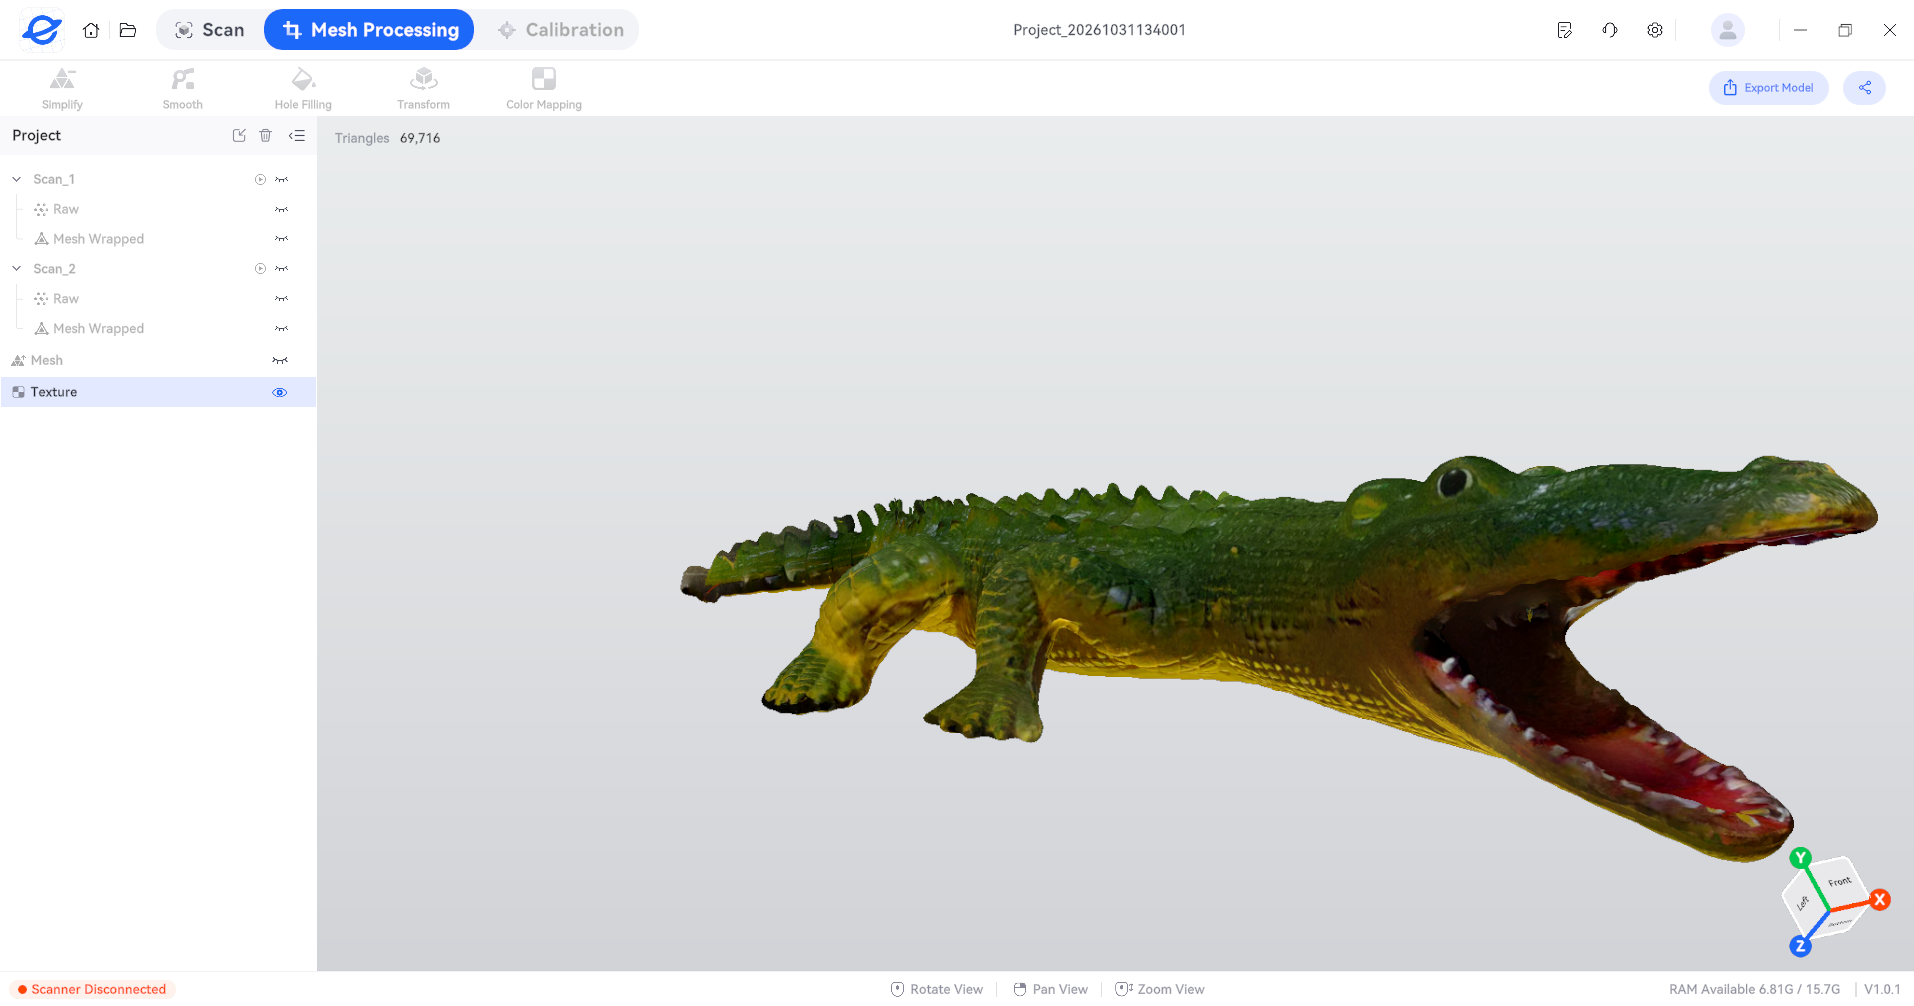
I was able to do a much better scan of Ali the Alligator. In NIR mode, the scanner is capable of 30fps. Even with the slower frame rate, the scanner was able to quickly capture Ali in two scans, without a ton of multiple passes. Each time you go over the same spot on an object, it’s possible to generate garbage data that has to be removed in the meshing process. The two scans align together automatically, and the finished model is pretty darn good.
(Image credit: Tom's Hardware)
The scanner does feature color texture mapping. Other than the mouth, where a large hole needed to be filled, the color mapping was spot on.
(Image credit: Tom's Hardware)
Bottom Line
(Image credit: Tom's Hardware)
The Elegoo M1 Ultra is a good scanner that has a good feature set for the price. The light weight, onboard screen, long battery life, and stable Wi-Fi connection make it a joy to use.
The ElegooScan software is fairly intuitive. It makes calibrating the scanner and turning the raw scans into usable models fairly easy. The Elegoo M1 Ultra did require multiple scans to get good coverage of objects, while other scanners I’ve tested could do it in one pass. The added complexity takes up a good deal of time and requires a fair amount of computer power, especially when cleaning up and aligning multiple scans. ElegooScan has the tools to make it work. Even with a pretty good model, you’ll likely also need a CAD program or other design tools to make the best use of the scans.
If you’d like to save a few bucks and get a still excellent scanner, check out the Creality Pika, which is currently $699. If you want a scanner with a little more horsepower, check out the Creality Sermoon S1, which retails for $2,069. Creality also makes the Sermoon P1, which can run completely untethered and retails for $3,299.
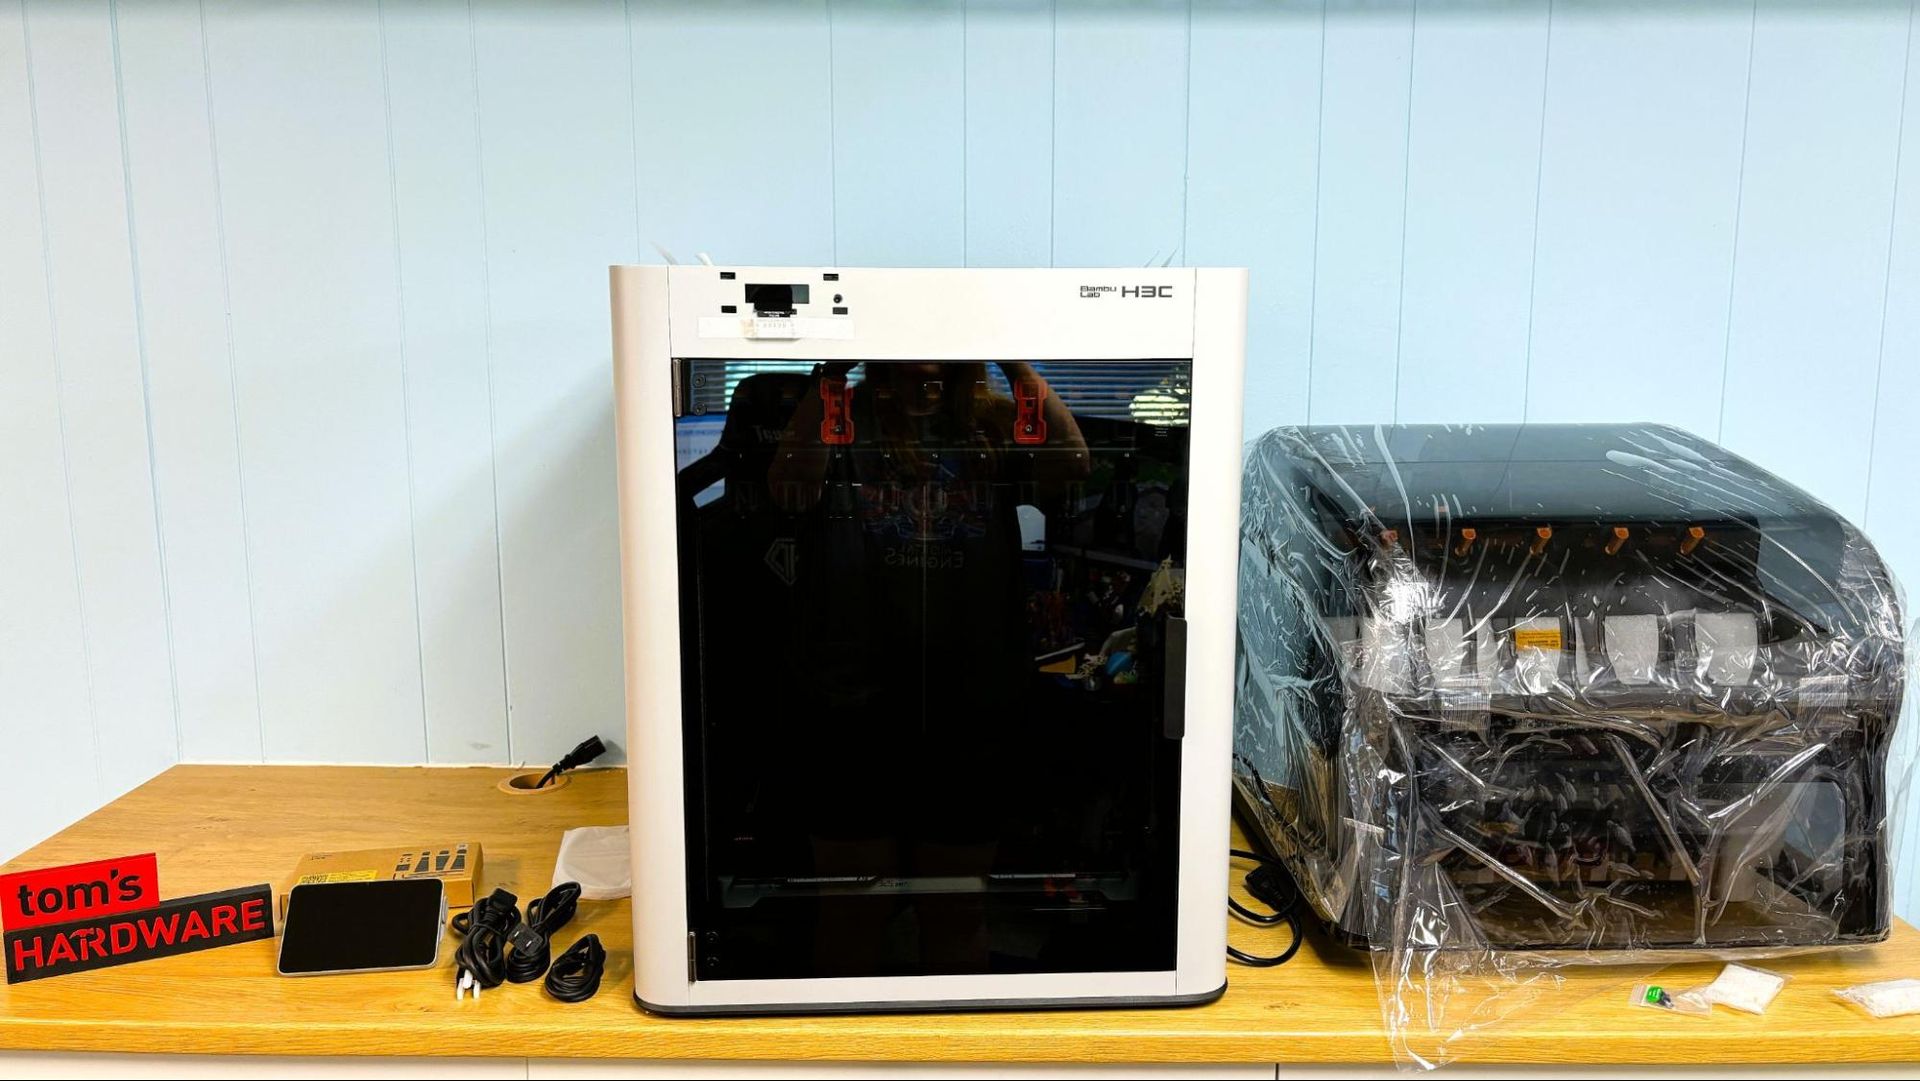
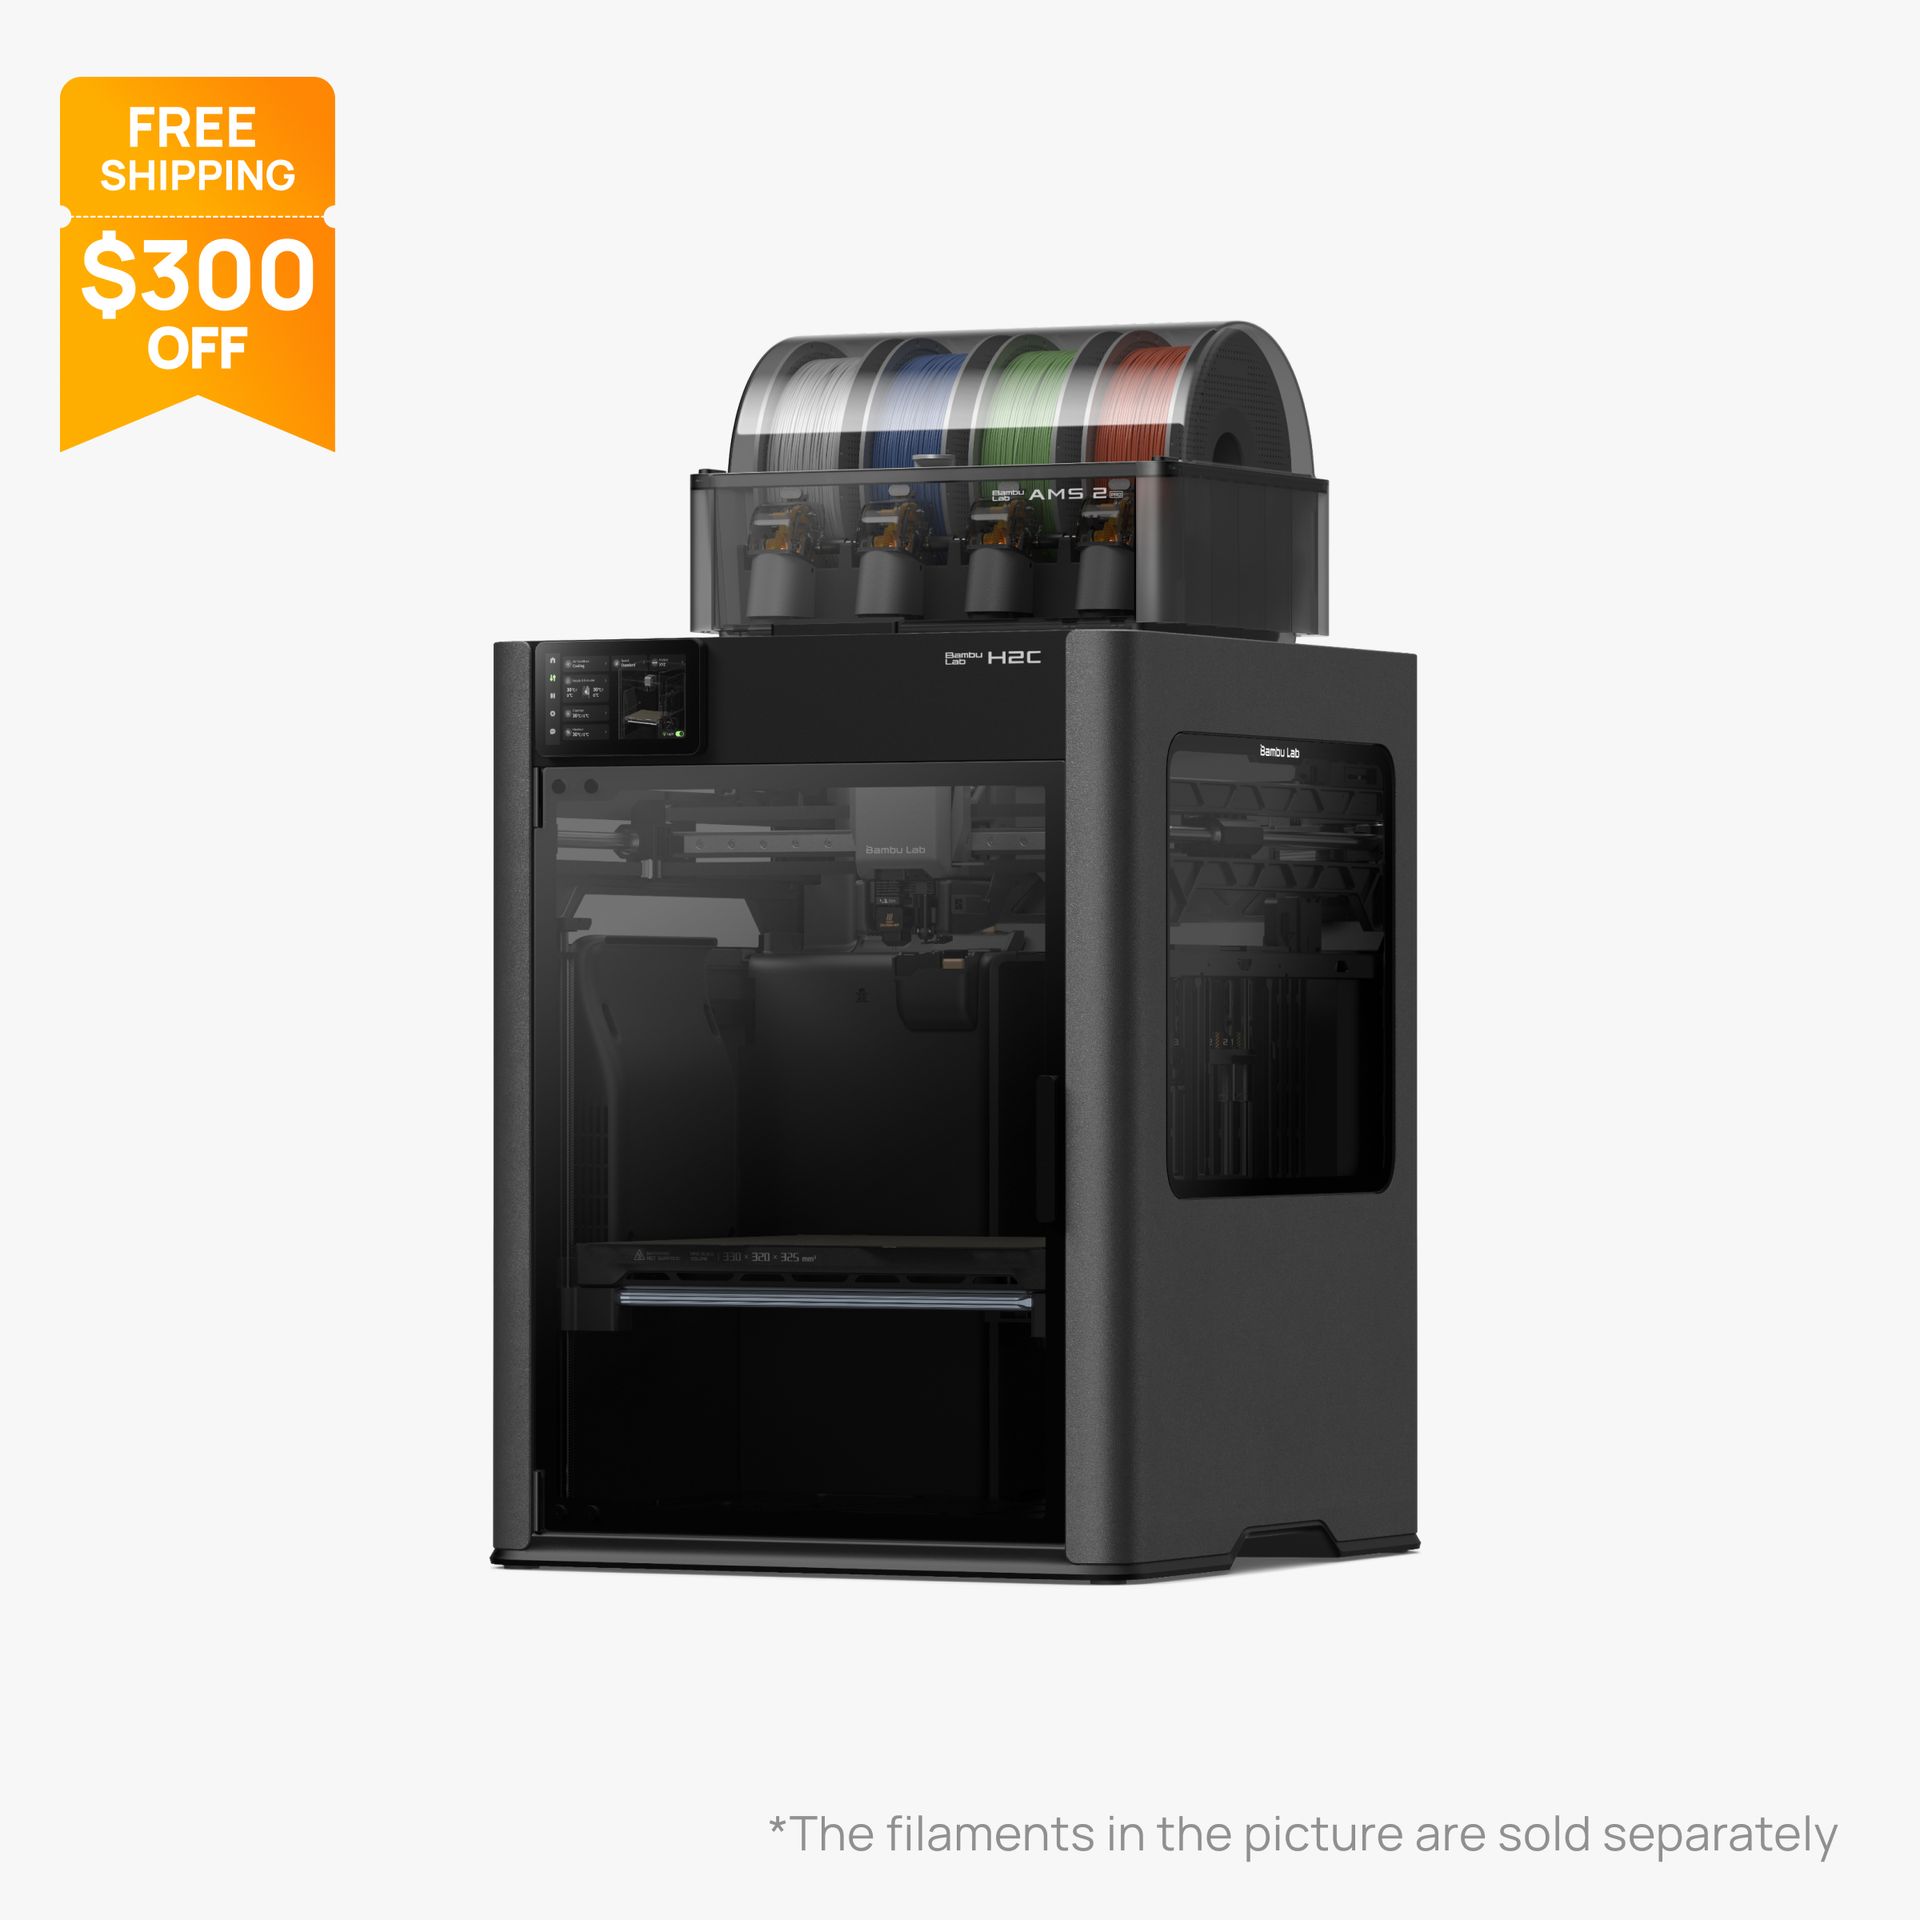
The Bambu Lab H3C is the printer we’ve been waiting for: a true Bambu tool changer. It has nine “Swaptek” tools that use a technology similar to the H2C Vortek rack, except each nozzle is built into a lightweight, hardwired tool with a dedicated filament path. The H3C is Bambu’s fastest multicolor 3D printer, and though it reduces waste, it does not eliminate it.
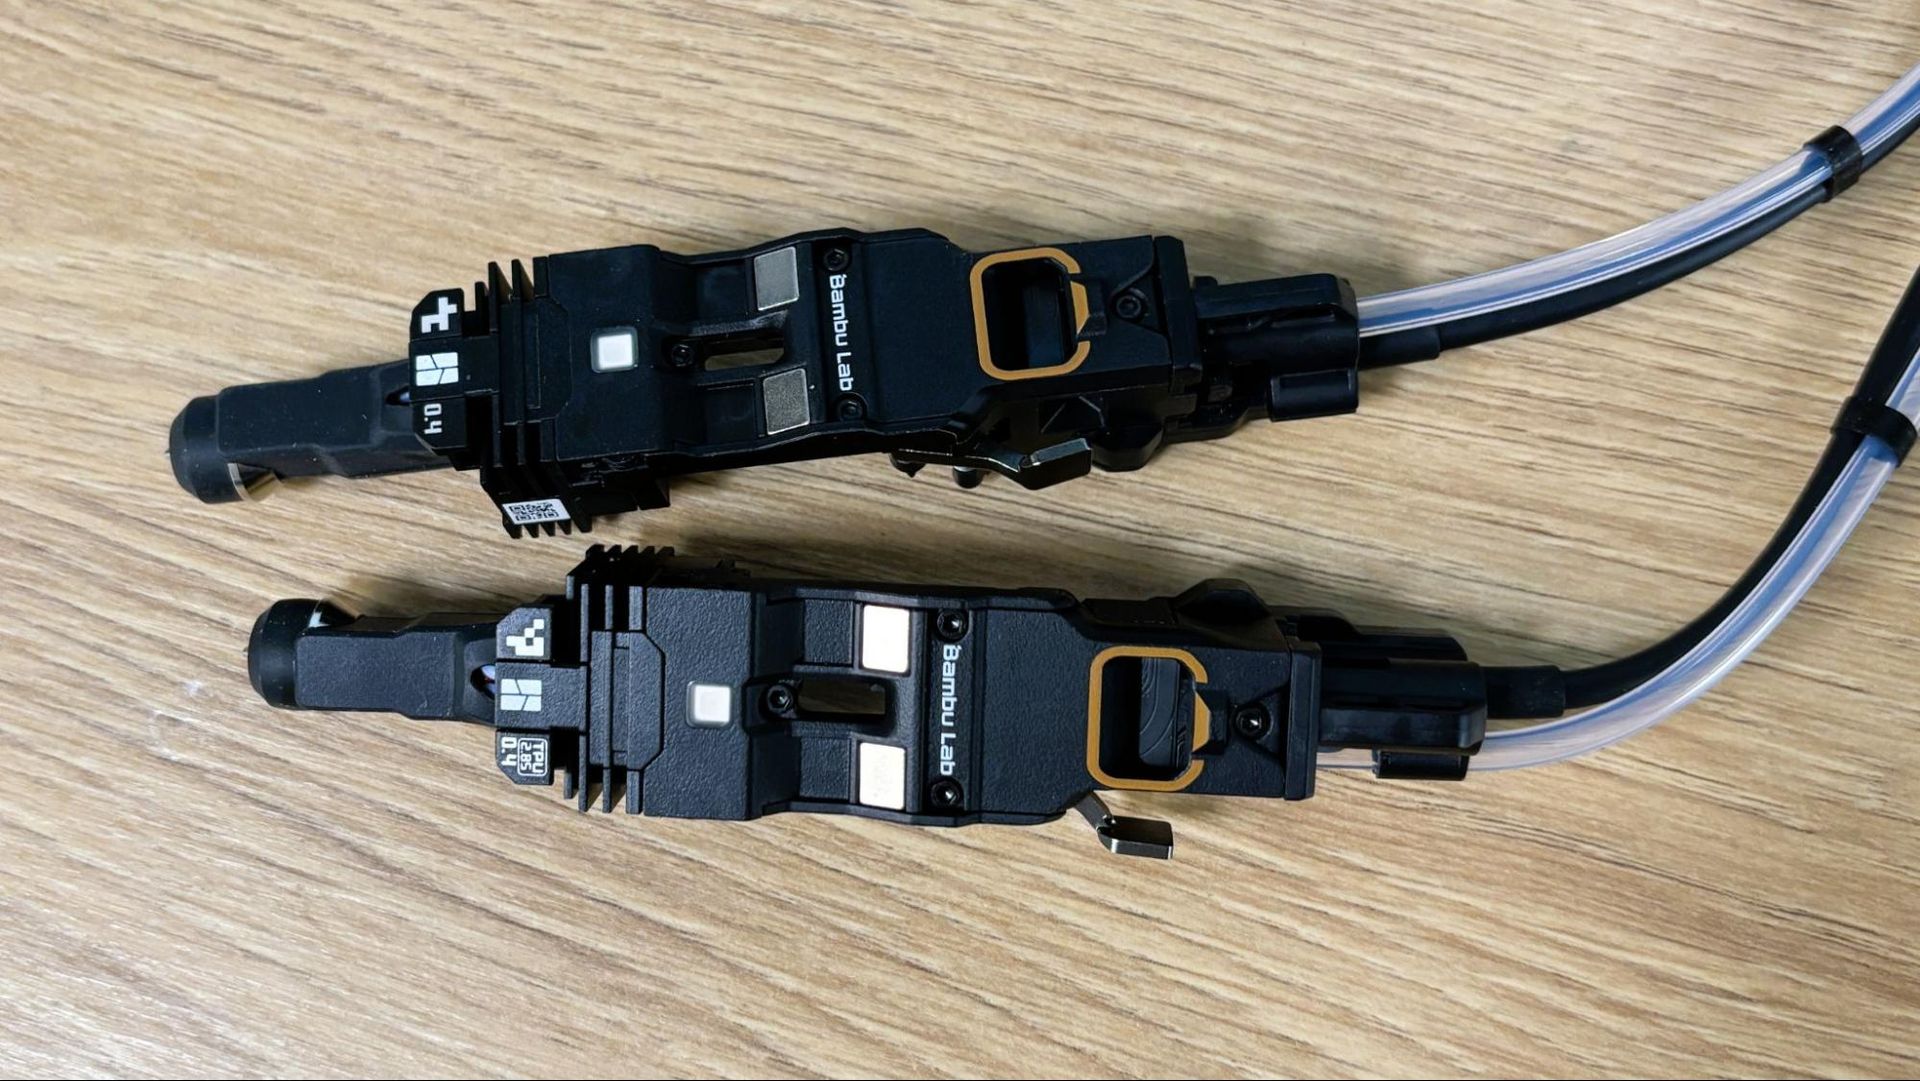
The H3C comes with a surprising “old school” technology: the ability to print 2.85mm filament. This is in response to China’s increasing fascination with 3D-printed shoes made with a wide variety of squishy TPU. Bambu sent along a few spools of their new super soft 75A TPU to show off, and it does make for comfy footwear. Each unit comes with one special 2.85mm tool as a standard feature, though you can buy a “normal” 1.75mm tool for $59 if you’re not into the novelty of phat filament.
You will also be able to add cutting, drawing, embossing, and foil transfer tools to the system. These were not available at the time of review, but we’ve seen these accessories on the H2D and A2L. The 3D printer will NOT come with a laser variant.
Bambu is checking off yet another item from the user wish list: the ability to print with more than one nozzle size. Because this is more of a software upgrade, you’ll also gain the ability to mix nozzles with Bambu’s other dual nozzle systems: the H2D, H2C, and X2D. The H2D will get the ability first, and the other printers will be updated by March.
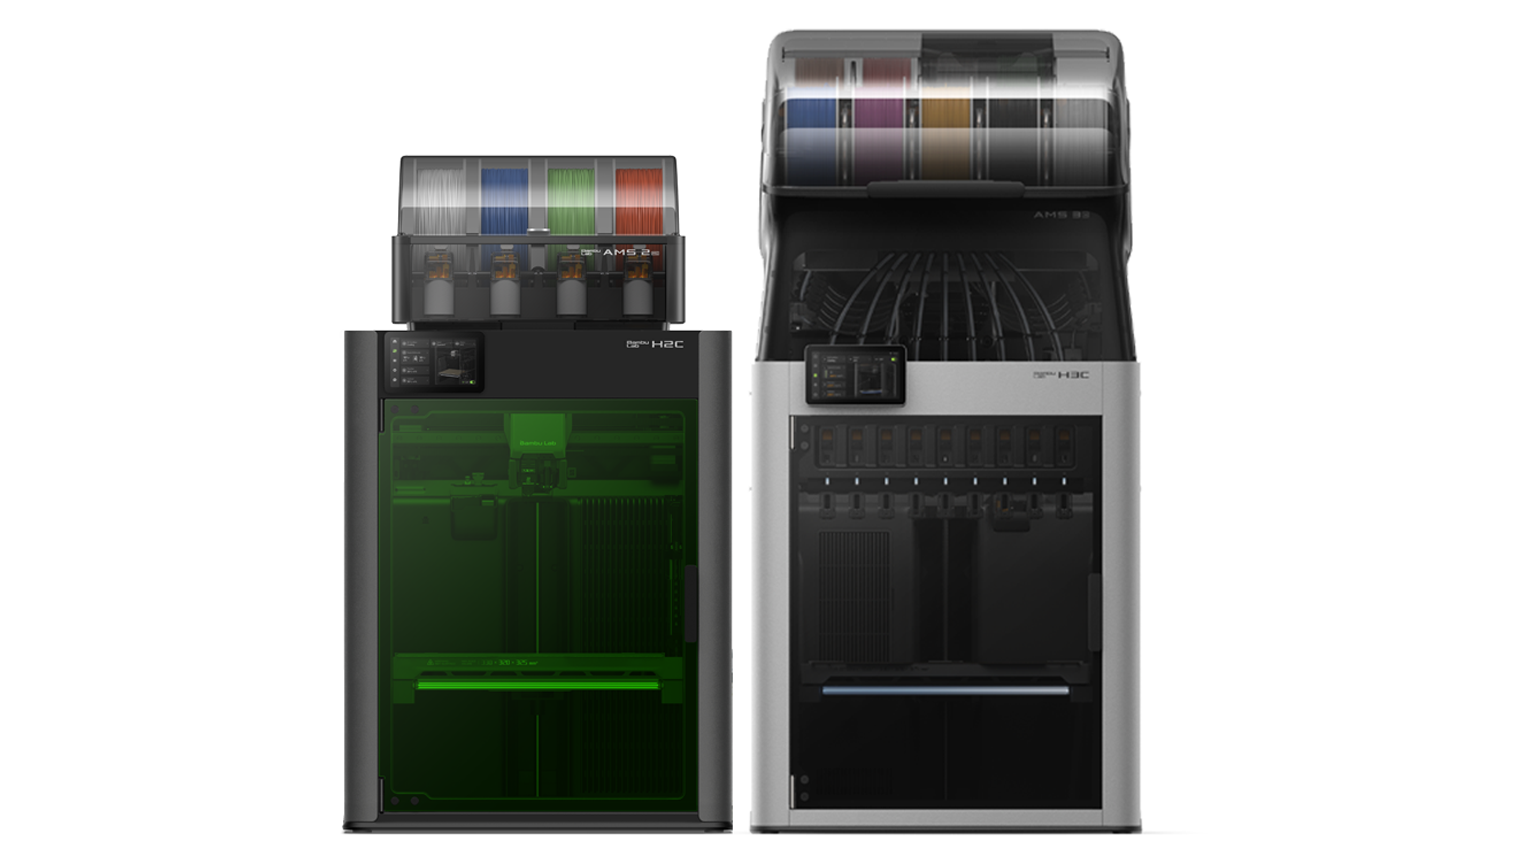
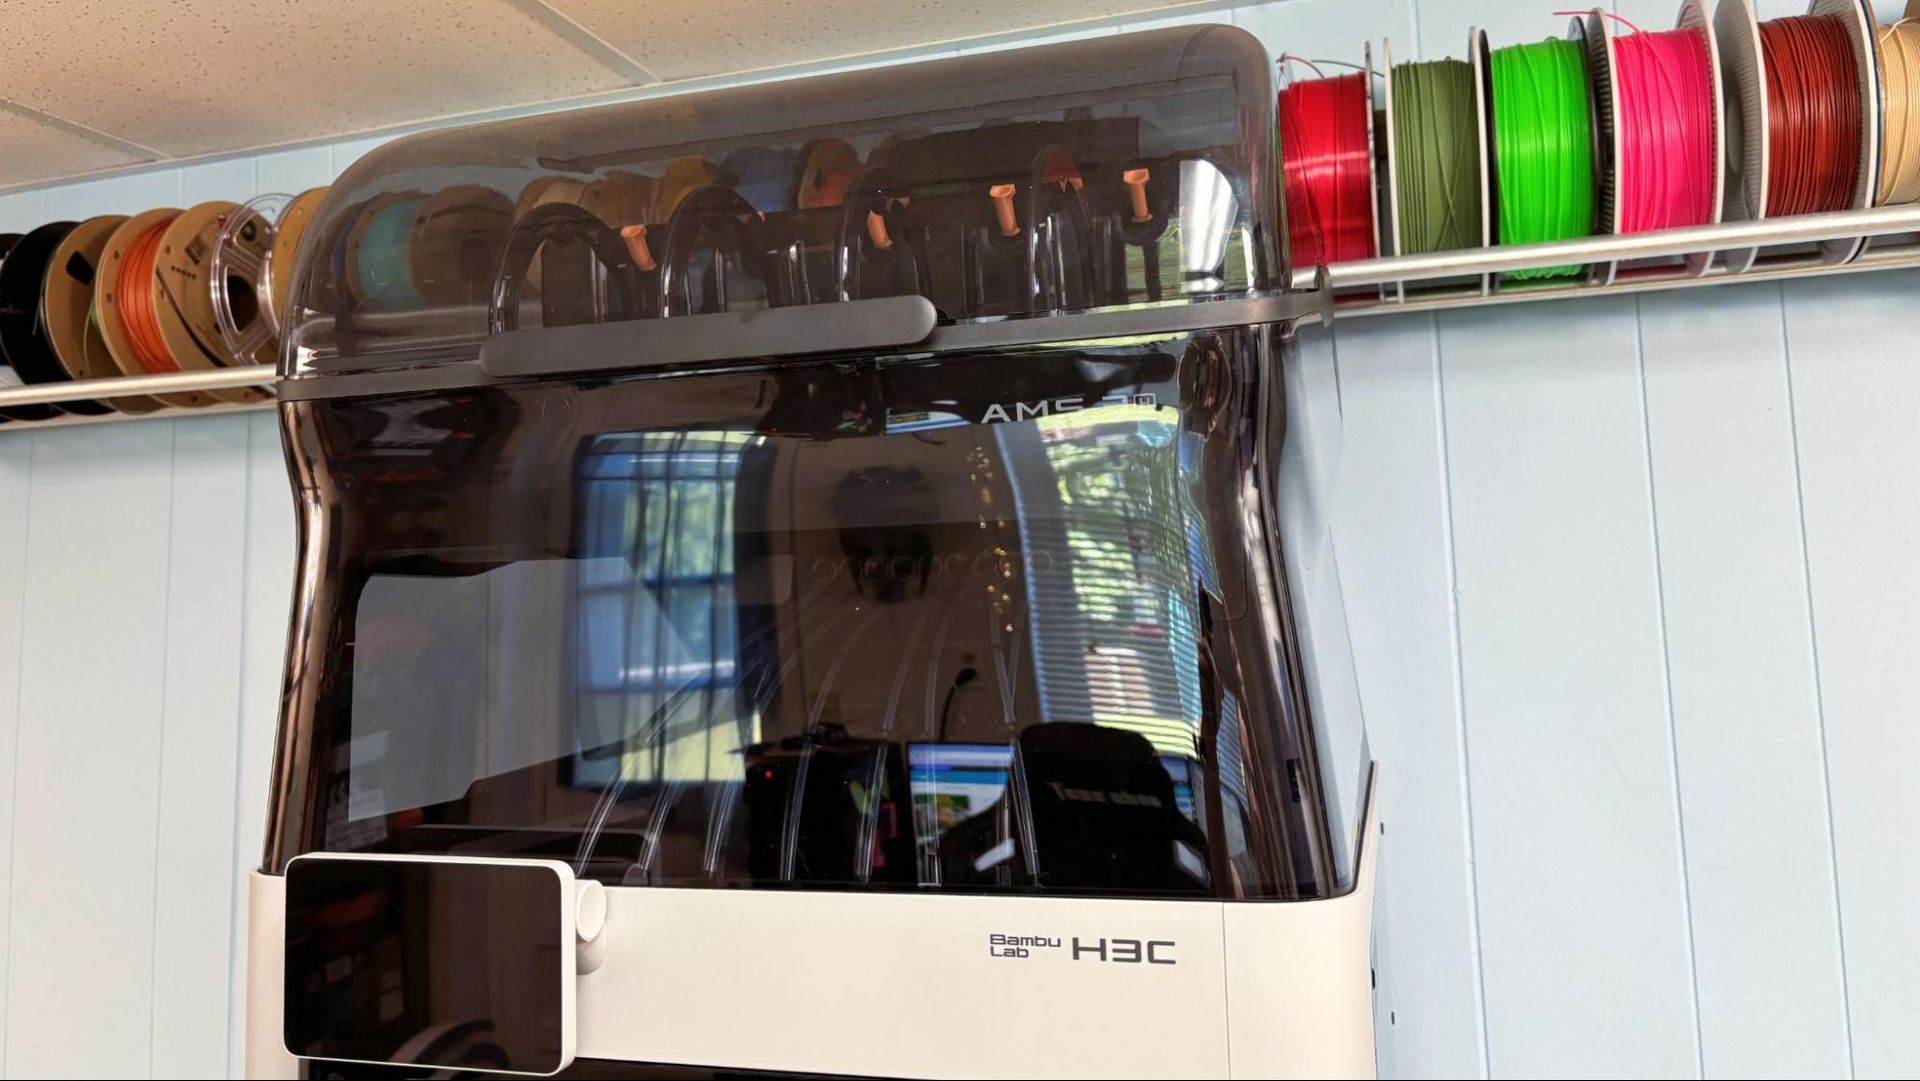
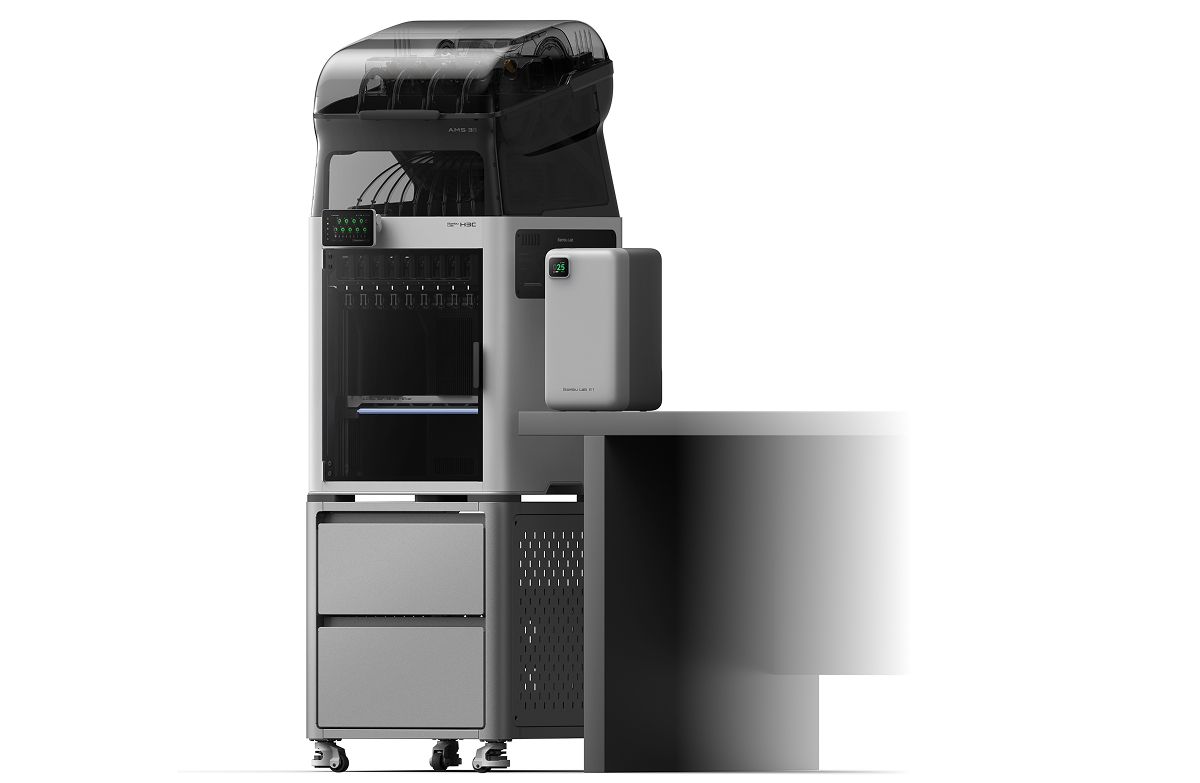
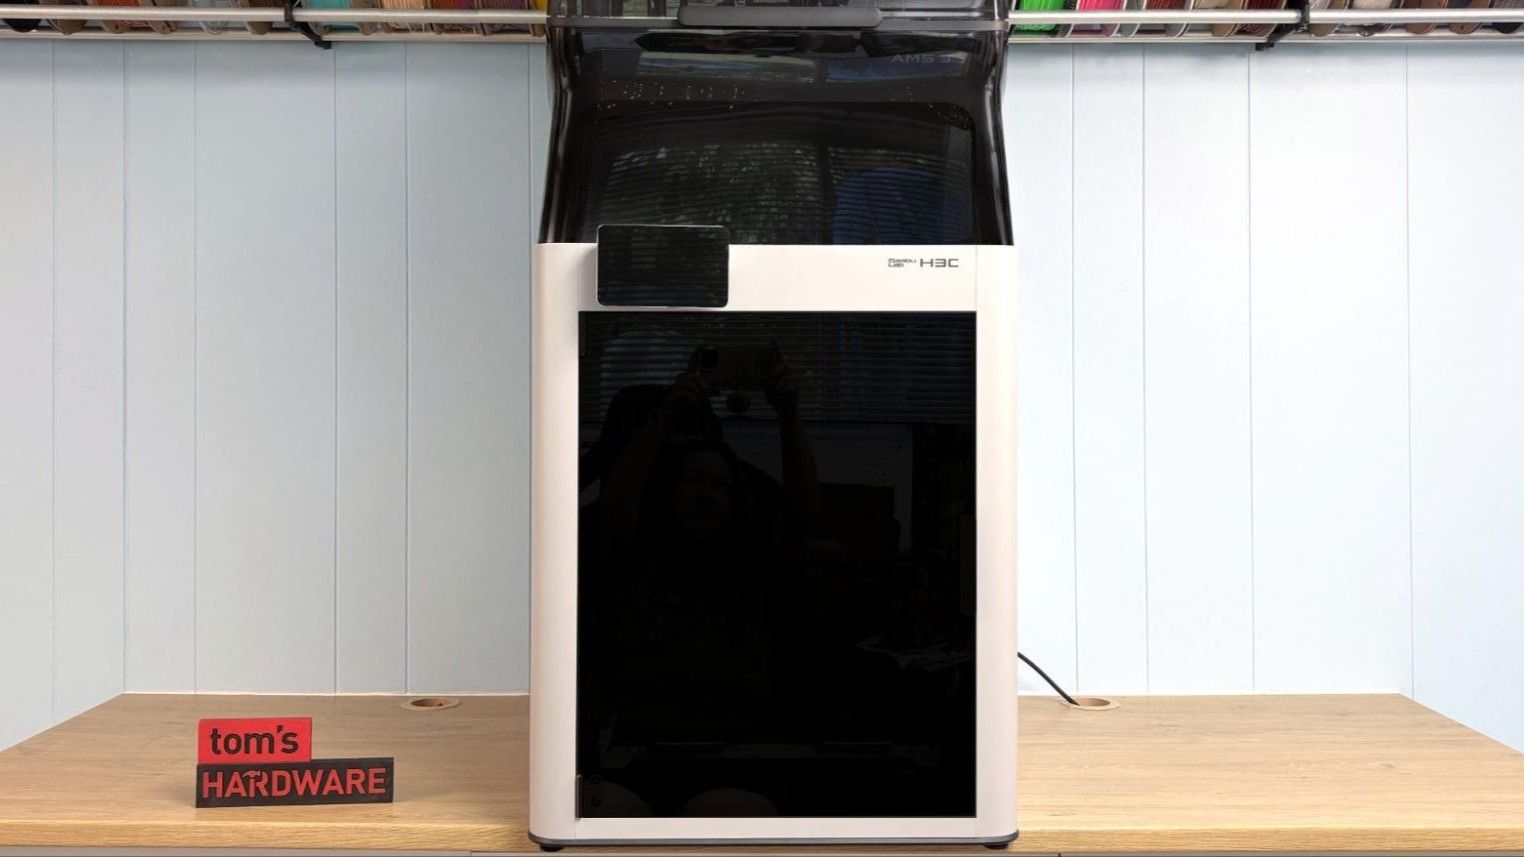
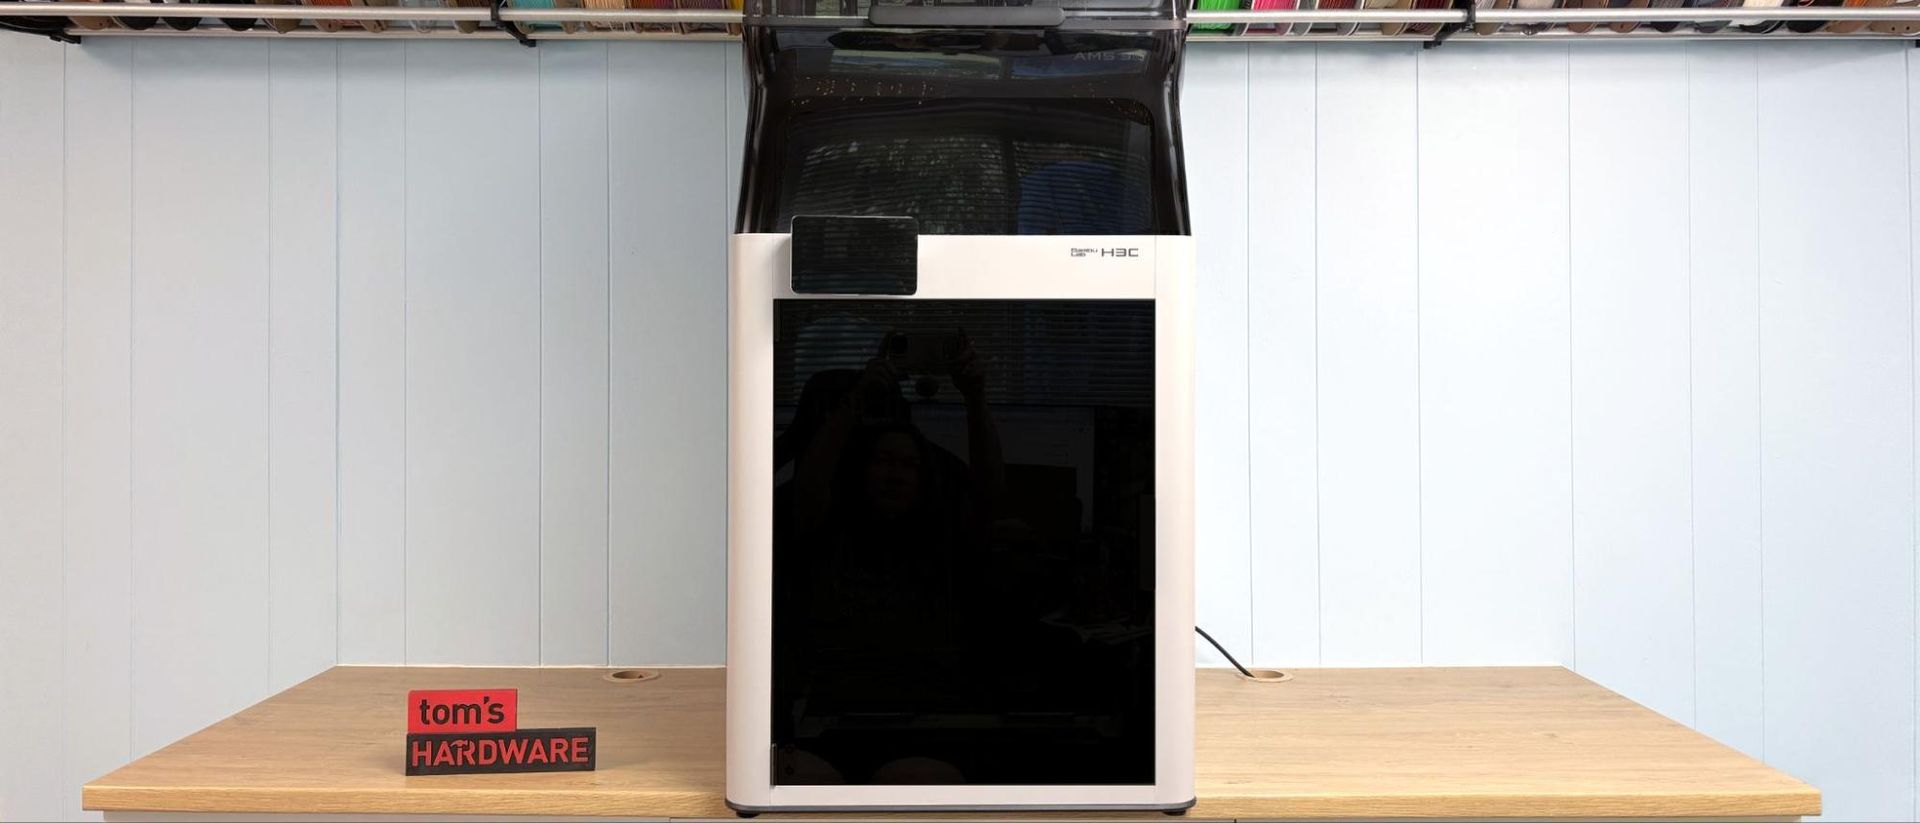
The H3C has a 330 x 320 x 325mm build volume (the same as the H2C) and a massive “AMS” type module perched atop the main unit that holds nine spools. This gives it a somewhat towering mushroom shape that’s over three feet tall. It did not fit on my studio counter, which is a standard-sized IKEA kitchen countertop with a filament rack three feet off the surface. When we parked it on my industrial-grade shelving unit next to the H2D, even my 6’4” husband needed a step stool to load filament. Bambu was prepared for this problem and created a special rolling cart for the machine to make it more accessible. This is the first time the company has offered custom furniture for one of their printers and is an optional purchase that I highly recommend.
H2C and H3C, side by side.(Image credit: Bambu Lab)
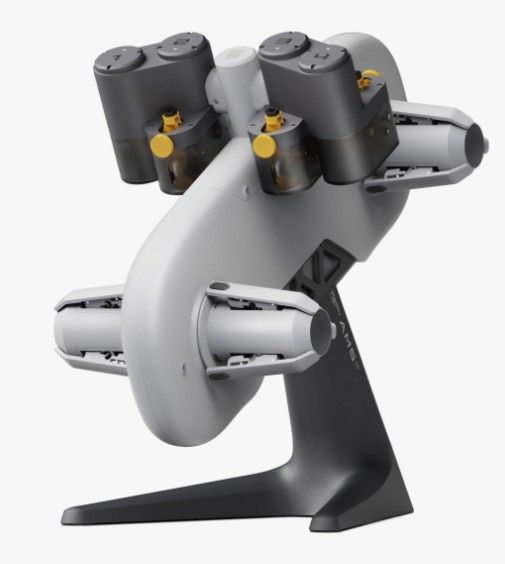
All nine tools are integrated into the bottom of the AMS 3H, which means the H3C only comes as a nine-tool 3D printer. There is no such thing as a single-color H3C. If nine colors aren’t enough for you, the printer can be hooked up to as many as four “normal” AMS units with the help of an optional buffer. Unfortunately, all outside AMS units need to run through the 5th tool slot, so you will lose the purge-free perk of the H3C.
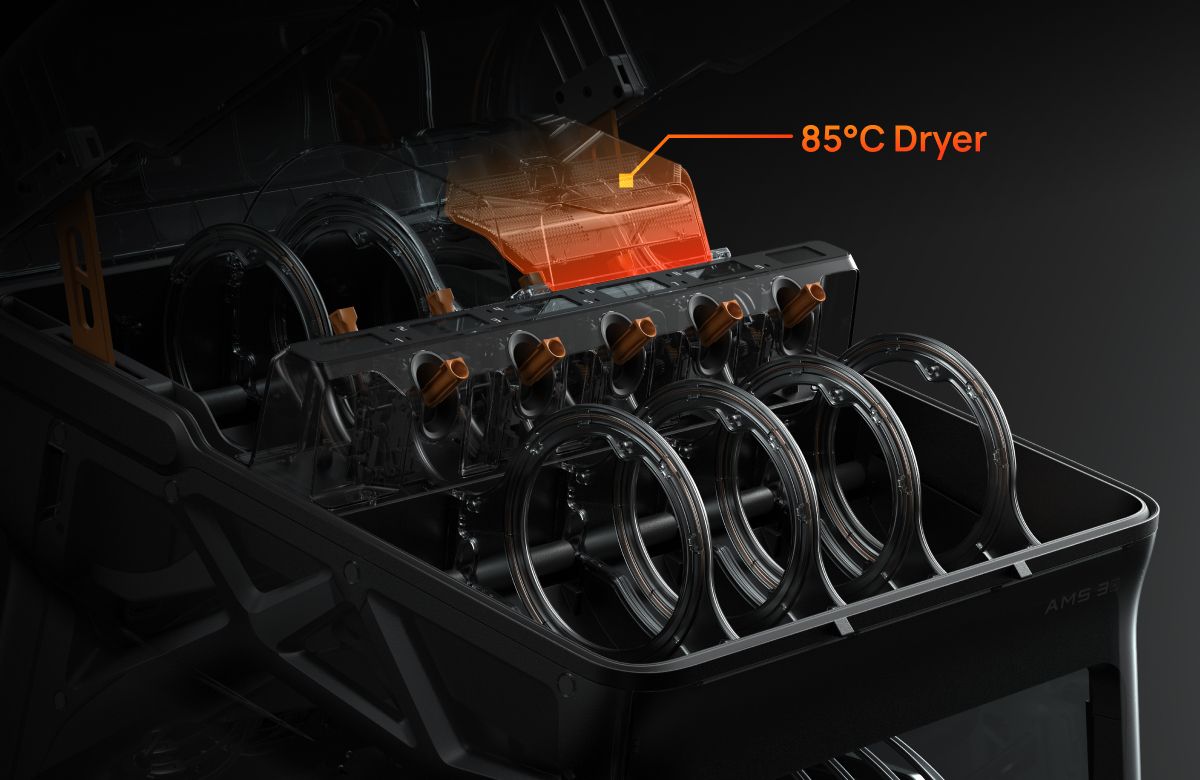
The AMS 3H does not have motorized rollers, as retraction is unneeded on a tool changer. Seven of the slots have a TPU bypass, something we first saw on the single spool AMS HT. Two of the slots are nestled within an interior chamber for drying at up to 85°C. Though you can only dry two spools in the AMS 3H, you can run the dryer while printing, as it has its own power supply. The sealed dryer does not “leak” enough heat to dry the rest of the chamber…we checked. But that also means you don’t have to worry about the dryer melting a spool of PLA left in a nearby slot.
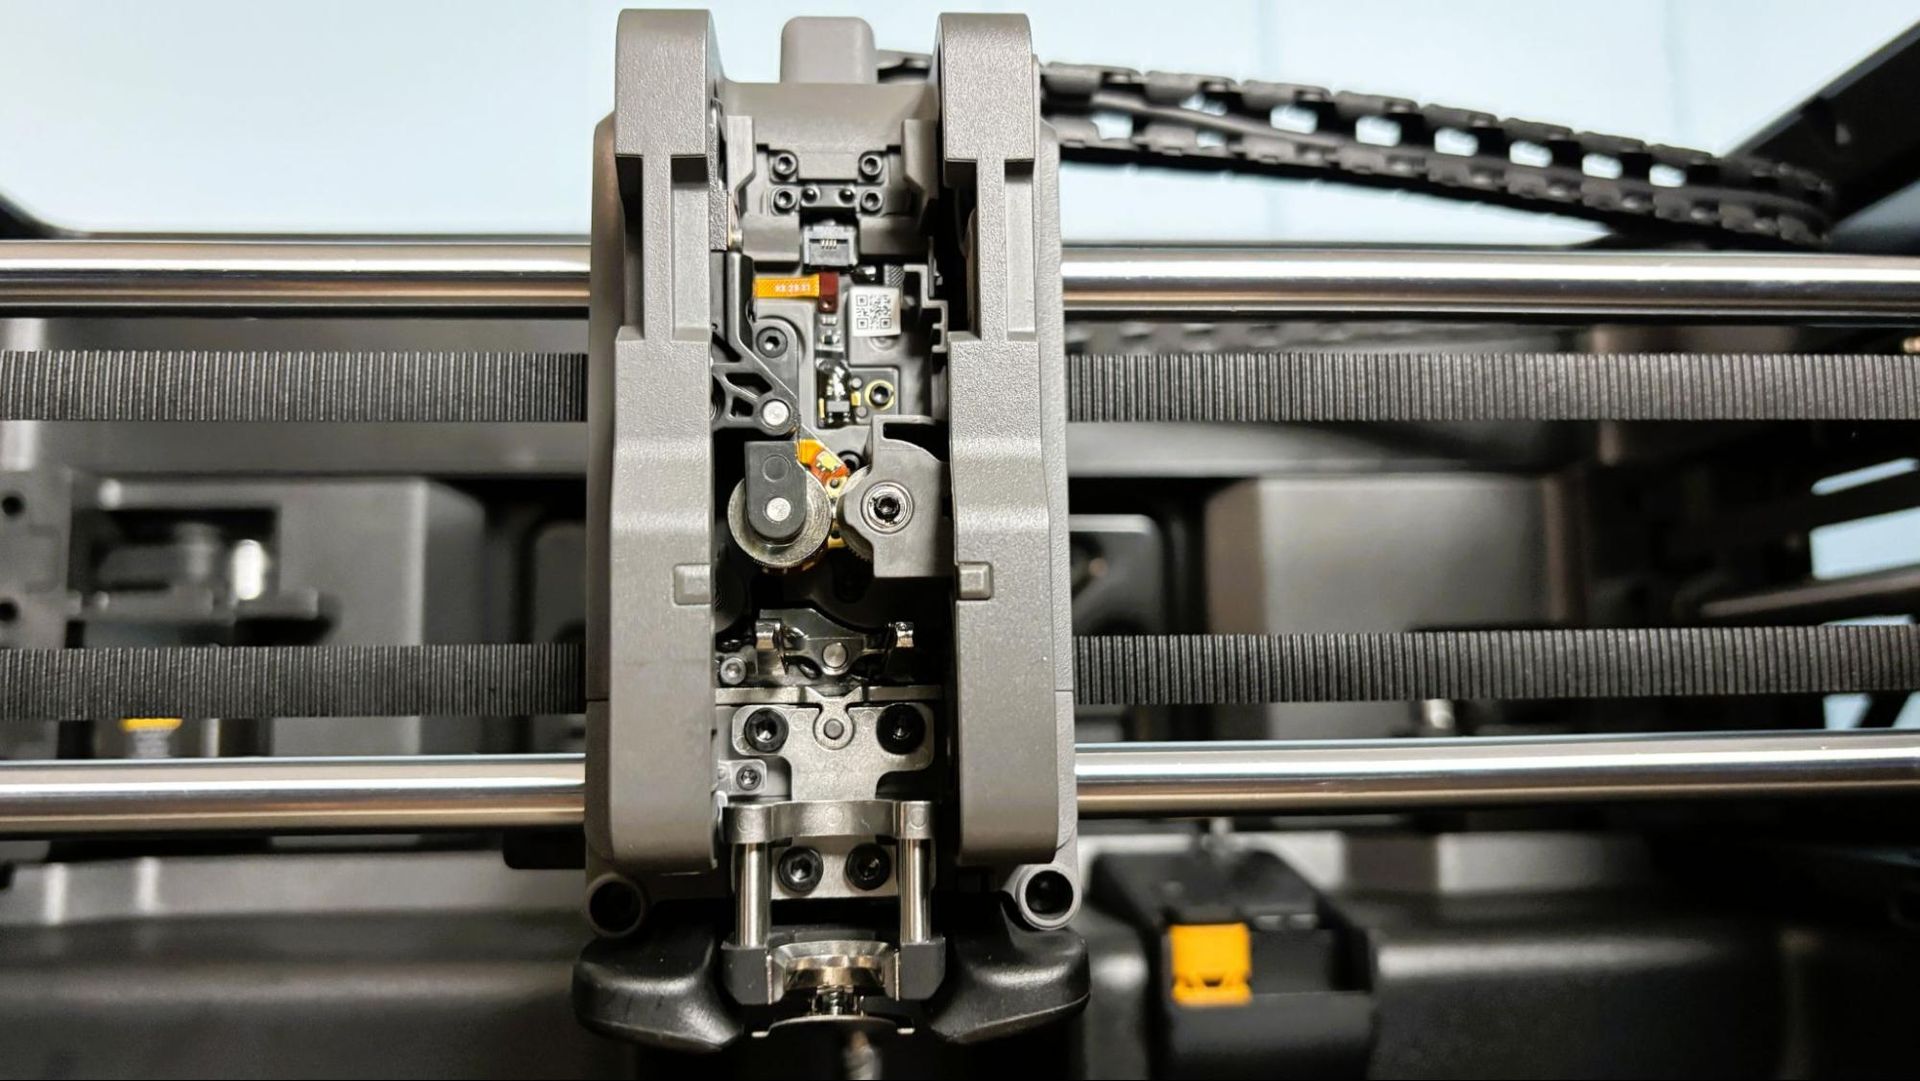
The FlexFeed extruder mounted on the toolhead is amazing. It can self-adjust to handle normal 1.75mm PLA or expand to push 2.85mm TPU quickly and without issue. The Bambu Lab H3C comes standard with eight .4mm nozzles for 1.75mm filament and one .4mm nozzle for 2.85mm filament. The nozzles are held in place with three screws and are pretty easy to swap out. You do need an entirely separate tool (with larger openings) for the 2.85mm filament. Because the H3C can print with multiple nozzle sizes, you could leave one or more tools dedicated to .2, .6, or .8 nozzle sizes if that fits your workflow.
For example, slots 6 and 8 are located inside the dryer and have a TPU bypass. You could dedicate a .6mm nozzle to these tools to better handle TPU, something like PA CF, which both benefit from toasty dry filament and an extra-wide nozzle. All nozzles for the H3C are hardened steel (HRC 55+) by default.
My H3C did have some pre-launch issues and is running Beta firmware that was updated several times during the review. The printer developed an annoying clicking sound coming from the left-side stepper motor, and one of the tools has a tendency to tangle and catch on the other Bowden tubes, causing it to dismount unexpectedly – and annoyingly – during long multicolor prints. I printed a few TPU spacers to try and solve this problem without much success as of yet.
The Bambu Lab H3C is launching with a retail price starting at $2,499 for all nine tools (eight standard 1.75mm and one 2.85mm). This is only $100 more than the launch price of the H2C. Additional tools and nozzle sizes will be available, though we do not have all the pricing at this time. A bundle that includes the Bambu Station (rolling cart) starts at $2,799. This makes the machine a bit on the spendy side, but for a helmet-class, honest-to-goodness tool changer with Bambu Lab’s ease of use, this 3D printer has earned its place on our Best 3D Printer of 2026 list.
Specifications: Bambu Lab H3C
Build Volume
330 x 320 x 325 mm (12.99 x 12.59 x 12.79 inches)
Material
PLA/TPU/ABS/ASA/PA/PC/PET/PPS/Fiber reinforced (up to 350 degrees)
The Bambu Lab H3C comes with a toolkit and the cables needed to assemble your 3D printer, as well as a few spare parts. The printer is preloaded with files, including a scraper that you can build yourself with the included parts. There’s also a quick start guide for both the base unit and the AMS 3H.
For the review, Bambu Lab provided spare printer tools for both 1.75mm and 2.85mm filaments, as well as several spools of PLA Palette and 2.85mm TPU 75A. We also received a Bambu Station for the review.
Design of the Bambu Lab H3C
(Image credit: Tom's Hardware)
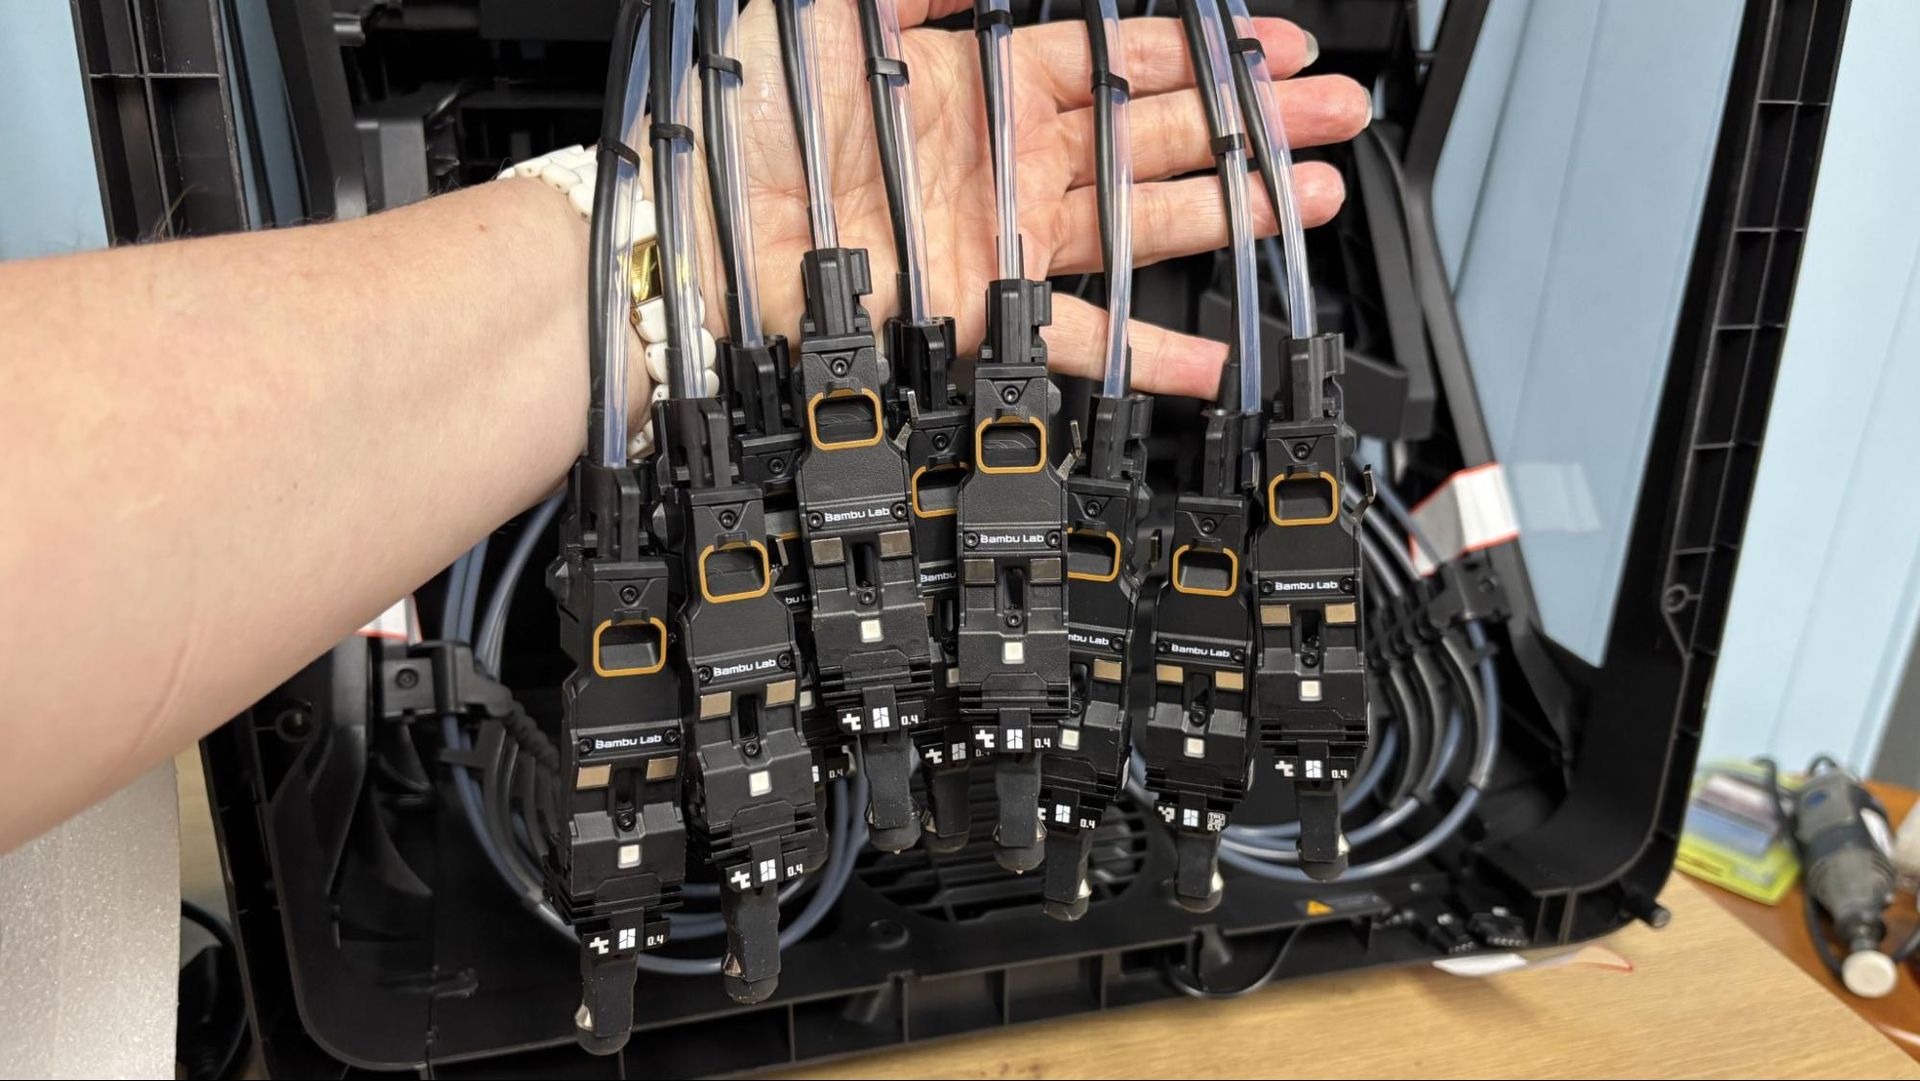
The H3C is an incredible piece of hardware. The Swaptek system has nine tools, each with its own filament path, heater, and hardened steel nozzle. The FlexFeed extruder has cooling and everything else. Each nozzle stays loaded and is preheated for lightning-fast filament swaps. I clocked it at six seconds from printing one color to printing the next.
(Image credit: Tom's Hardware)
The tools and nozzles come in both 1.75 mm and 2.85 mm filament sizes. Each tool has a nozzle attached by three screws, which can be swapped with different sizes. The H3C ships with one 2.85mm tool, but you have the option to purchase more tools if you want to customize your configuration. Though not ready at the time of this review, Bambu Lab will be offering tools for cutting, drawing, debossing, and foil transfer at a later date.
(Image credit: Tom's Hardware)
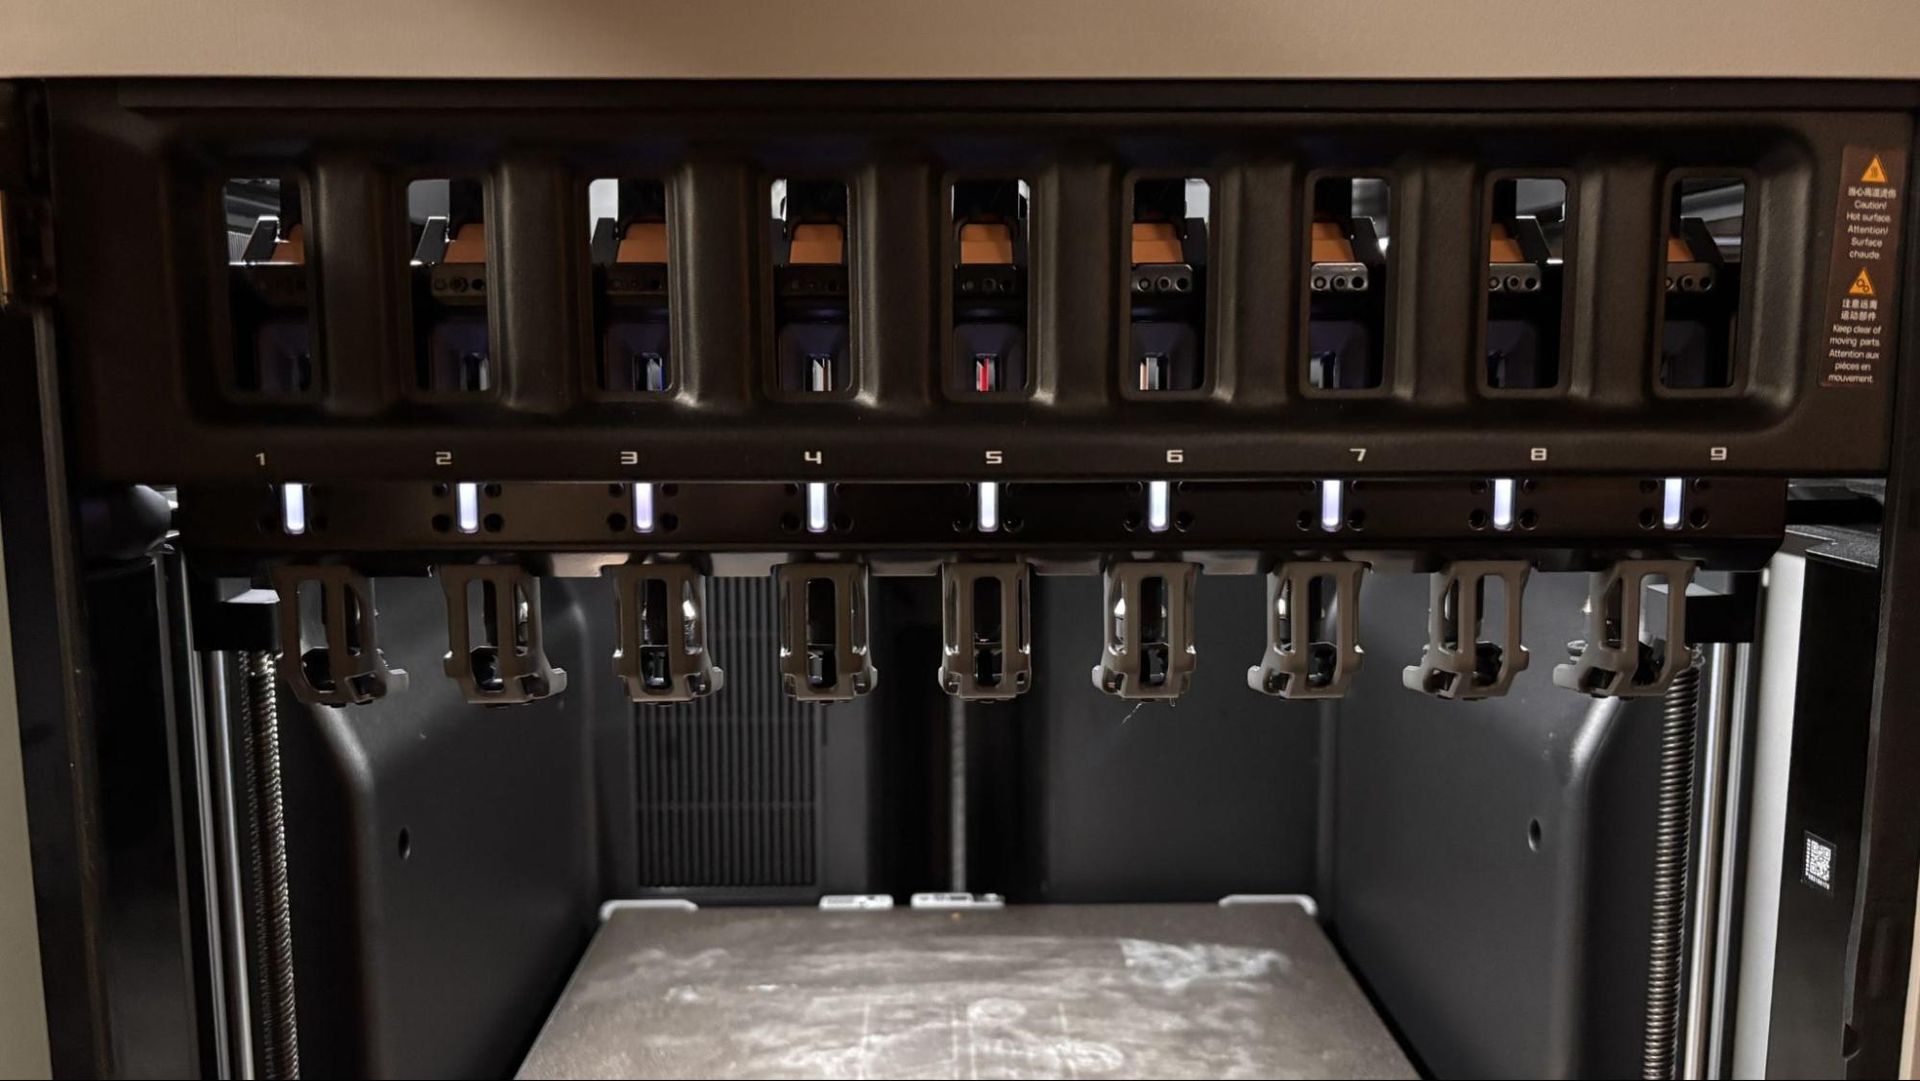
The tools dock on a front-mounted rack that retracts, allowing the build plate to be viewed from the front of the printer. This is a not-so-subtle jab at Prusa’s INDX, which has tools mounted to a fixed rack that one must peer through to see the first layer printing. It adds a layer of unneeded complexity, but it also looks pretty cool in action.
The photo below shows all nine tools lowered, using a maintenance setting. Normally, only one tool lowers at a time while in use.
(Image credit: Tom's Hardware)
The AMS 3H
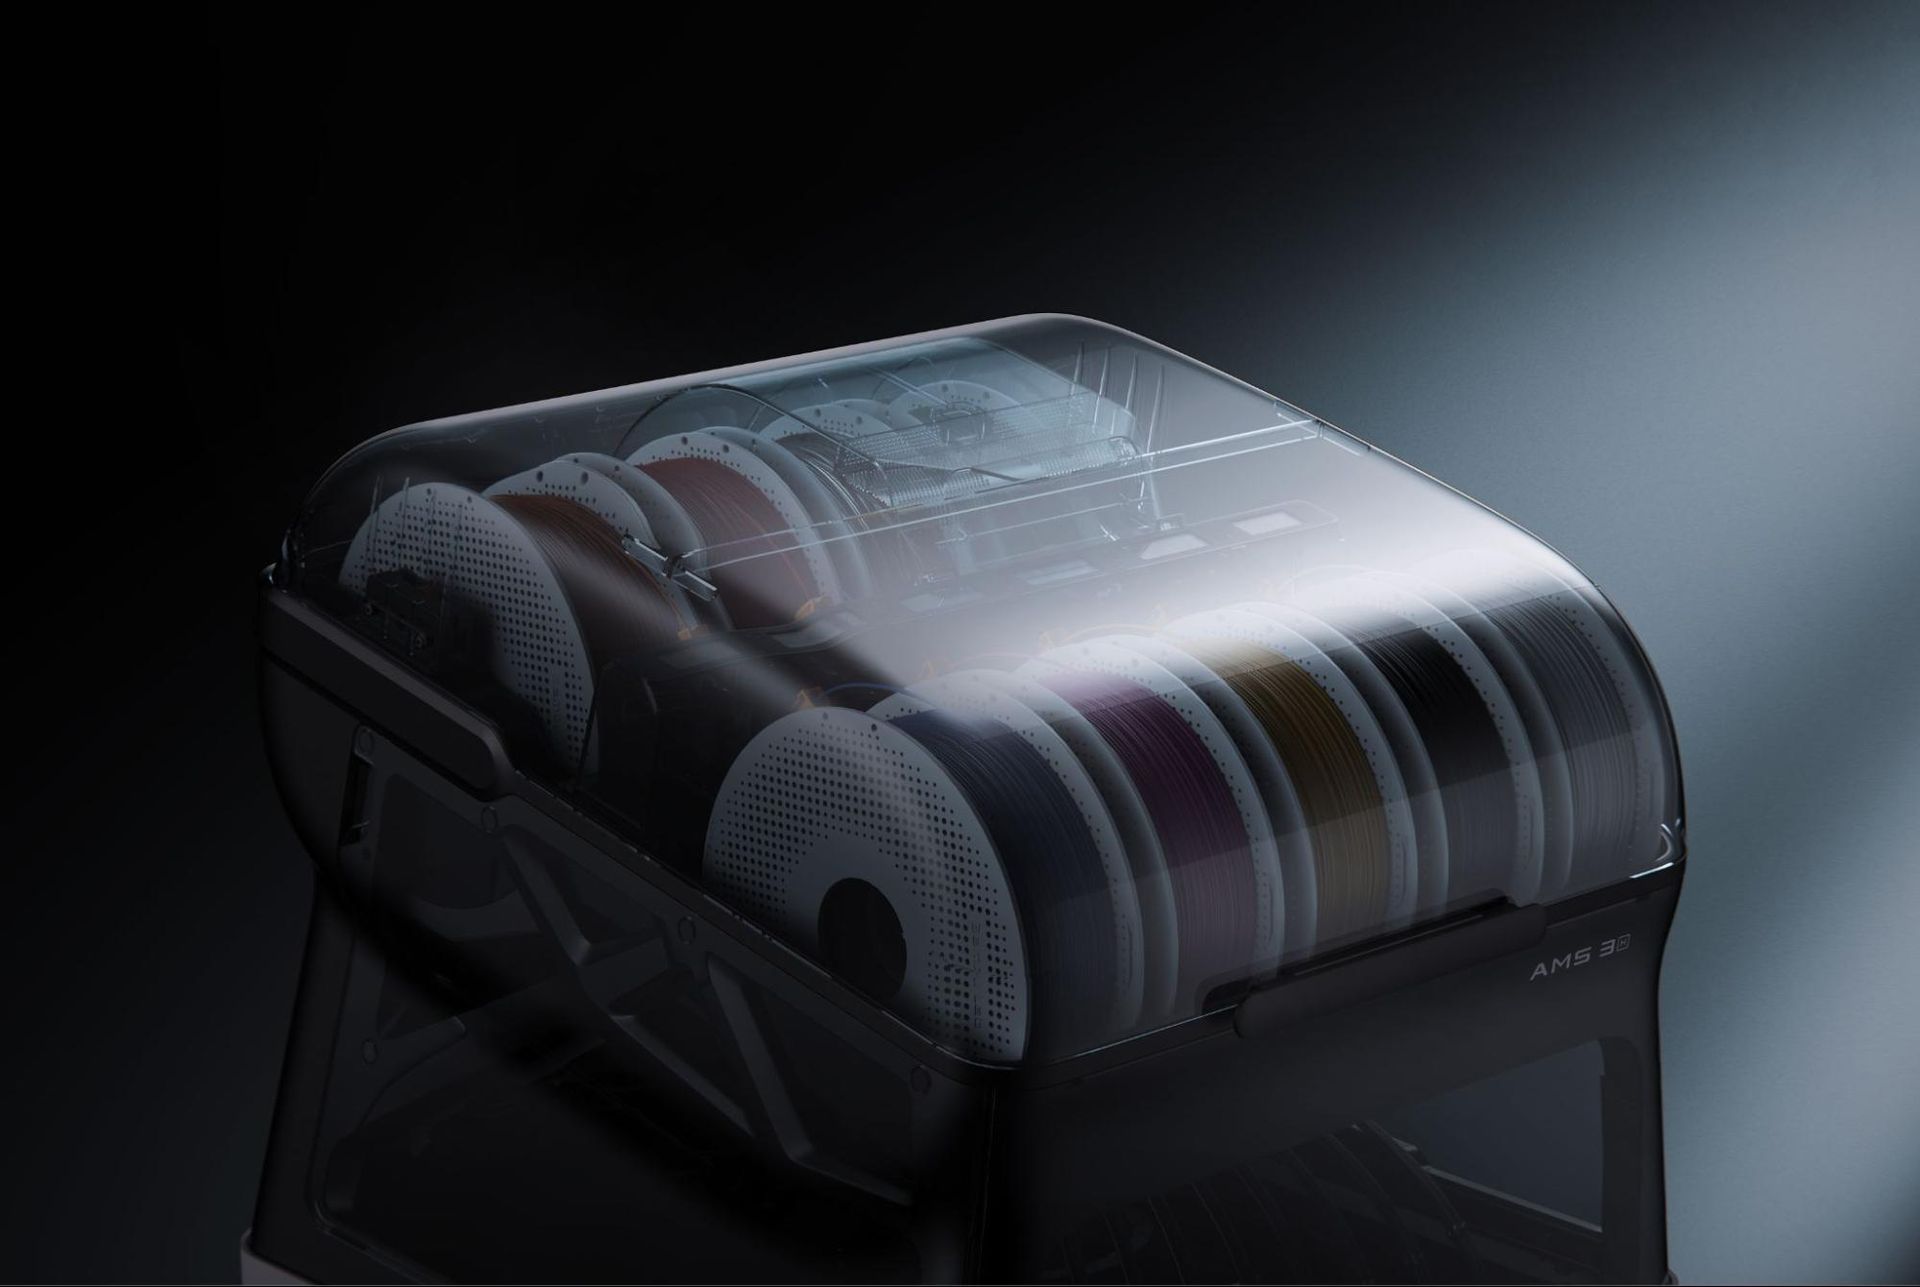
Unlike previous Bambu Lab 3D printers, the AMS is required, not optional. Instead of a box that can be parked here or there, the AMS 3H is designed to screw into the top of the H3C. The plastic sides have a weird organic shape, but are actually quite practical – hidden side panels pop out for maintenance, allowing you to reach into the machine. The massive lid can be propped open, which is good because it’s most likely going to be over your head.
The tools ship attached to the bottom of the AMS. Though the H3C has the same build volume, and the same length and width as the H2 line, it is doubtful that an H2 can be upgraded to an H3C by simply plopping an AMS 3H on top of an older machine.
(Image credit: Tom's Hardware)
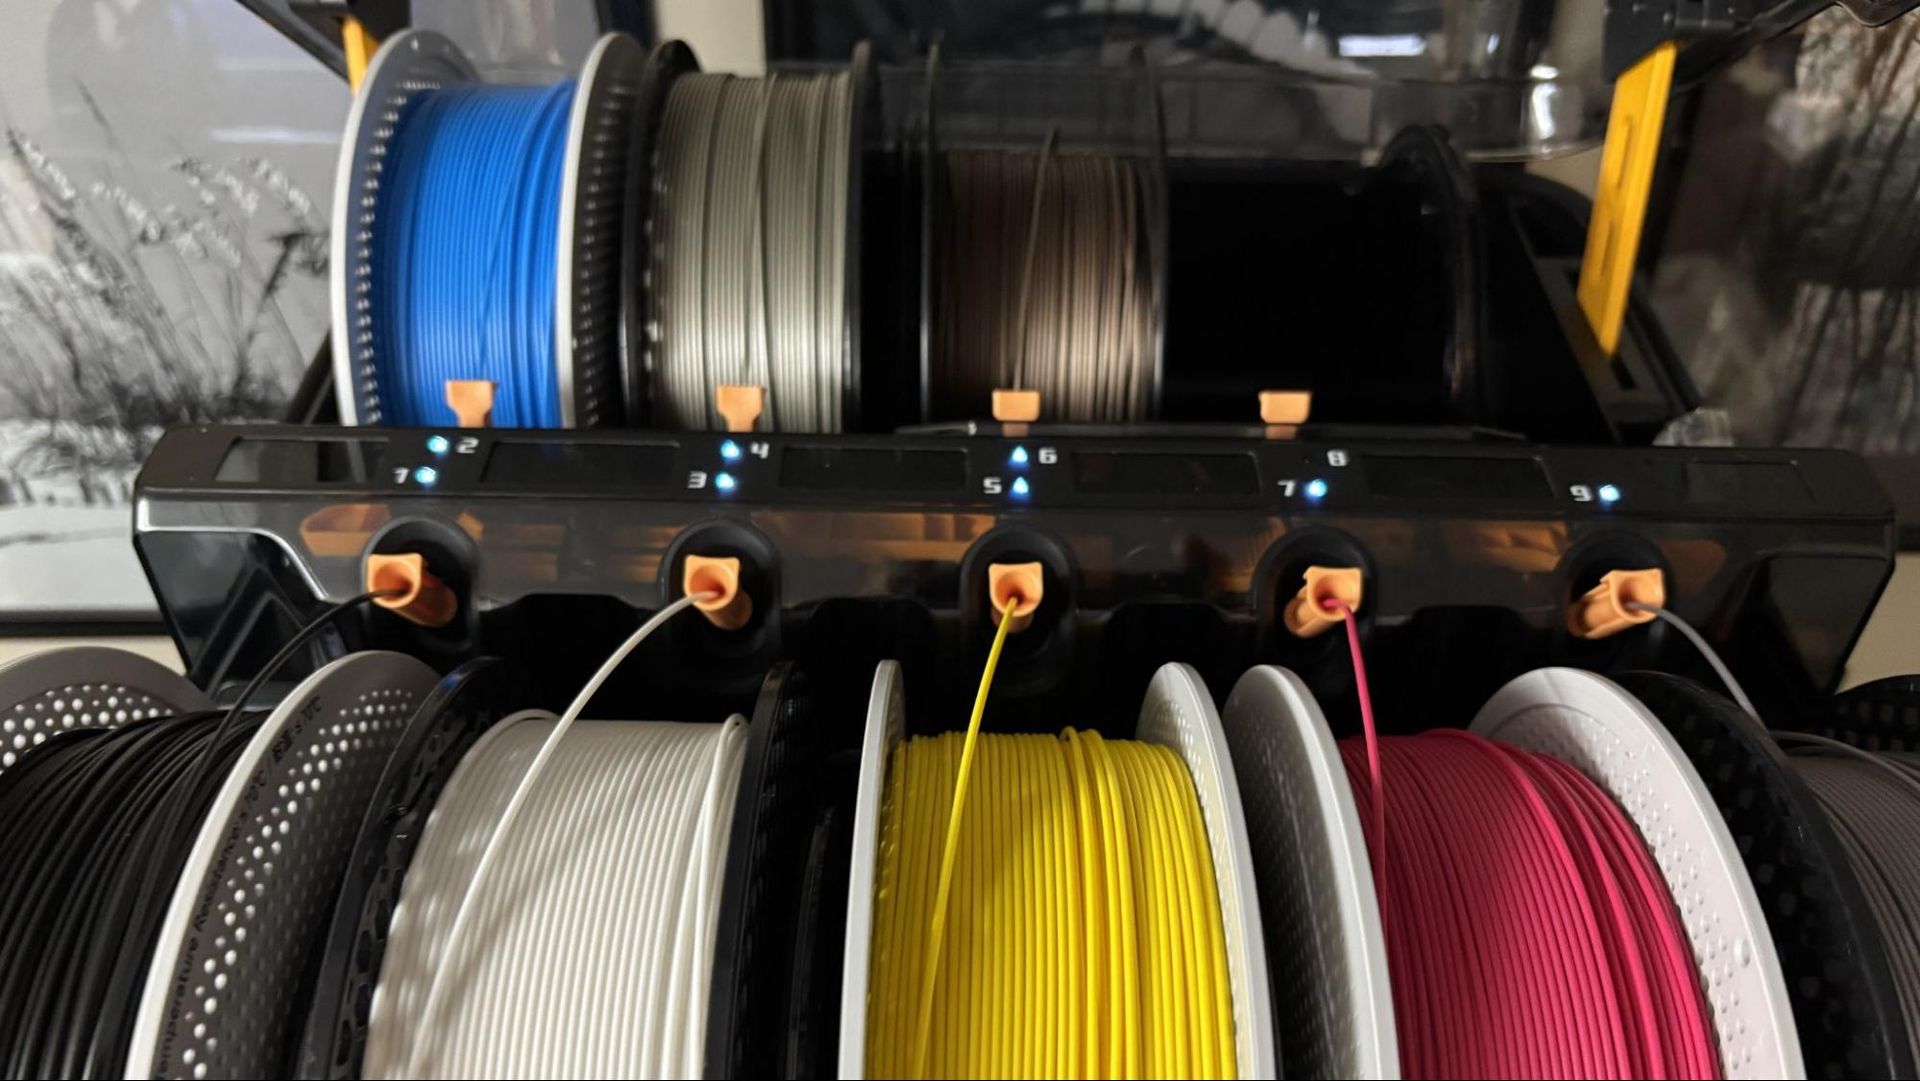
The AMS 3H has a separate chamber with a magnetically attached lid covering slots 6 and 8, which can dry filament at up to 85°C. All filament slots except 2 and 4 can bypass the AMS feeders through a hole in the bottom to directly feed TPU to the tools. The spool slots are numbered in a zigzag method, with 2,4,6 and 8 on the back row and 1, 3, 5, 7, and 9 on the front. All the filament feeders are in the middle of the two rows, with the even-numbered spools feeding forward like always, and the odd spools feeding backward. It can get a bit complicated if you’re not using Bambu-branded filament with RFID tags. Being on the short side, I have to use a step stool to see the feeders.
Bambu LabBambu Lab
The body of the Bambu Lab H3C looks similar to the rest of the H series except for the toolhead. The Flexfeed extruder can adjust automatically to push multiple filament widths and does well with some of the softest TPU I’ve tried.
The H3C has active chamber heating, up to 65°C, goes to 350°C at the hot end and 120°C on the bed, which makes printing PPA and PPS, nylons, ABS, and ASA easy. For the smellier filaments, it has active carbon and HEPA filtration.
The ventilation is sufficient to run lower-temperature filaments like PLA with the printer’s door closed.
(Image credit: Tom's Hardware)
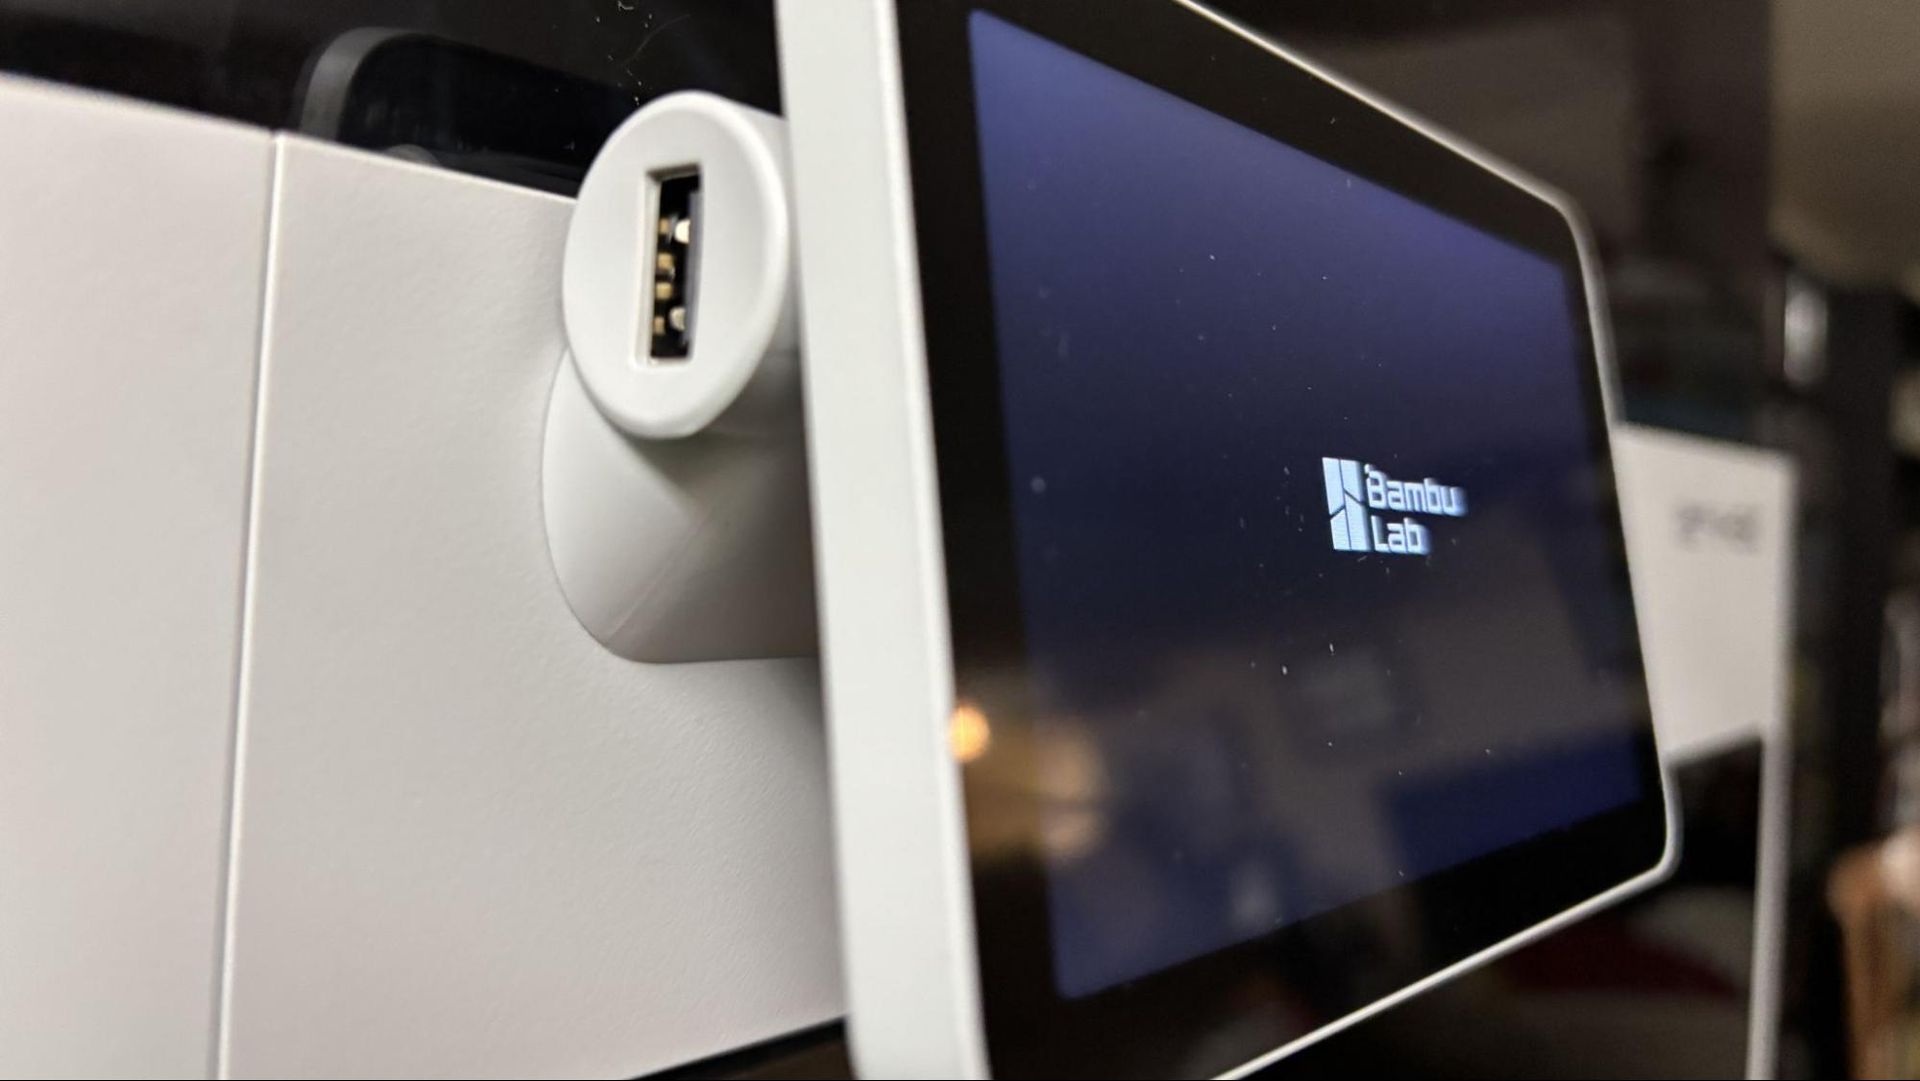
The printer has an excellent camera that is used for AI detection on prints and can be monitored from the Bambu Handy app as well as the device page of Bambu Slicer. The camera can also capture time-lapses of prints when a USB stick is inserted in the slot behind the touch screen.
The Bambu Lab H3C has a footprint similar to the other H series printers but does require space on both sides to access the side panels of the AMS 3H. With the top-mounted AMS and the space required for the tool wiring and Bowden tubes, the Bambu Lab H3C requires a total of 1306 mm in height (over four feet) to operate comfortably. When resting on a standard-height counter or the 3ft tall racks we normally use for our printers, I needed a small ladder to reach the rear spools in the AMS 3H. Even my husband, who is 6’4,” had to stretch to reach the back. Shortly after I had the printer set up, I received the Bambu Station, which, at 23.5 inches tall on its wheels, is a great solution for keeping this printer in reach. If you don’t have a shelf or table the height of a coffee table, I recommend getting one.
Bambu is also introducing a companion E1 Air Purifier that syncs with the H3C and activates when you start a print job. We did not receive an E1 to test, and we’re not sure if the air cleaner will be offered as a standalone product. It is part of the premium $3,049 combo that includes the printer, rolling cart, and several spools of filament.
Bambu Lab promotional photo showing the rolling cart and air purifier (on a desk). (Image credit: Bambu Lab)
Assembling the Bambu Lab H3C
(Image credit: Tom's Hardware)
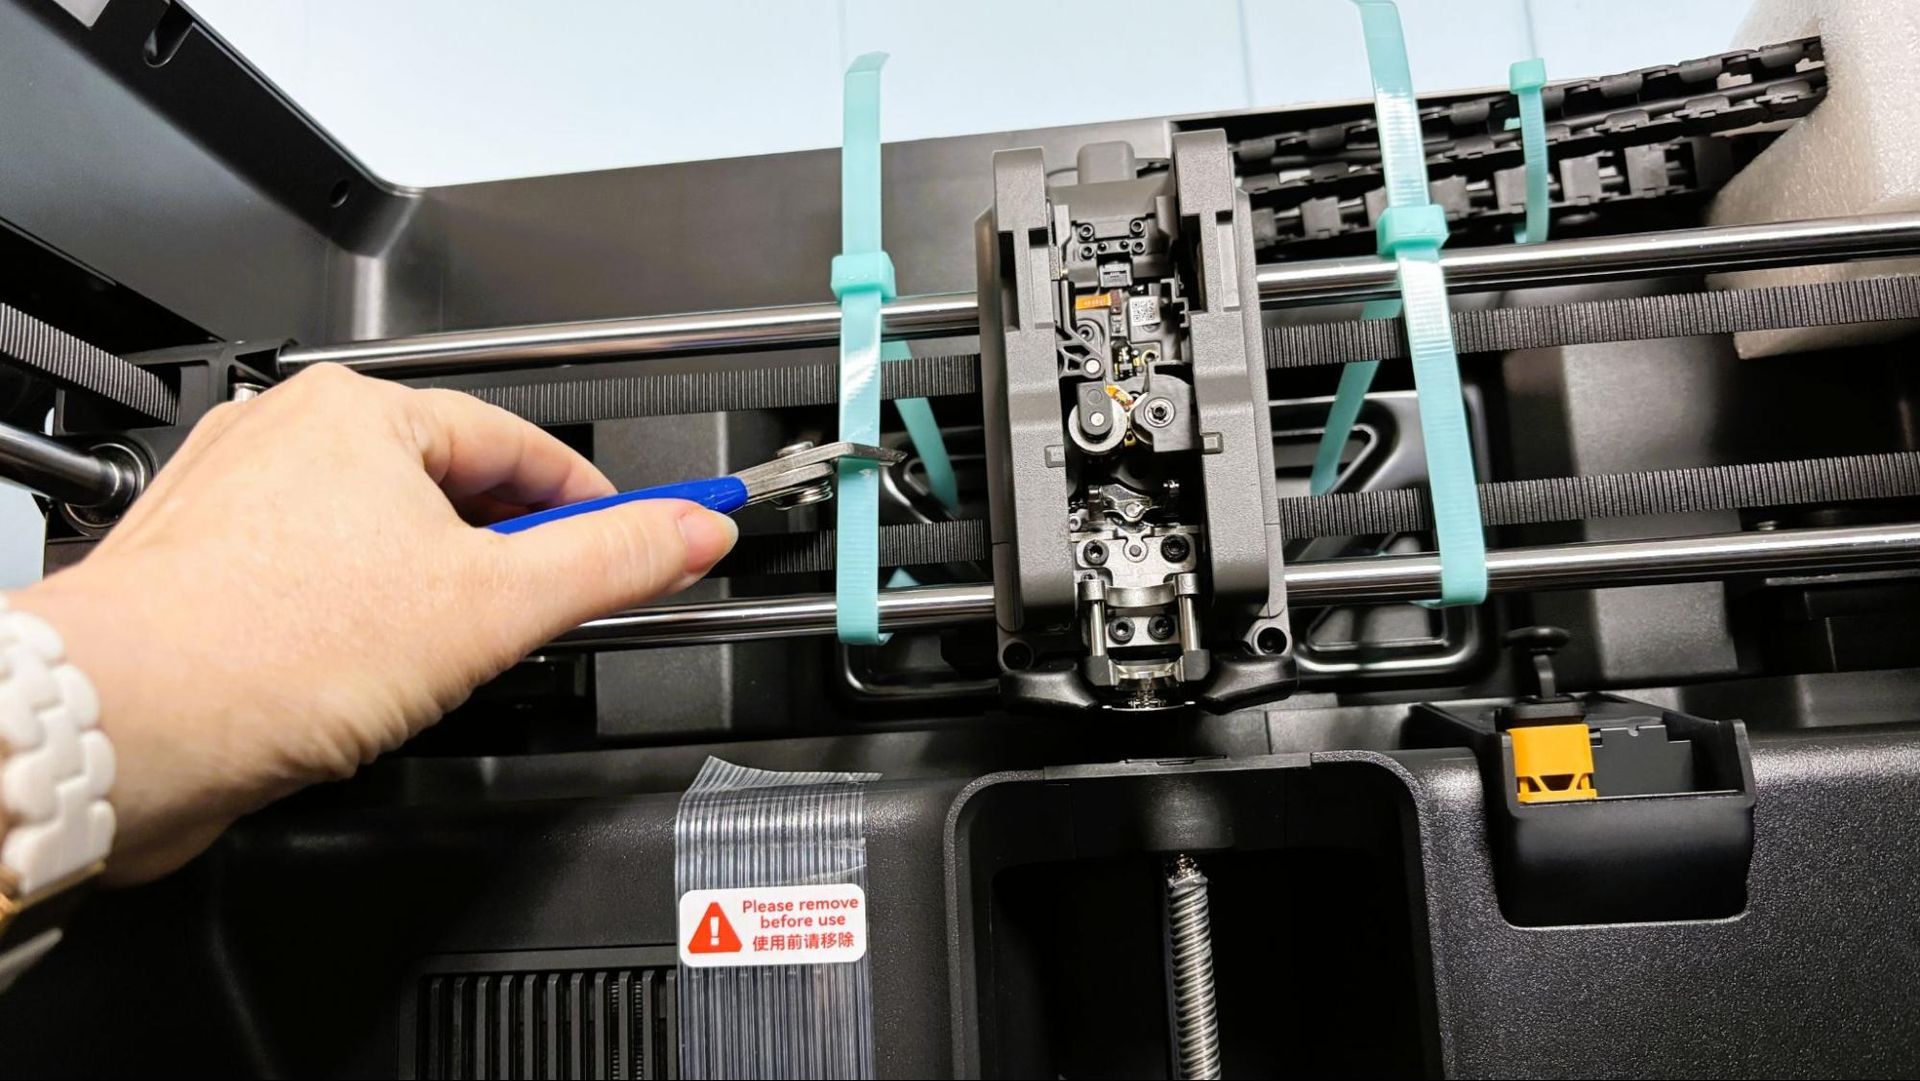
The Bambu Lab H3C arrives in two large assemblies: the main printer and all the things attached to the AMS 3H. After removing the packing material, zip ties holding the tool head in place, four screws holding the bed in place, and two retainers holding the rack in place, the AMS 3H can be hefted on top of the base unit. This is best done while the unit is on the floor or at least somewhere with a bunch of overhead clearance.
(Image credit: Tom's Hardware)
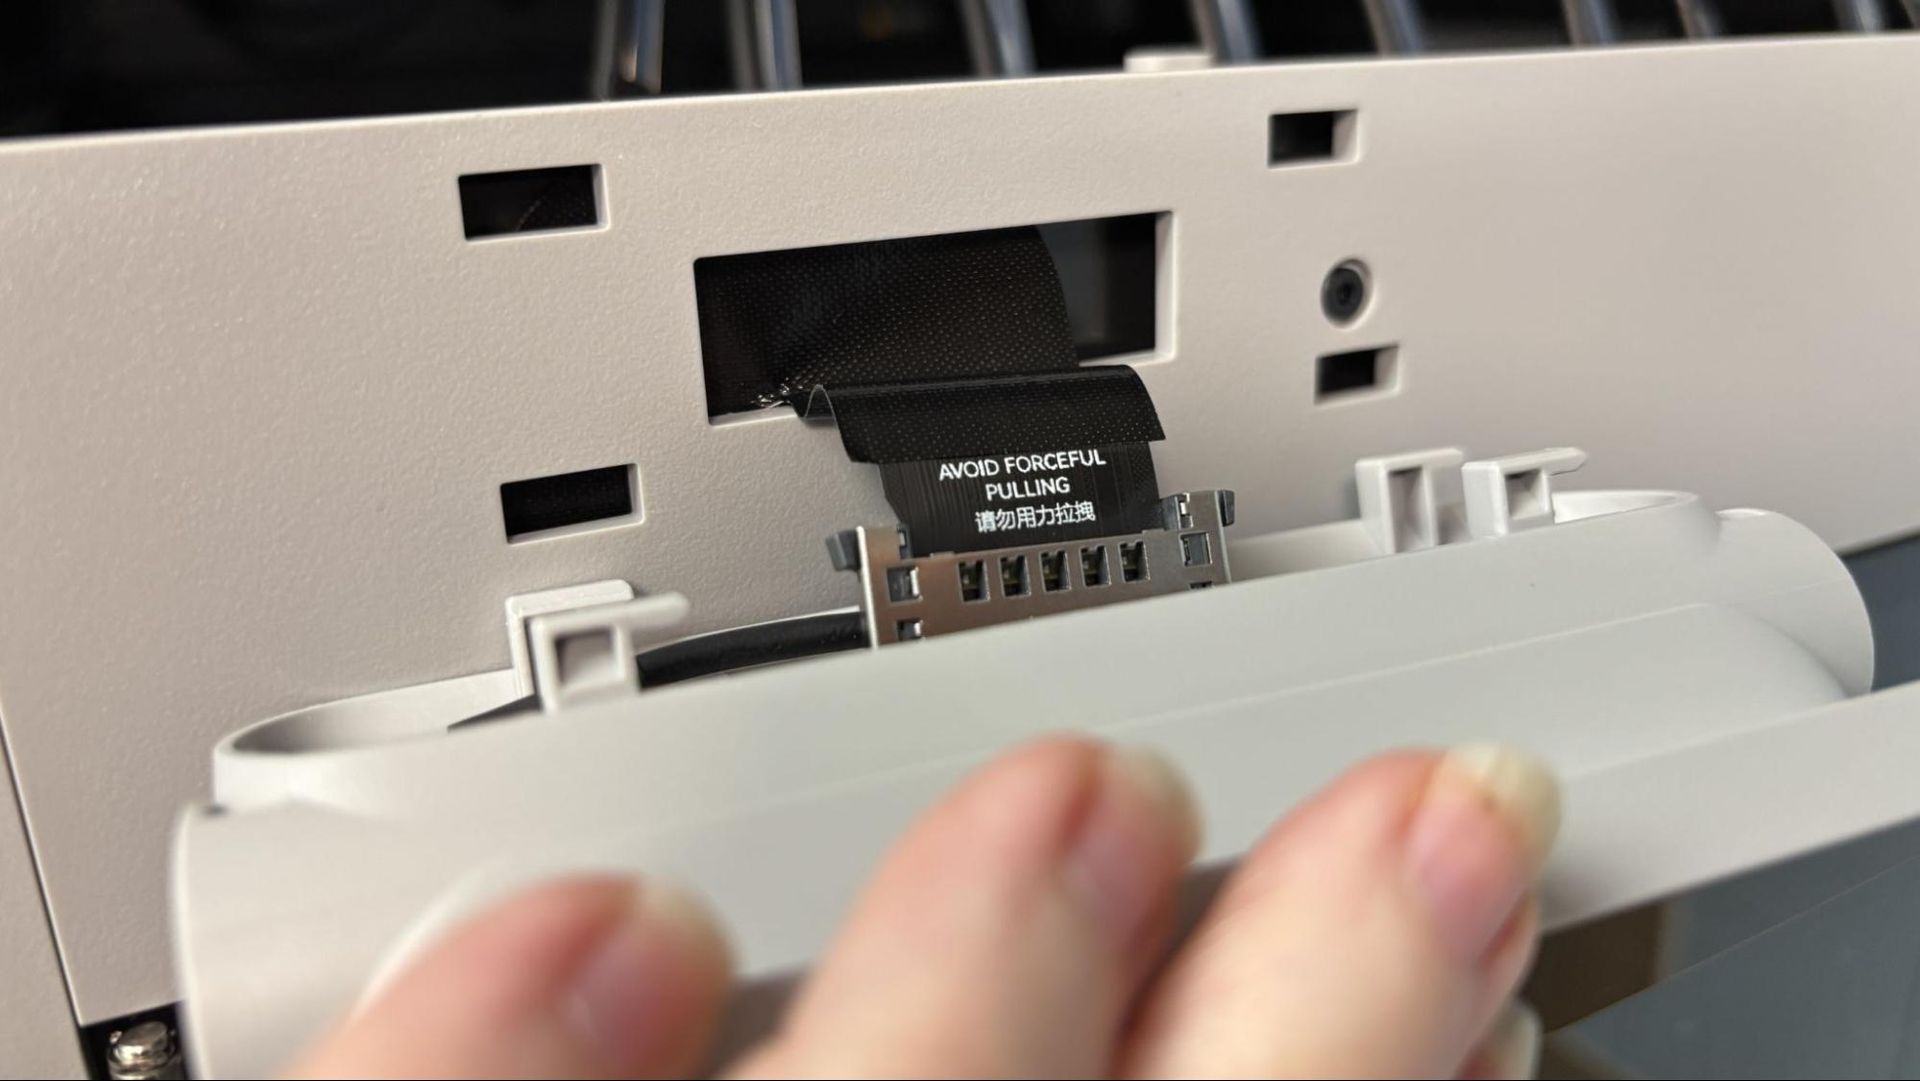
The touch screen attaches to the base unit without tools, and the ribbon cable is just long enough to reach the back of the screen. The nine tools have to be manually placed in the front rack, which takes some time until you learn how they attach. At least one needed to be attached once the printer was powered up.
The AMS 3H has its own power cord for the heater and a cable connecting it to the base. There are preinstalled screws to attach the Base unit to the AMS 3H, but I left these unused since removing the front panel requires tipping the AMS 3H back a bit.
Leveling the Bambu Lab H3C
(Image credit: Tom's Hardware)
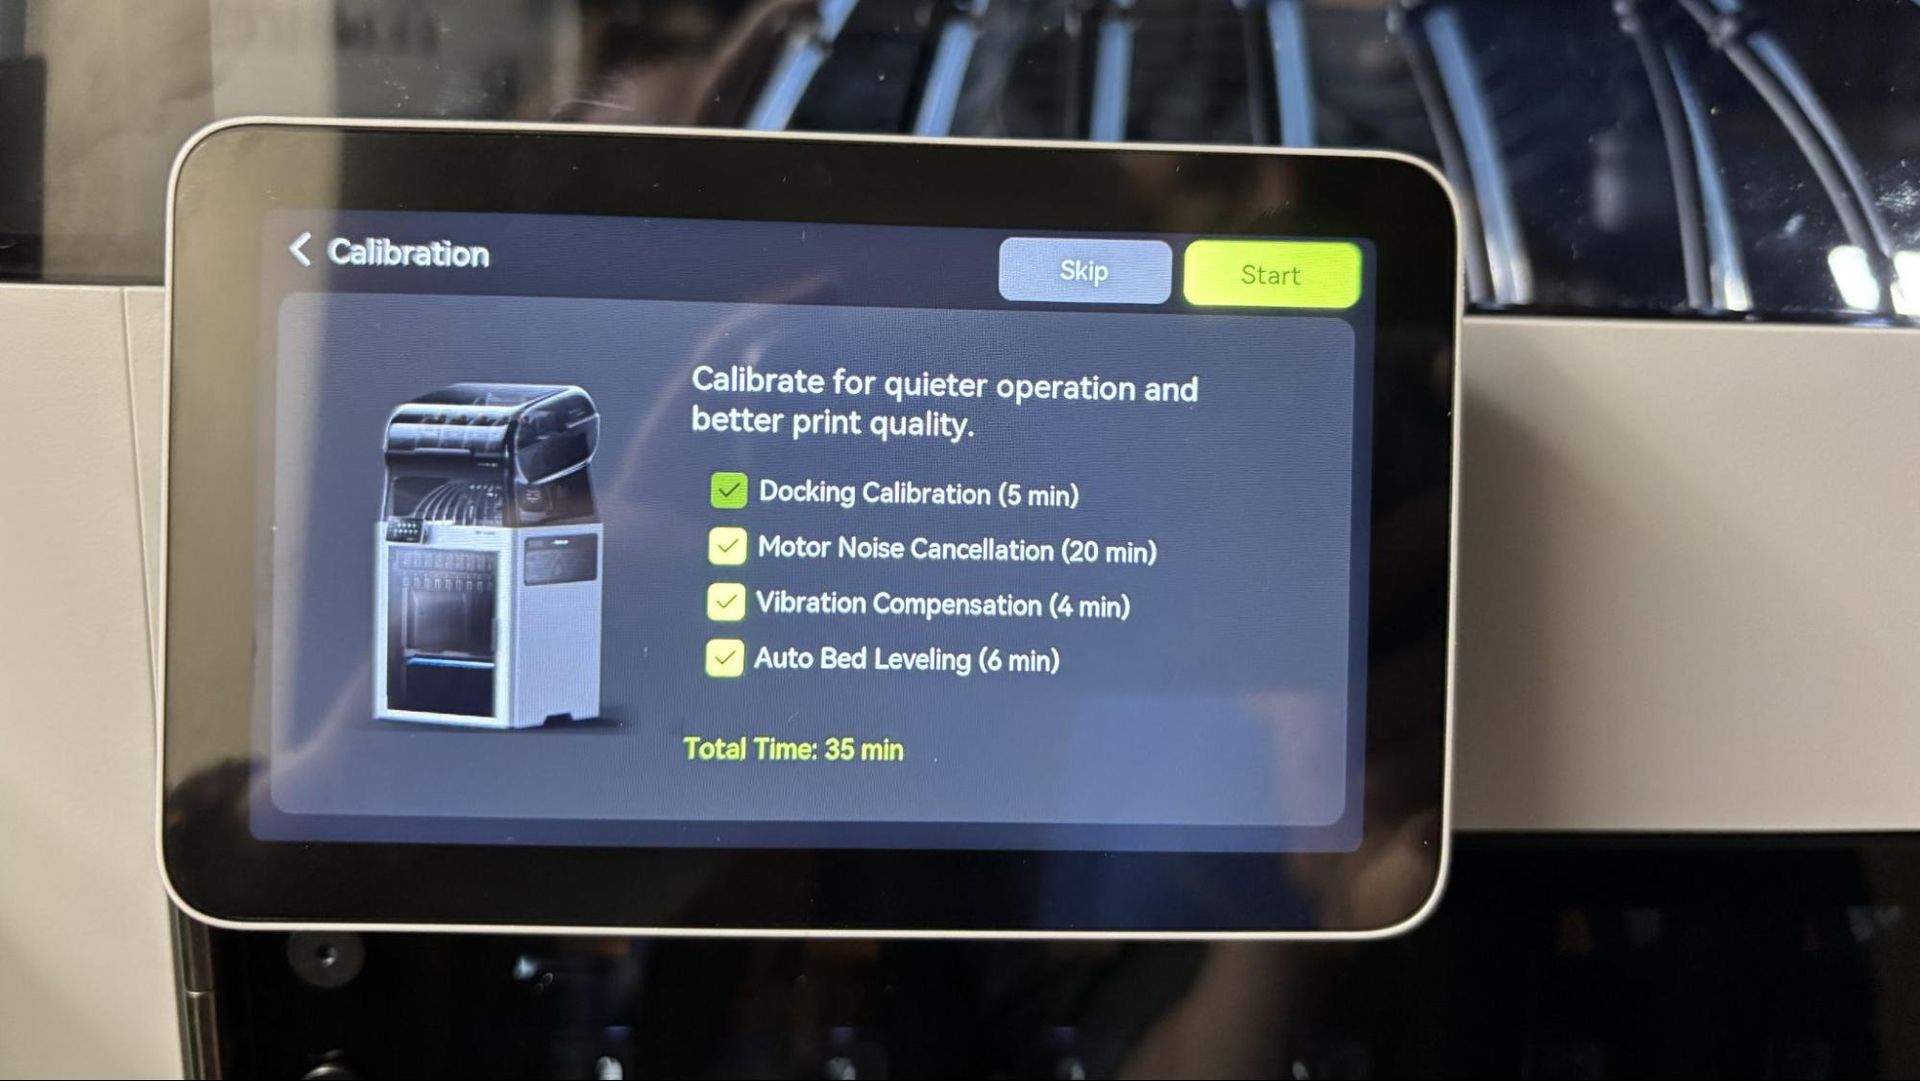
The Bambu Lab H3C performs a bed level as part of its initial calibration suite and again before each print. This works flawlessly in practice.
Loading Filament on the Bambu Lab H3C
(Image credit: Tom's Hardware)
When using non-TPU 1.75mm filament, the AMS 3H loads filament just like a regular AMS. Filament is inserted into the feeder, which automatically pulls it into the toolhead when that tool is selected. The RFID tag on Bambu Lab branded filament will automatically enter the filament type and color. Other filament brands need to be entered manually into the printer via the touchscreen.
The AMS 3H does not have powered rollers to retract the filament. You will need to select Unload from the filament screen, and the printer will cut the filament and retract it from the tool head. You will need to manually pull the filament out the rest of the way.
2.85mm filament and softer TPU will need to be manually fed through a port on the bottom of the AMS 3H. All filament slots except 2 and 4 have this port. The filament bypasses the tubing to feed directly into the tools. The standard Bowden tube must be removed from the tool and inserted into a holder on the side. For 1.75mm TPU, a small piece of Bowden tube is inserted into the top of the tool to help feed the filament correctly. 2.85mm filament can be inserted directly into the tool. Once inserted, filament using the bypass must be loaded manually.
Preparing Files / Software for Bambu Lab H3C
(Image credit: Tom's Hardware)
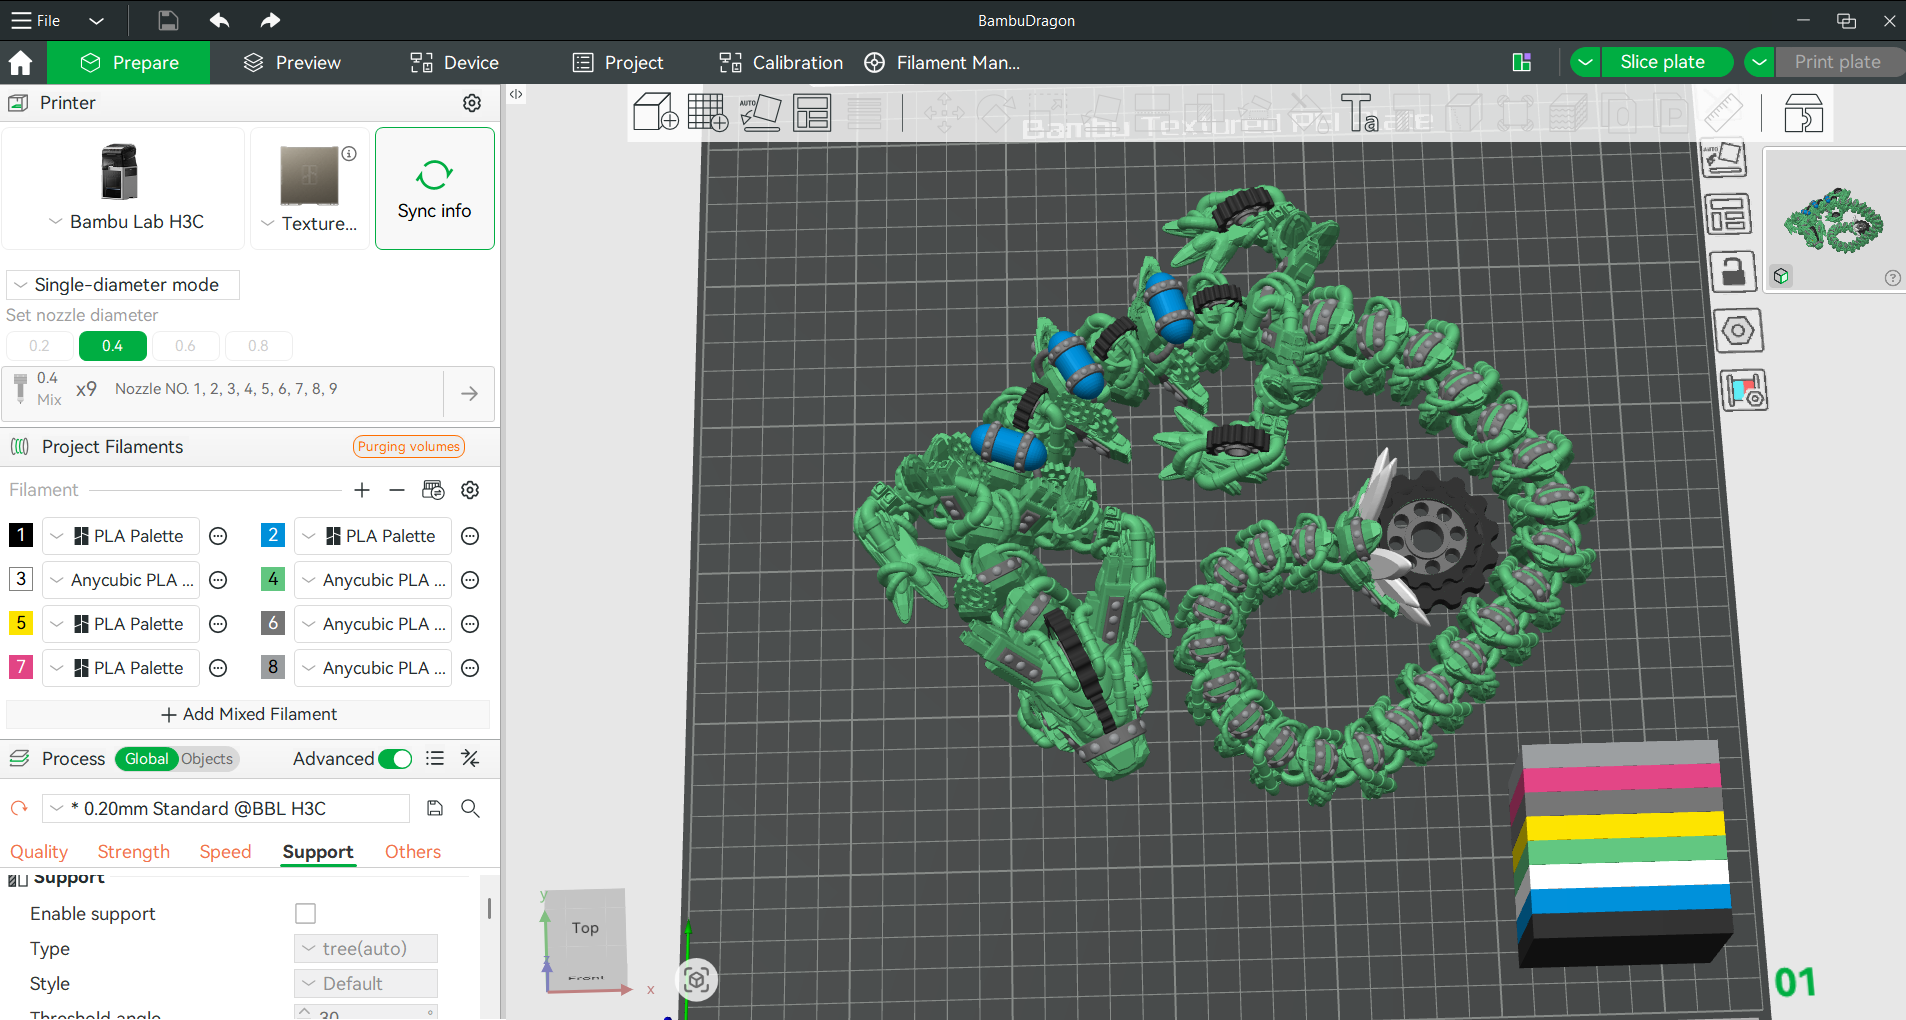
Bambu Studio, based on PrusaSlicer and its forbear, is one of the best slicers out there. Working seamlessly with the printer for filament mapping, control, monitoring, and access to all of the files on Makerworld, it is a joy to use.
Printing on the Bambu Lab H3C
The H3C is a much faster machine than its predecessors because it does not need to reel filament back and forth from the AMS. However, it still uses a purge tower, which can waste a bit of time and filament. It only takes about six seconds to swap tools, which is quite remarkable.
The H3C did not come with filament samples, but Bambu Lab did send along several spools of PLA Palette and spools of 2.85 75A TPU to try. You’re going to need a bunch of filament for this beast, so check out our list of best filaments for 3D printing for suggestions.
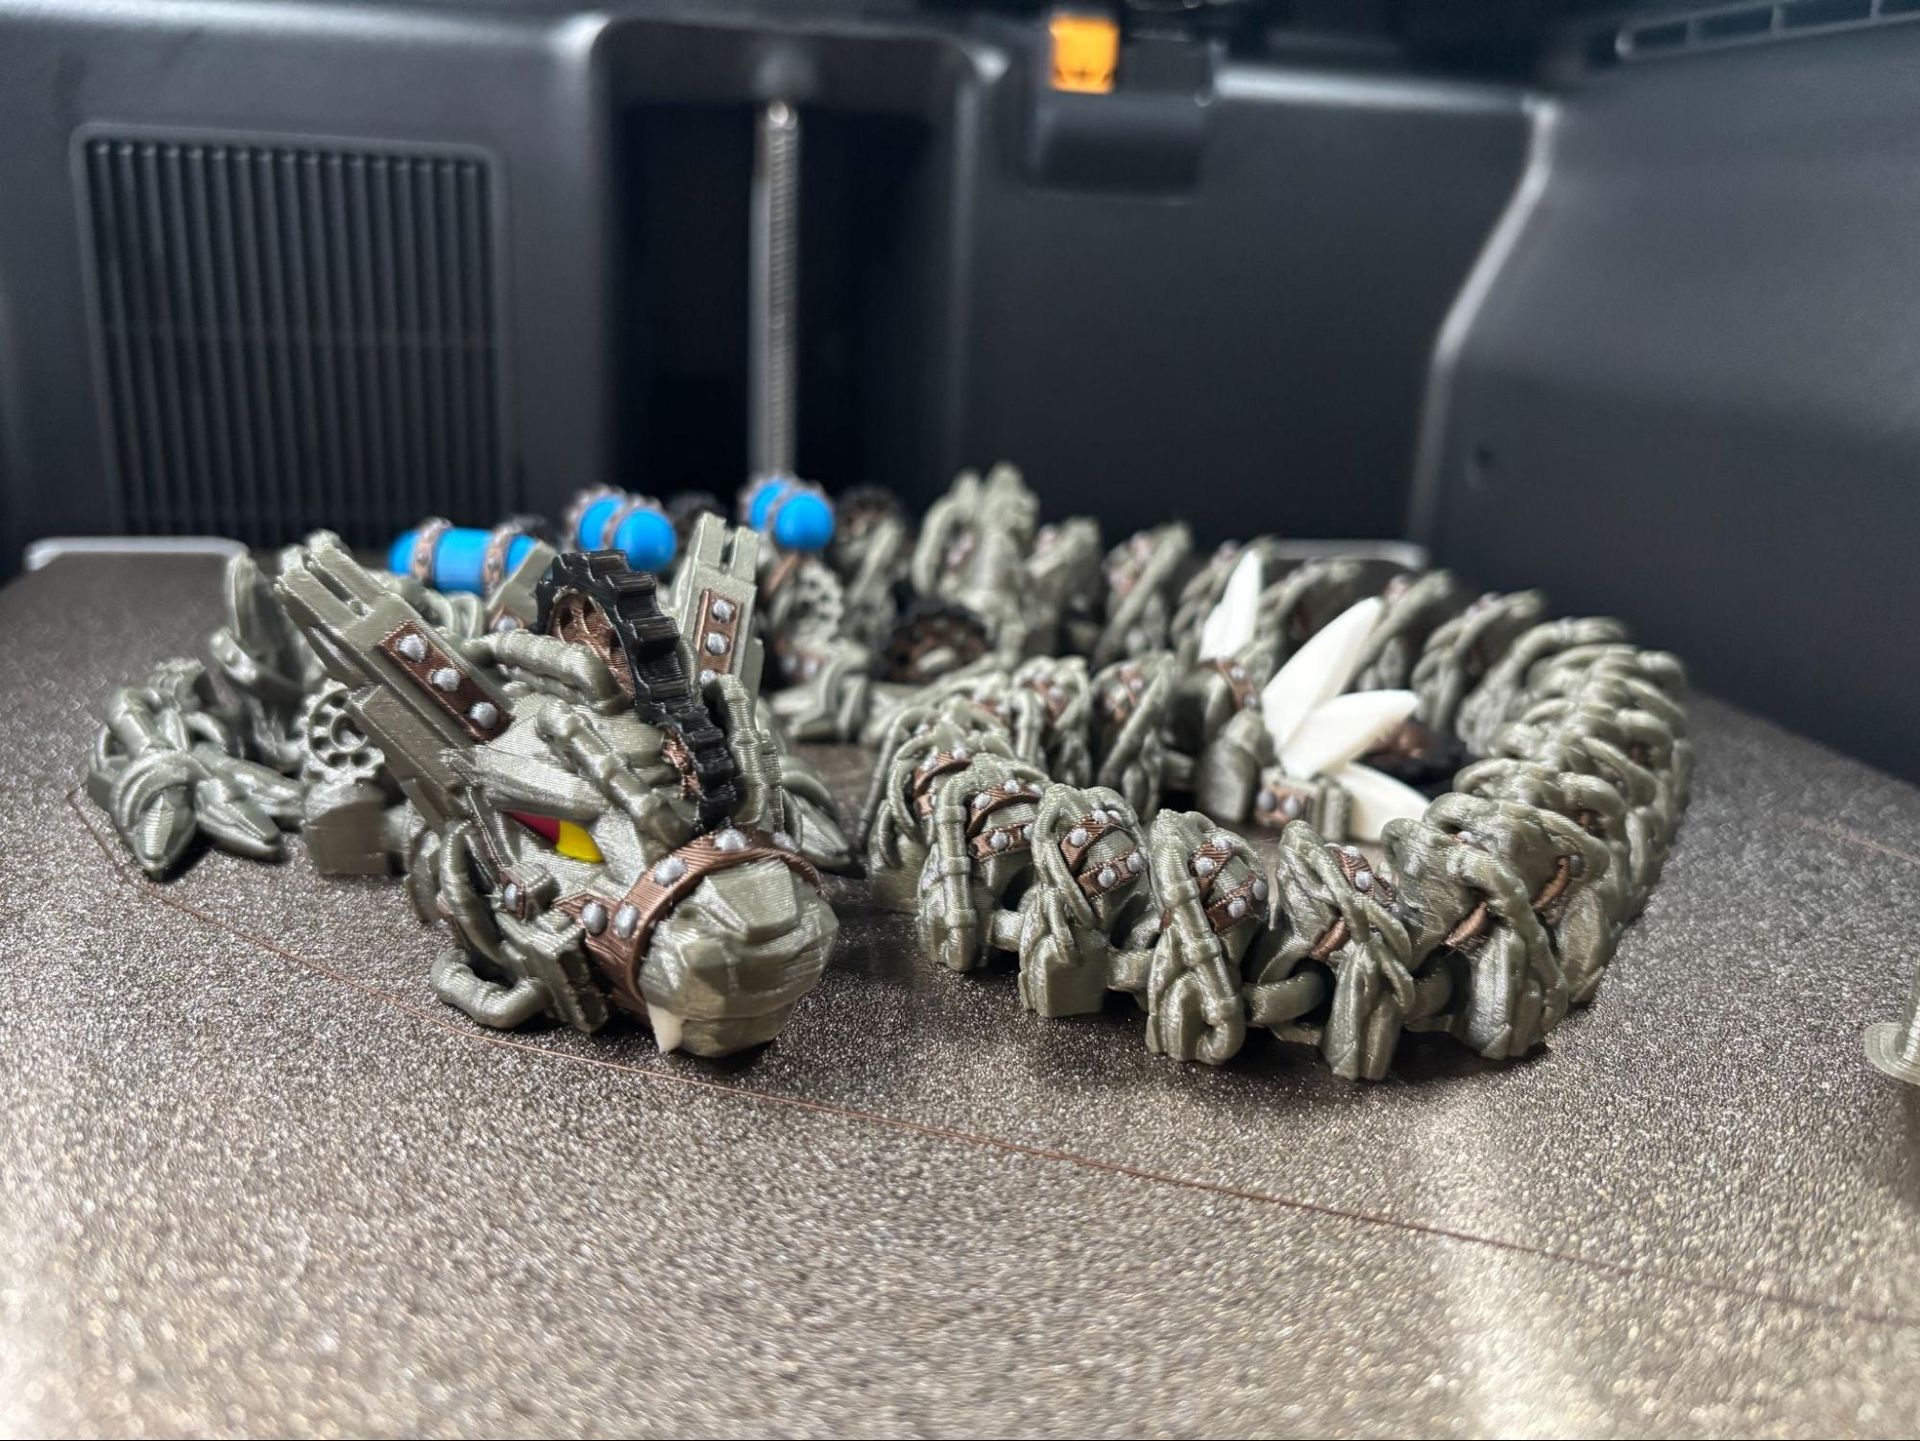
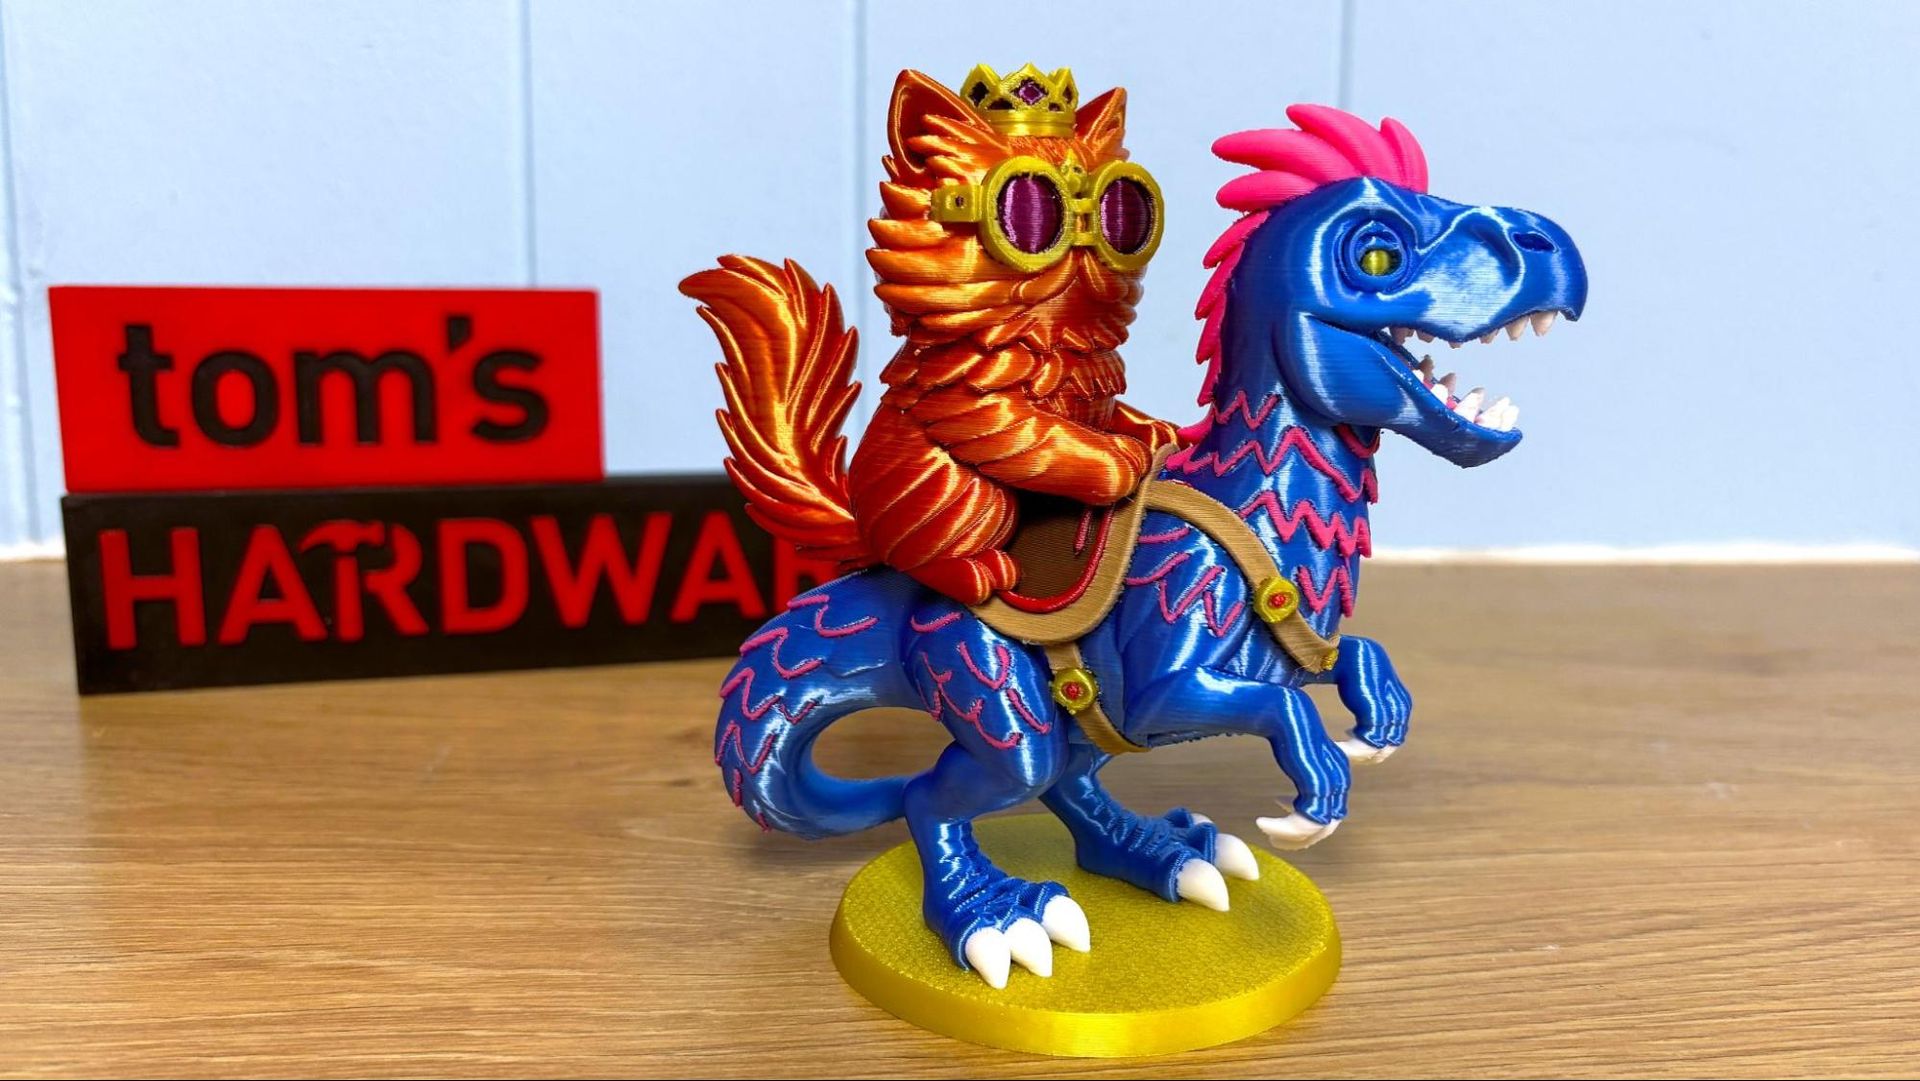
To get the measure of the Bambu Lab H3C, I loaded up one of my favorite prints, a steampunk dragon by the designer Cinderwing 3D. I had previously printed it in eight PLA colors using two AMS modules on an Anycubic Kobra 3 Max, which is a bed slinger. That first print took 37 hours and 28 minutes and wasted 267g of filament in poop and purge.
Using a .2mm layer height and an average print speed of 140mm/s, the H3C cut that time down to a bit less than 24 hours, and only wasted 68g in its purge tower. The print quality is excellent, and all the colors came out clean. The main color is Prusa Pearl Mouse, Polymaker Panchroma Silver, and black, white, magenta, yellow, and cyan from Bambu’s new Palette PLA, which is actually designed for color mixing.
Eight colors were not enough. I swapped out the 2.85mm tool with the spare 1.75mm tool and printed a nine-color Princess Donut and Mongo from Dungeon Crawler Carl (my latest obsession). I have been using this print to test out other tool changers for a future comparison. The print came out fantastic, with super shiny silks and clean color transitions. I had to “hand paint” this in Bambu Slicer, which took a bit of time. The teeth on the print are a bit shaky, but that is due to the insane amount of support this model required.
This printed in 15 hours and 12 minutes, with a 152.6-gram prime tower, using a .2mm layer height and default settings. For comparison, the same print with the same settings but only 5 colors on the H2C took 24 hours and 44 minutes and used 111.4grams on its prime tower. The Prusa INDX took a similar amount of time (15 hours and 38 minutes) to run the same print in 8 colors, but only needed to waste 24grams of prime purge.
The Bambu Lab H3C is one of the best printers I’ve tested for printing TPU. The AMS 3H bypass ports require a tiny bit of set up, but they are much better than dealing with an external spool holder. With nine slots at my disposal, I can always have a spool of TPU ready to go.
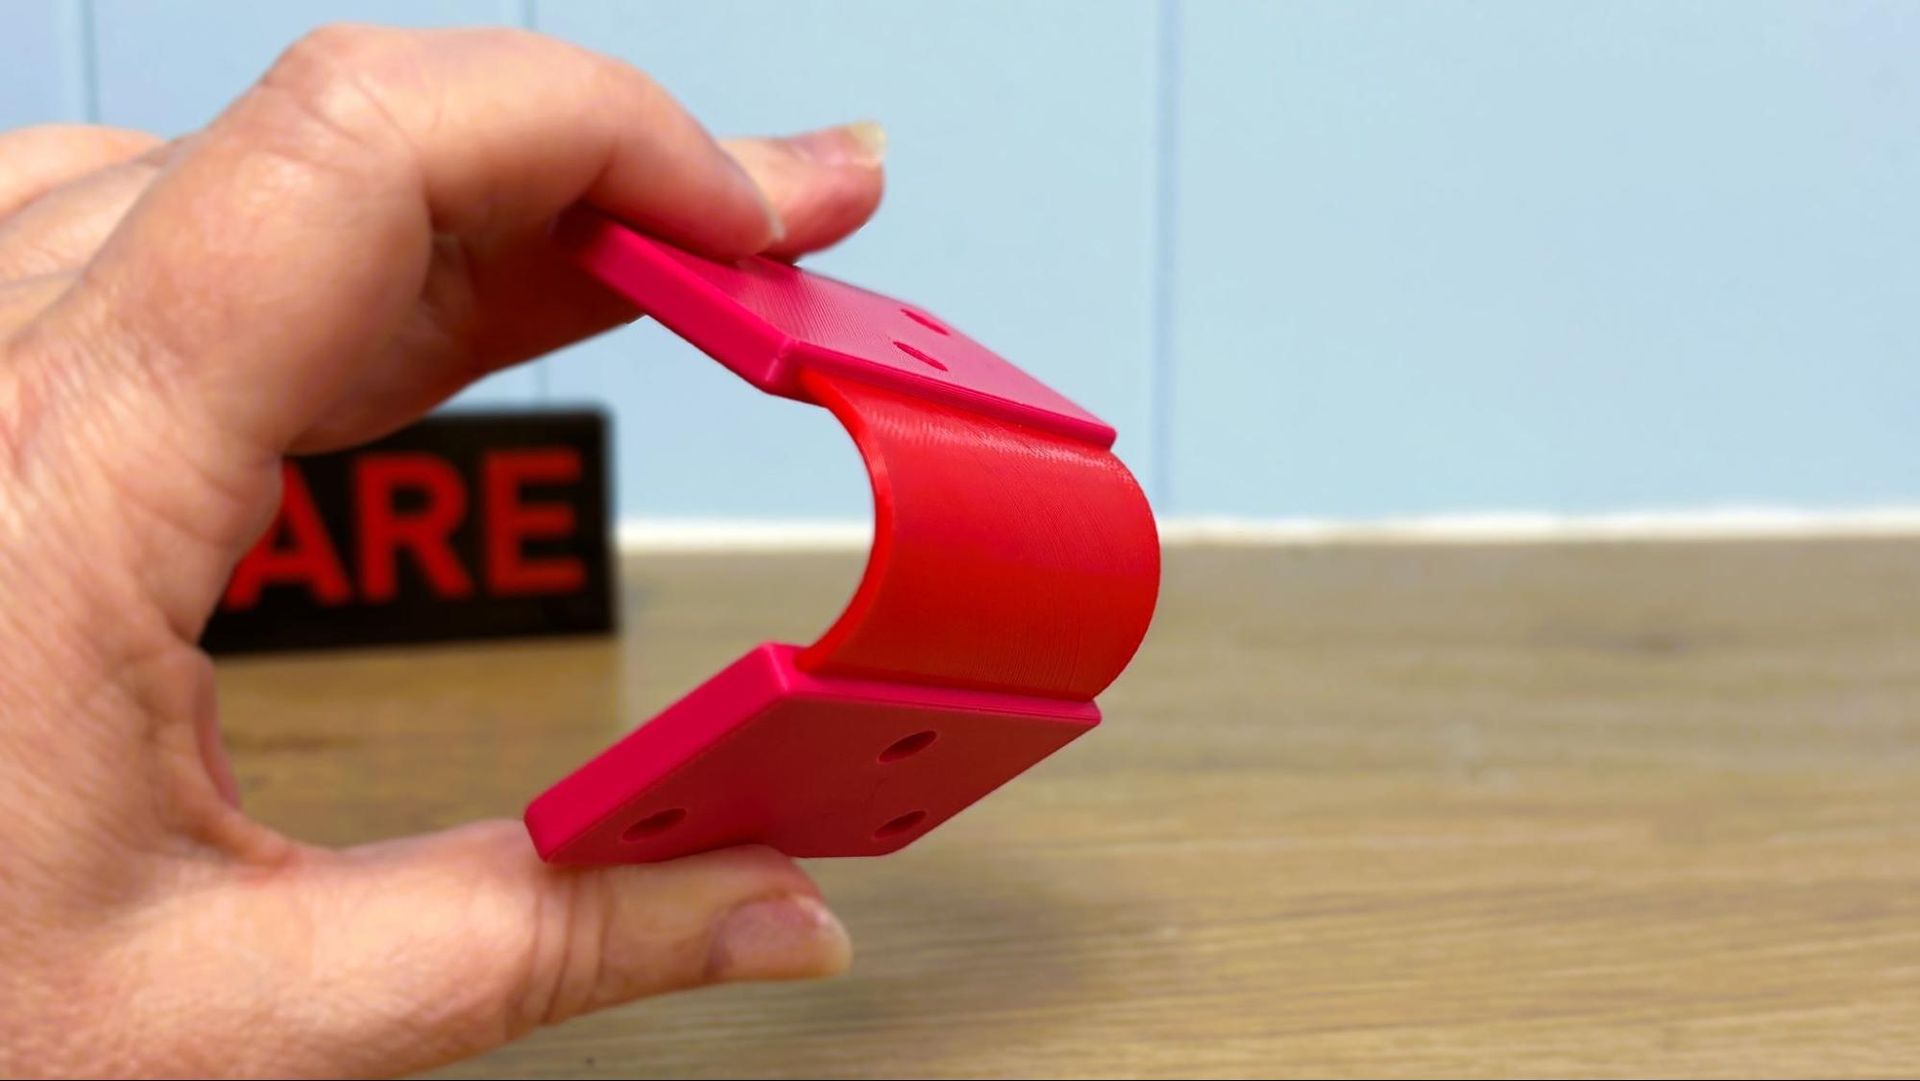
My first TPU print was a strap hinge that combines normal 95A TPU with stiff PLA brackets. The designer wove the two filaments together manually, though you can make your own hinges flexible by using “beam interlocking” in the slicer.
I printed this in Polymaker red PLA and Polymaker red TPU 95A and the hinge is extremely strong. Printed with a .2mm layer height and running at an average speed of 115 mm/s the print completed in just over an hour.
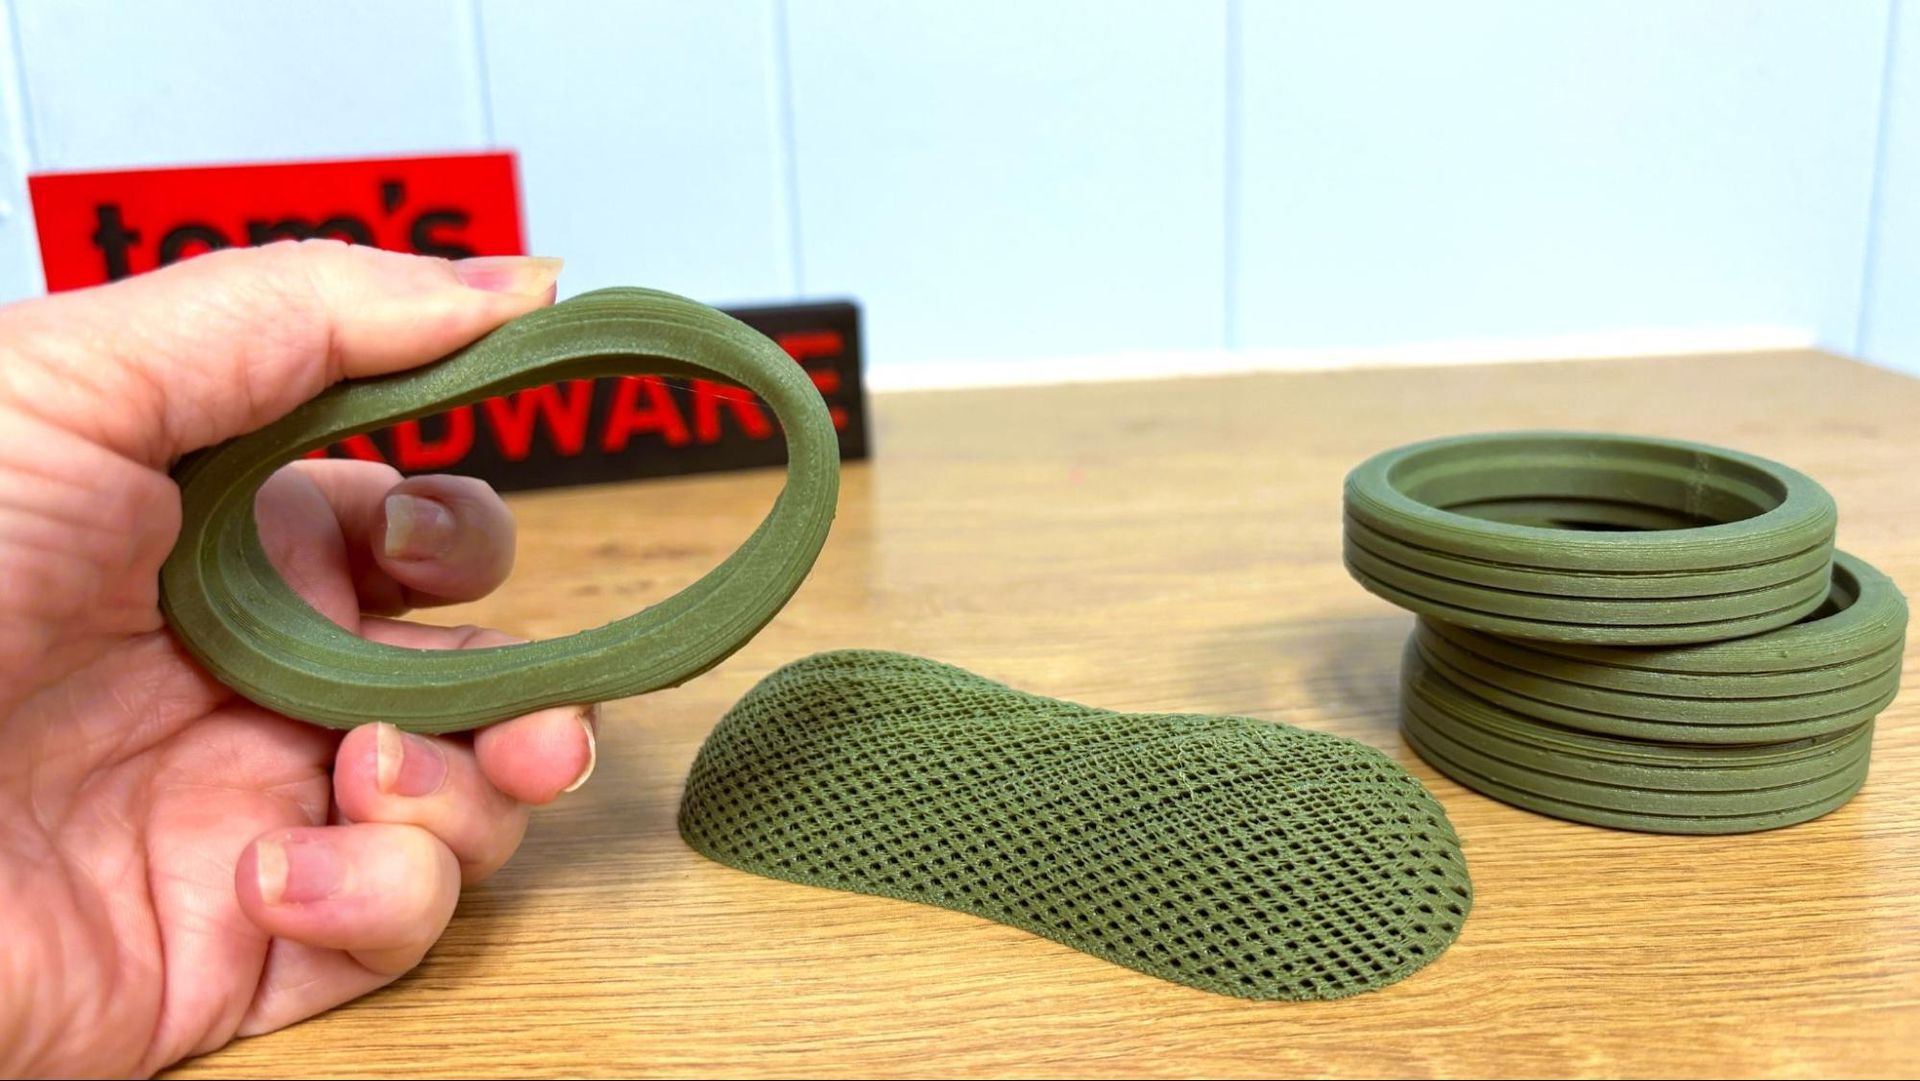
I was excited to try the 2.85mm 75A TPU that Bambu Lab sent, and it did not disappoint. The 2.85mm nozzle comes preset to run filament directly from the bypass and just requires manual loading. This is the softest TPU I’ve ever run, and the FlexFeed extruder handled it perfectly.
I first ran the wrist rest from the printer’s memory using Bambu Lab’s green 75A TPU. The print took 50 minutes to run, used only 20g of filament, and is very squishy. I used the same filament and printed some tires for an RC project I’m working on. Using a .2mm layer height and an average print speed of 75mm/s the tires took 57 minutes per set of two. They look nice and are super squishy. They only have 2 walls and 7% concentric infill, so they are extremely lightweight.
(Image credit: Tom's Hardware)
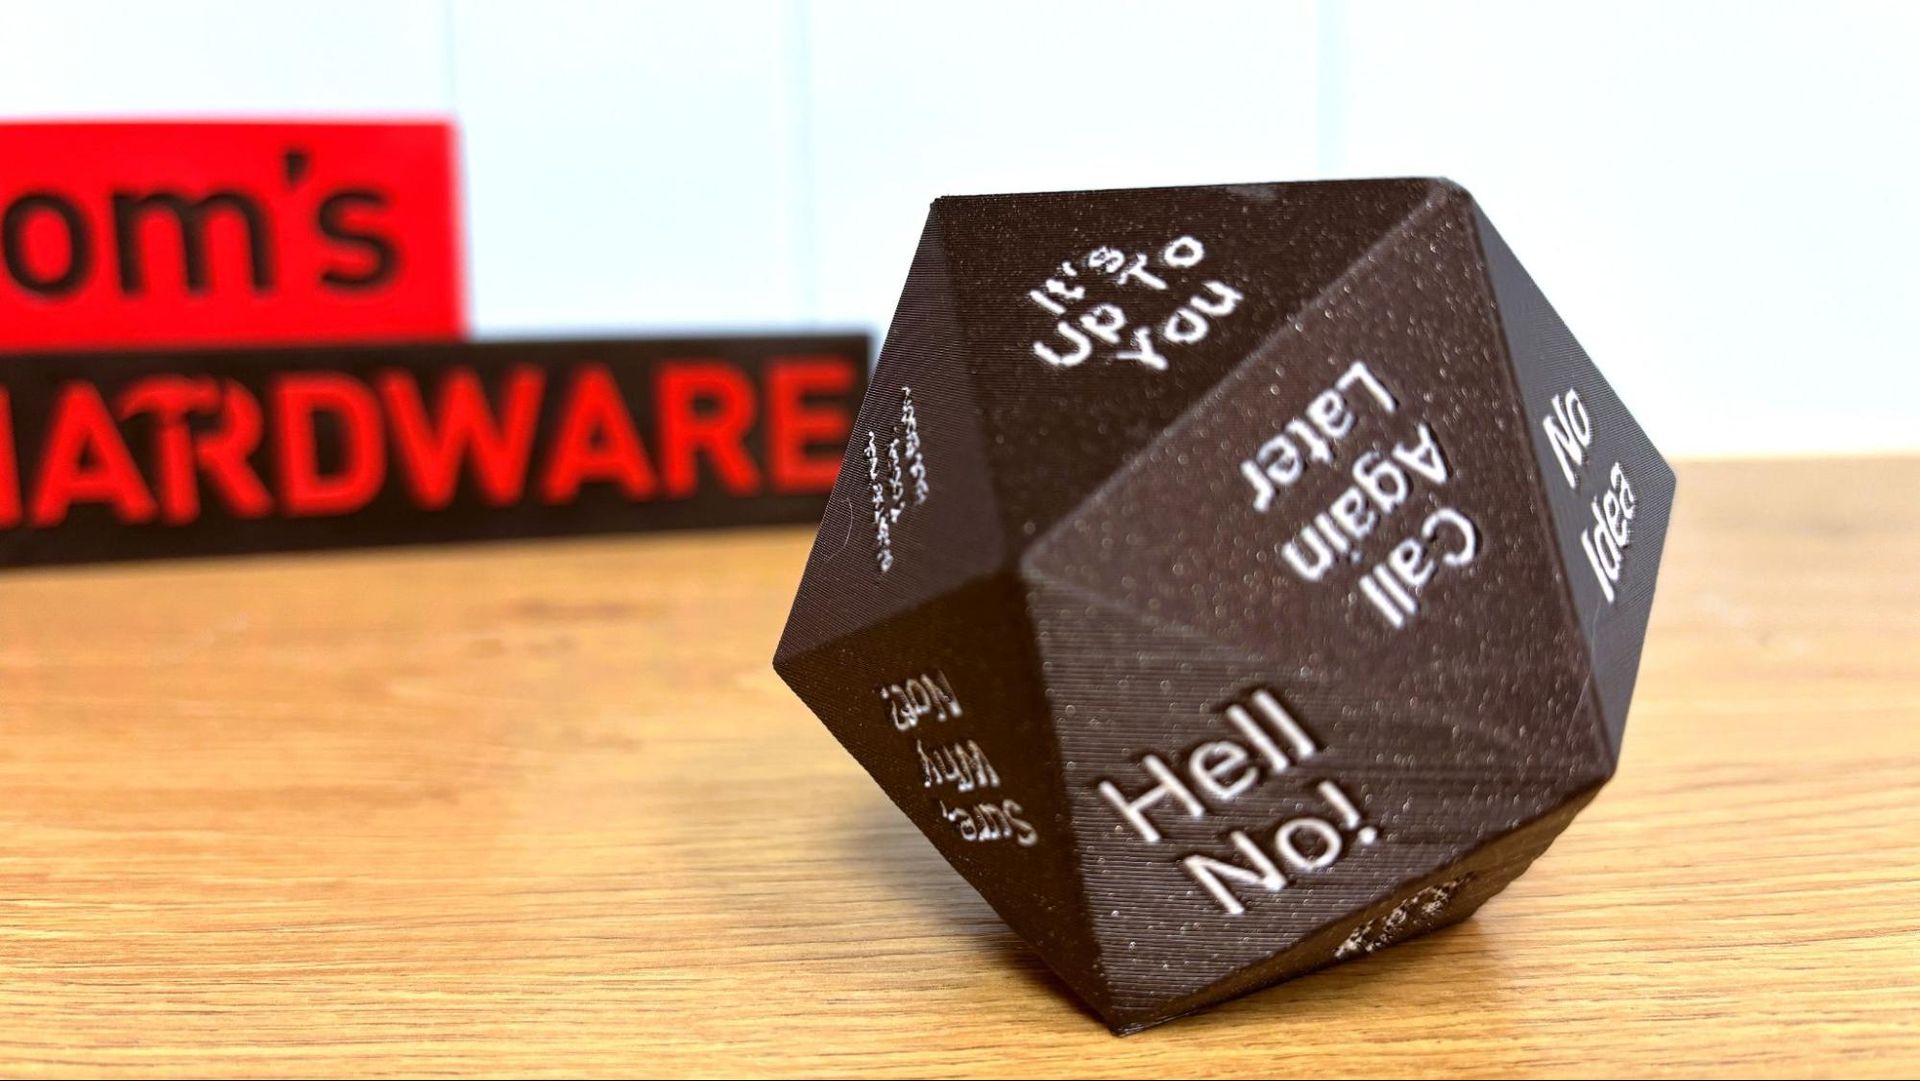
For ABS, I ran a two-color Magic 8-ball-style D20. Dice Studio lets you print custom dice with numbers or text and export it as a 3mf file ready to print. This is printed in Ionized Cobalt Black Matte ABS and Natural Matte ABS from Fusion Filaments. The print was very nice, with just a little roughness on the overhangs on the very bottom of the die, and a little roughness on the text where it becomes very small.
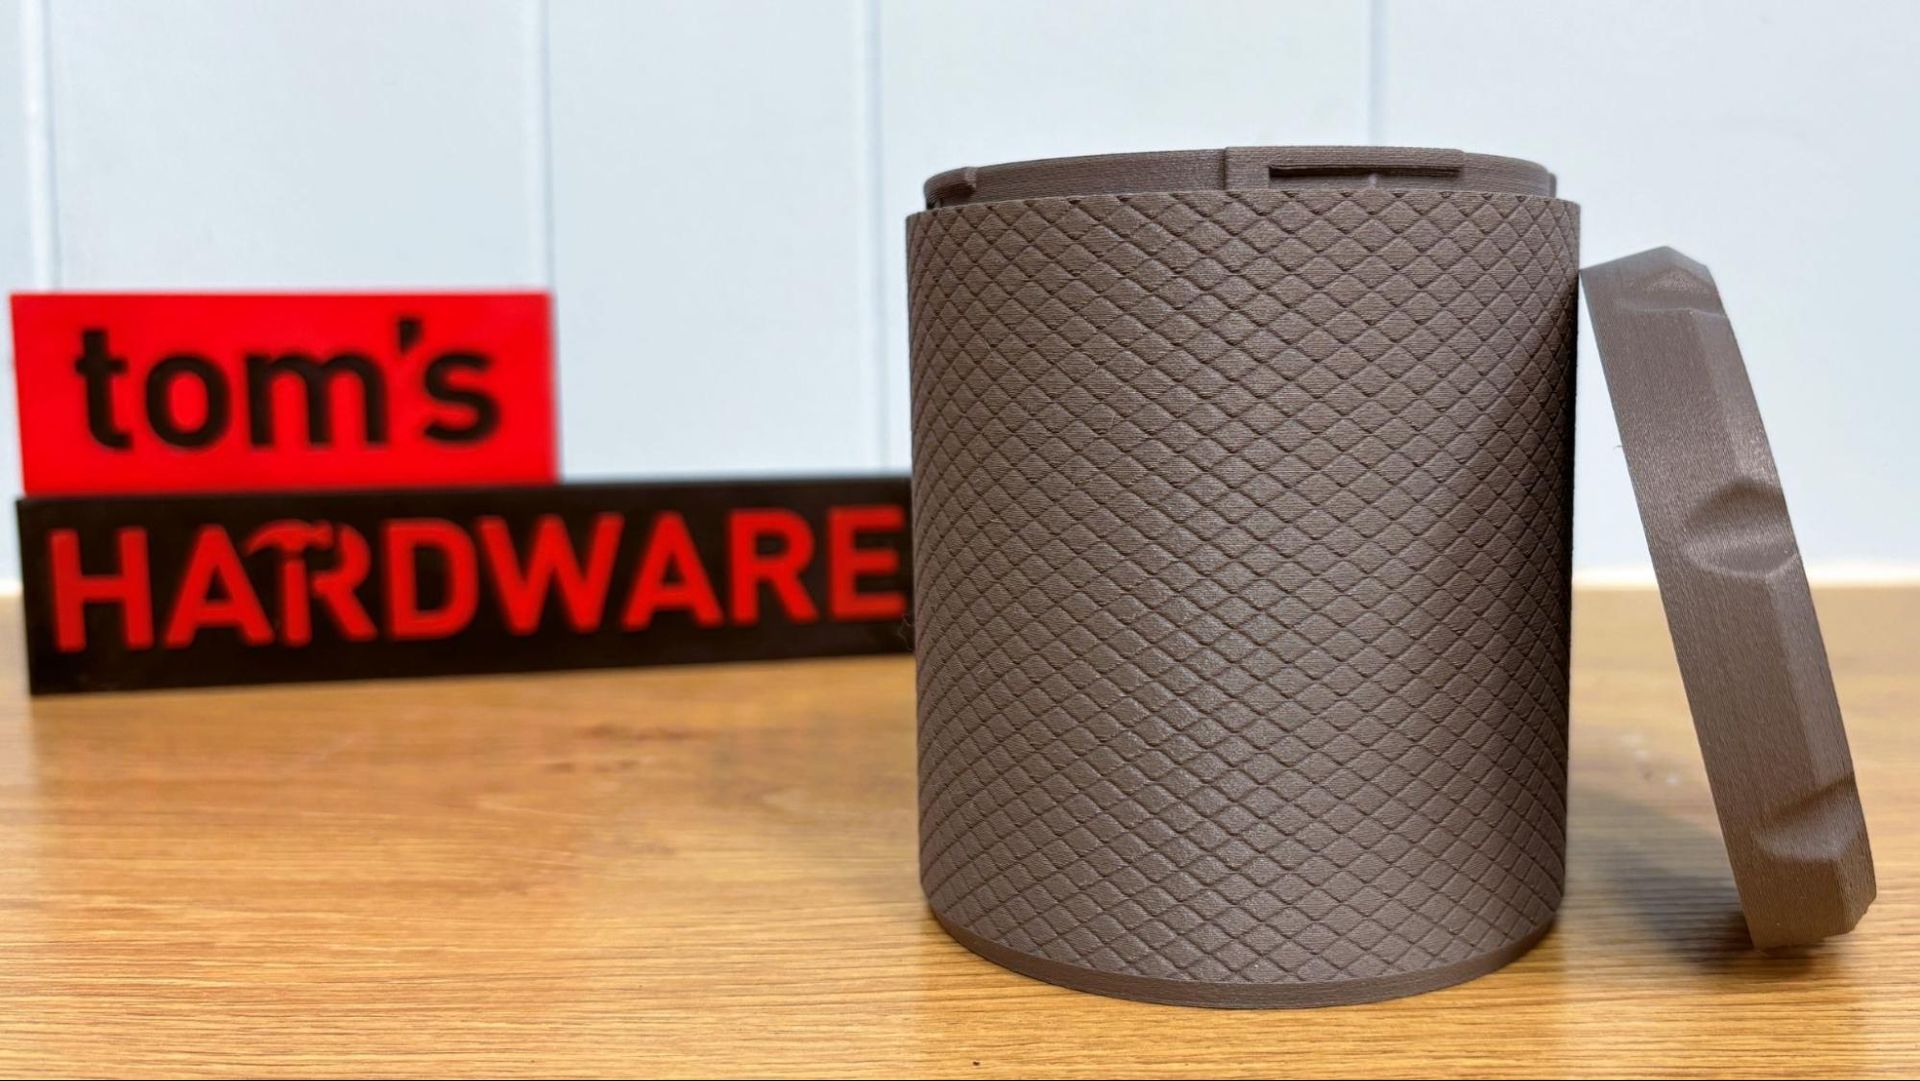
To really test out the heated chamber, I used a filament I struggle with: PA6 GF. I printed a Twist Lock Container using grey PA6 GF from Sunlu. I ran it with 3 walls and a .2mm layer height at an average speed of 140mm/s. The print took nearly 6 hours to complete. The result is a nearly indestructible canister that looks good too.
The H3C is quite the multimaterial powerhouse and handles every material equally well. I don’t own any filament that it can’t print well, from soft TPU to PPS. Multiple nozzle sizes and multiple filament sizes can all be used together, and you’ve got nine places to put it all. Unless you need a print farm, I can’t really see the need for a different printer. This is a one-stop shop.
With a retail price of $2,499 for the H3C Tool Changer, this is a printer to definitely put on your wish list. In fact, I’m so impressed with the tool changer aspect, I keep forgetting that it’s also a helmet-class printer, which makes this machine capable of handling nearly any print you need to create.
If the Bambu Lab H3C seems out of reach, you can also check out last year’s Bambu Lab H2C, which is no slouch at multimaterial and has the same build volume. It’s currently on sale for $1,899 with a four-color AMS combo. The Snapmaker U1 is the most affordable tool changer we like on the market right now, and though it is smaller and only four-color, the $699 Black Friday price tag is very tempting. And of course, we have the Prusa CORE One INDX eight-color machine for those who want to keep their printers off the cloud, currently retailing at $1,949 as a kit.
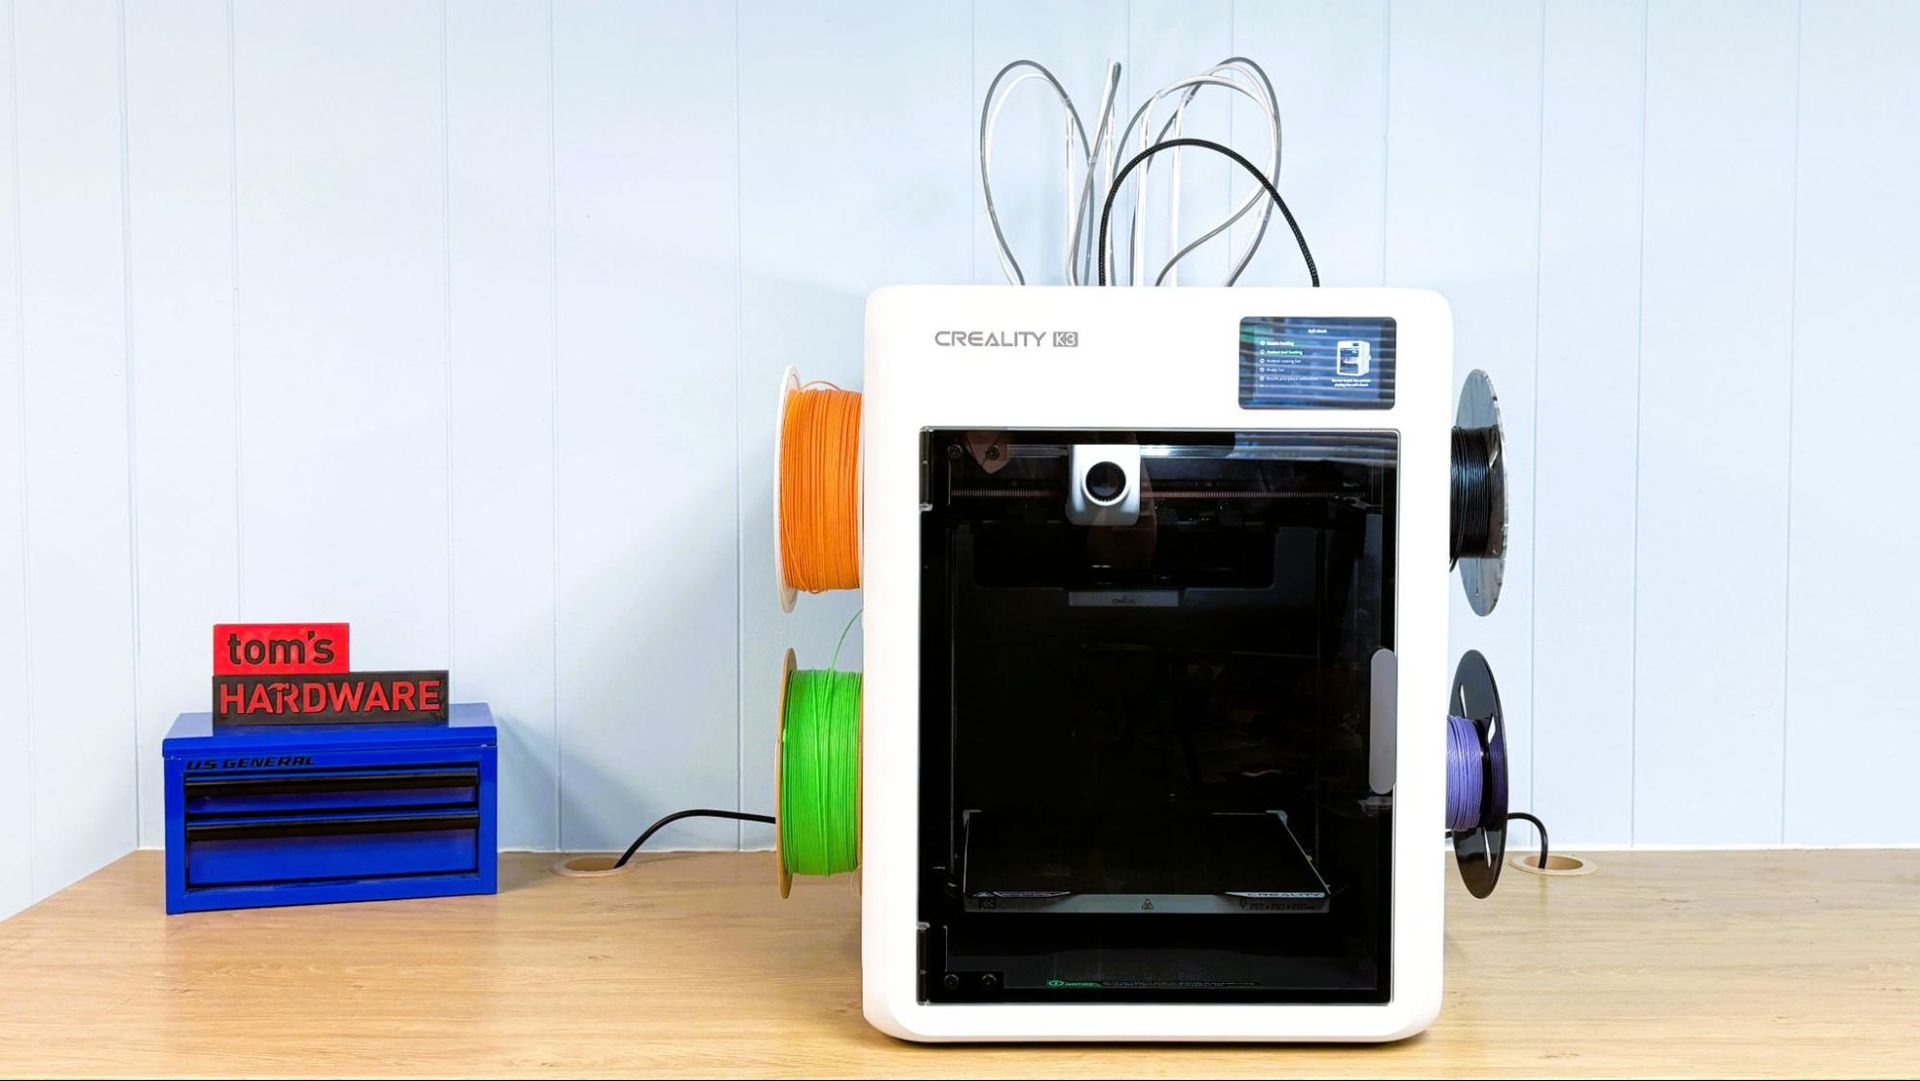
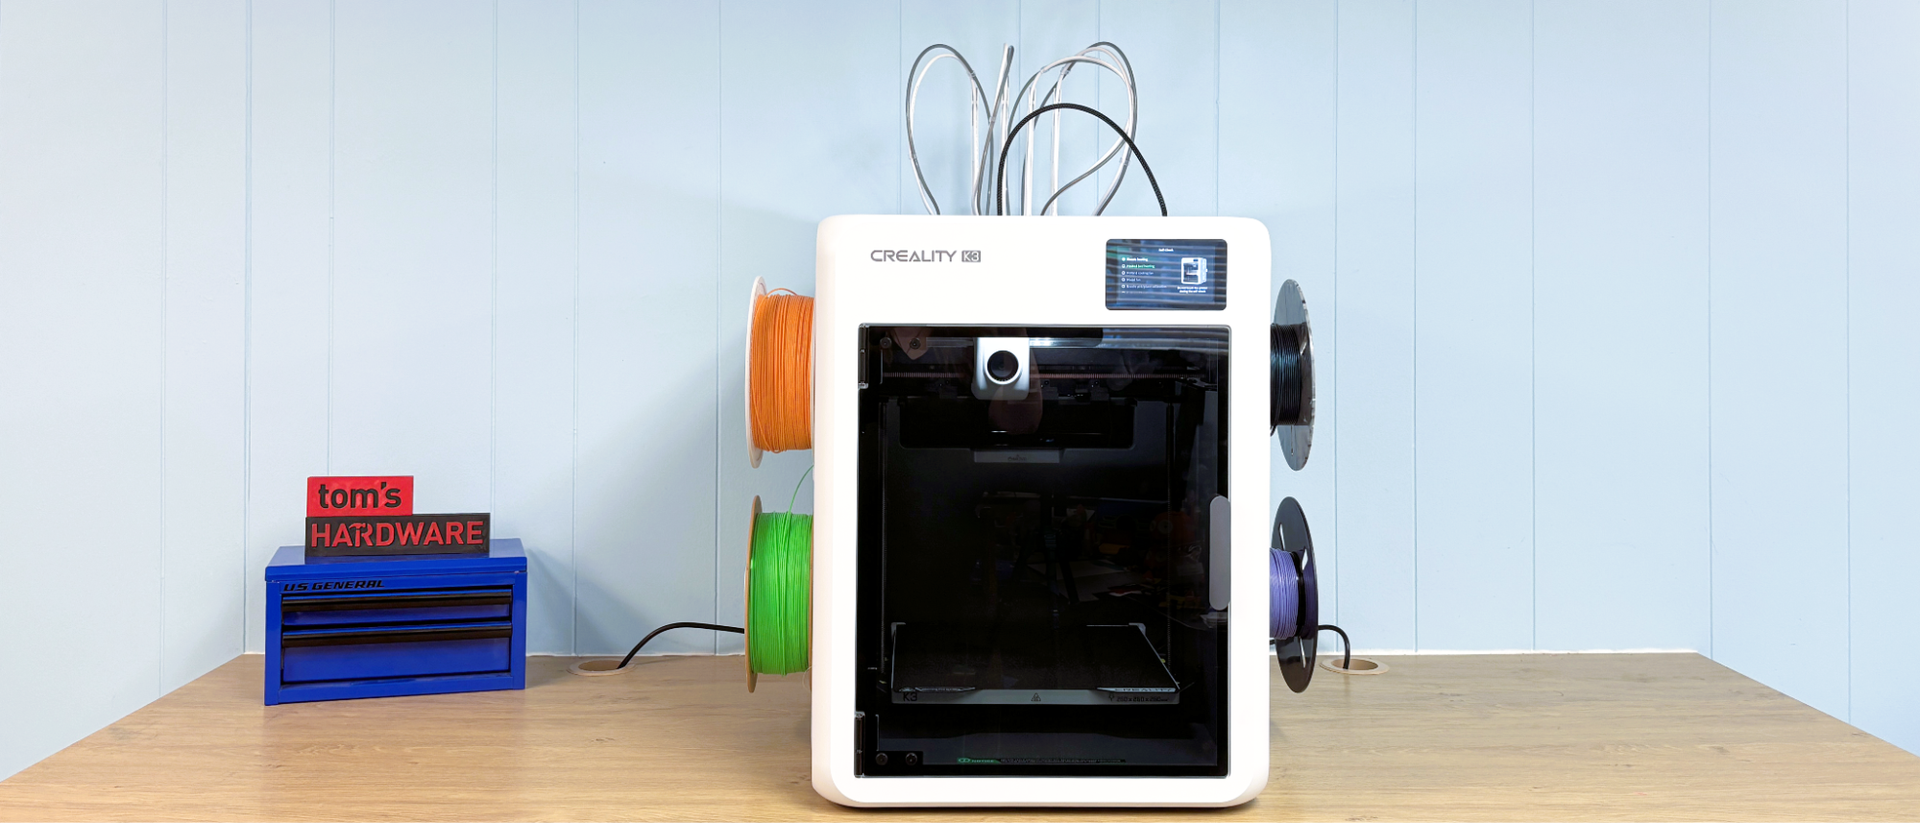
Creality has finally caught up with the tool changer fad, presenting us with a speedy, four-nozzle system named “KliTek” mounted on a Creality K3. Tool changers are the way to go, since they do not compromise speed for color and eliminate the need to waste your filament in the form of “printer poop.” The K3 is still programmed to create a purge tower on multicolor prints, but this is a small fraction of the filament wasted using any type of AMS-style color system.
The new KliTek nozzle system supports printing with different-sized nozzles in the same print, which sounds more useful than I actually found practical. Users will also be able to blend colors in Creality Print, a trick picked up from Snapmaker’s open-source Full Spectrum. This method creates the optical illusion of new colors by stacking very thin layers of filament.
The tool-changing system works very well and never dropped or misplaced a tool during the review. Creality has tucked 37 sensors inside the printer, with 12 dedicated to the nozzle swapping process alone. No, I’m not going to name all of them, but they do work. I didn’t get a single bad print during the review, even when running at higher speeds.
However, the K3 looks suspiciously like a Snapmaker U1 clone, departing from the black and grey aesthetic of the K1 and K2 3D printers. It has conveniently placed, side-mounted spool holders that are a tad too large for many 3rd party brands of filament. We’re not sure if they’re trying to herd us towards a walled garden of Creality plastics, or if they simply didn’t check out all the options.
Unfortunately, the Creality K3 needs a lid for printing high-temperature filaments, and this “tophat” was not ready at the time of the review. Creality says the top hat will be packaged with a TPU Kit to enable the printing of super soft materials.
The K3 is currently on preorder with a price tag of $849. The competition for affordable tool changers is pretty stiff, and Creality hasn’t brought anything new to the table, which is keeping the K3 off our list of the very best 3D printers you can buy. But if you’re a fan of the Creality ecosystem, it’s a welcome addition to the fleet.
Specifications: Creality K3
Build Volume
260 x 260 x 260 mm (10.23 x 10.23 x 10.23 in)
Material
PLA/PETG/PCTG/TPU/CF and GF filled (up to 300 °C)
Extruder Type
Direct drive
Nozzle
.4mm
Build Platform
Double-sided Textured PEI steel flex plate (up to 100 °C)
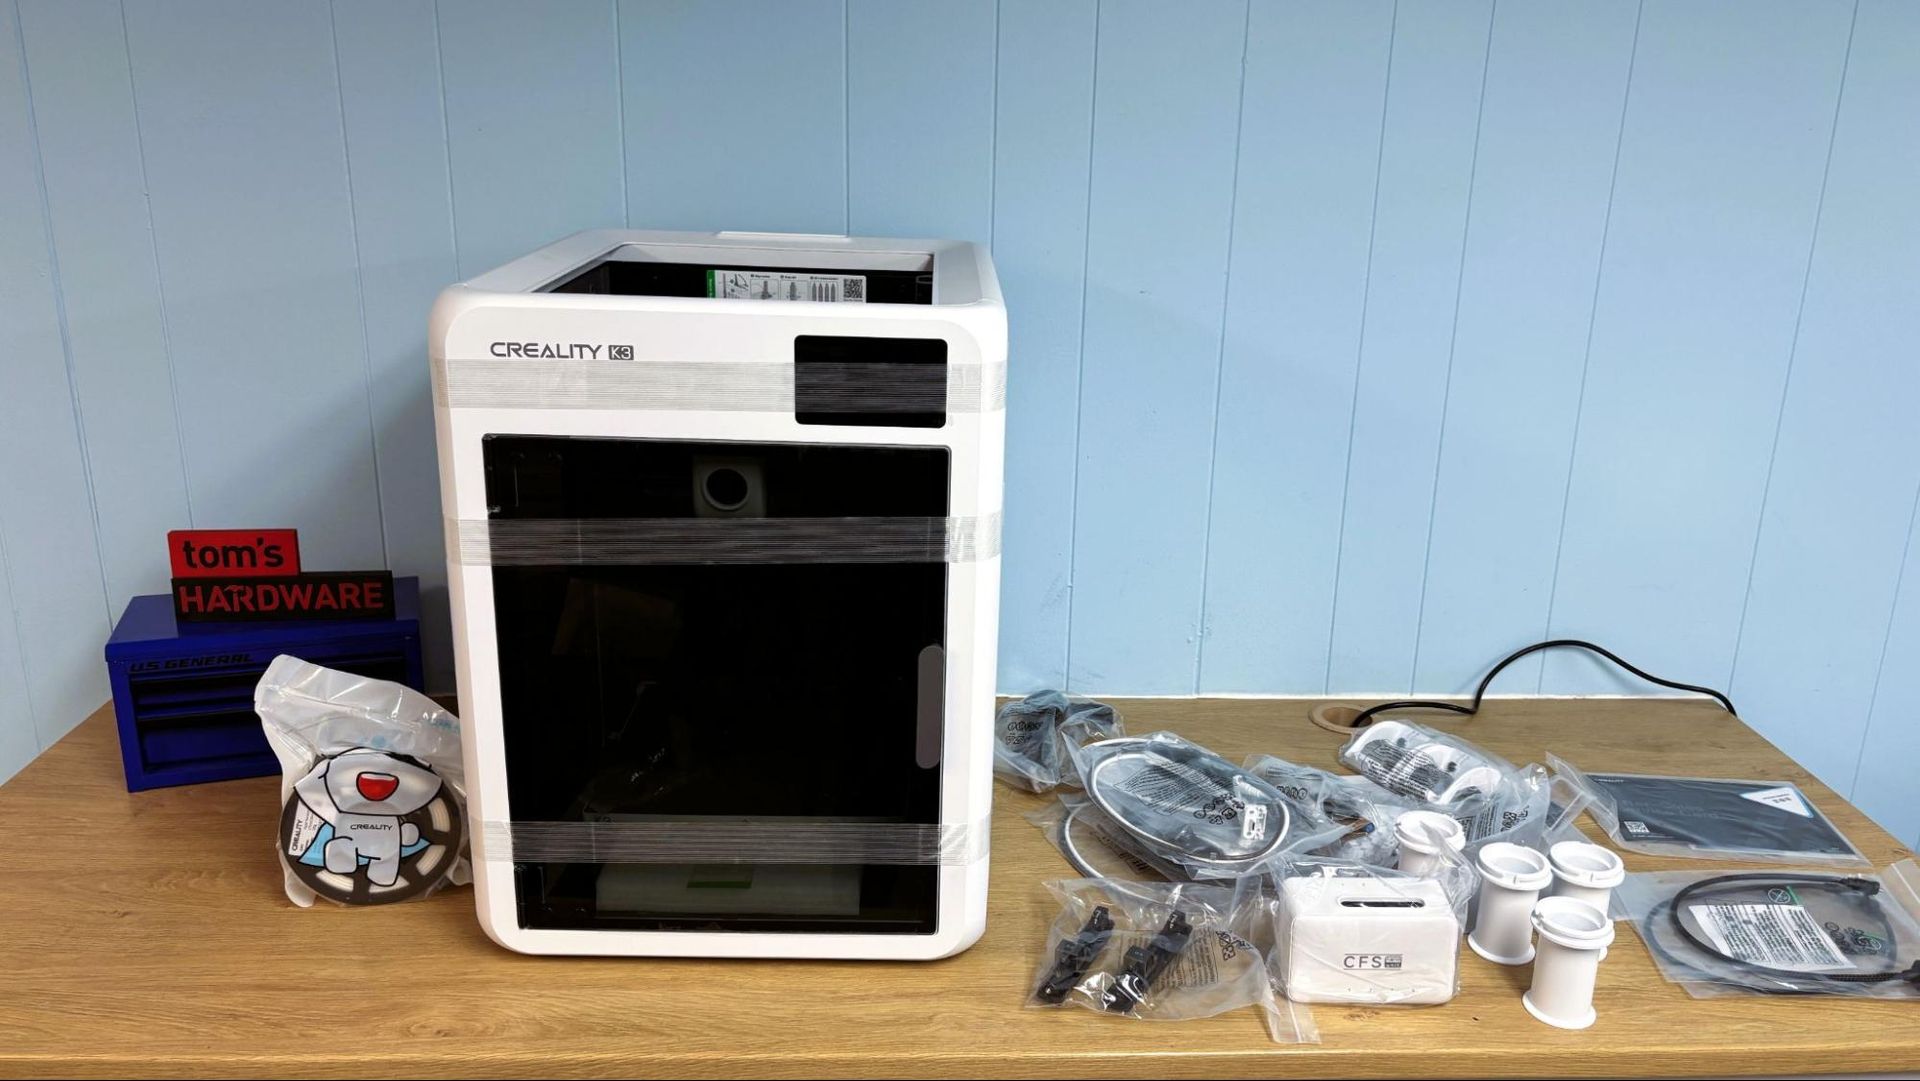
The Creality K3 comes with everything you need to assemble and maintain your printer. The included tool kit has hex keys, side cutters, grease, and a nice nozzle cleaner. There is also a paper copy of the quick installation guide and a 200g spool of white Creality filament.
Design of the Creality K3
(Image credit: Tom's Hardware)
The Creality K3 has four tools, each with a built-in ceramic heater, nozzle with a hardened steel insert, and filament path. The KliTek system supports printing with different nozzle sizes and different materials in the same print. Like the Prusa/Bondtech INDX, the extruder and cooling fan are mounted on a single toolhead.
(Image credit: Tom's Hardware)
The rest of the Creality K3 shares its design with the K2. The printer has a solid metal frame clad in white plastic and a glass door with dampened hinges. The motion system is Core XY, with a linear rail for the X axis and linear rods for the Y axis. The bed rides on four linear rods driven by 2 lead screws belted to a single stepper motor on the bottom of the printer. Parts cooling is provided by a blower fan in the toolhead and a large side-mounted blower fan mounted on the left side of the case. The stock Creality K3 comes with an open top, so chamber cooling is not an issue. Unfortunately, this makes the printer rather loud.
The Creality K3 has a 720p camera located at the top right of the printer, which does a great job providing print monitoring from the device tab in the slicer and the Creality Cloud app. There is also an AI camera that monitors for build plate detection, foreign object detection, and spaghetti detection. There were no false positives during the test.
Creality’s most annoying design choice is the overly large spool holders. These things are so big, they catch the rim when loading most cardboard spools and simply do not work with spools I had on hand from Prusa, Cookiecad, and Ambrosia. Polymaker and Bambu spools did work, but there’s no reason for this other than to limit the use of other filament brands, which is not good.
We did not get to review the special TPU kit, which will allow the machine to run super soft TPU, which is becoming quite trendy for those interested in printing shoes. The kit will replace the CFS Nano material handler with a CFS Flex and add dry boxes for the filament and a special high-flow nozzle. The kit will be bundled with a lid/ tophat with ventilation and air filtration.
Assembling the Creality K3
(Image credit: Tom's Hardware)
The Creality K3 arrives with some assembly required. After removing the packing material, you need to remove the four screws securing the bed for shipping, and there is a nice reminder to do this when first firing up the printer.
(Image credit: Tom's Hardware)
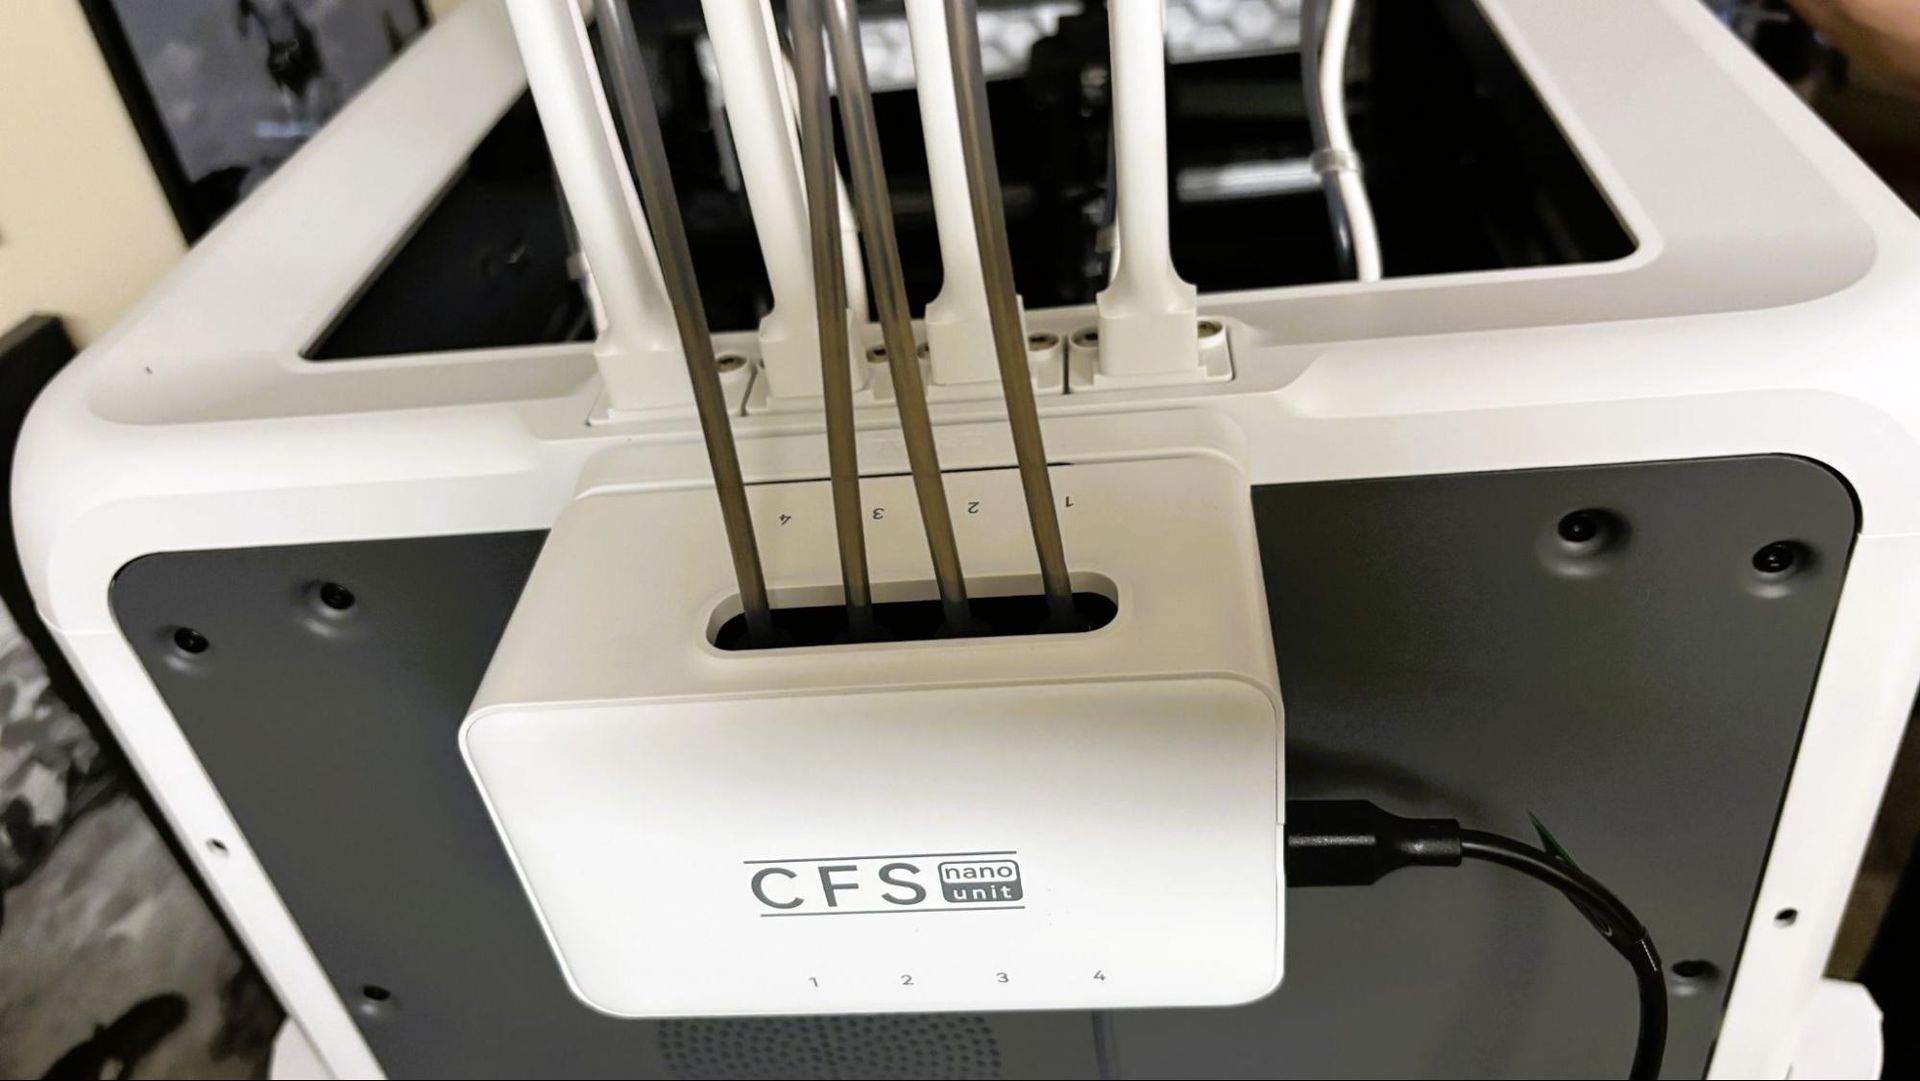
The spool holders twist into the printer’s side panels and are numbered to match the filament slots. Two PTFE guide brackets, also numbered, need to be secured to the rear of the printer with M4x6 screws, as does the bracket for the CFS Nano. There is a communication cable that runs from the rear of the printer to the CFS Nano as well.
(Image credit: Tom's Hardware)
The tool cables attach to the top of the printer with 2 M4x12 screws each, with the PTFE tubes running to the CFS Nano. The toolhead communication cable is attached with M3x5 screws on the toolhead and M4x8 screws on the right side of the printer. Attaching PTFE guide tubes from the side brackets up to the CFS Nano completes the assembly.
Leveling the Creality K3
(Image credit: Tom's Hardware)
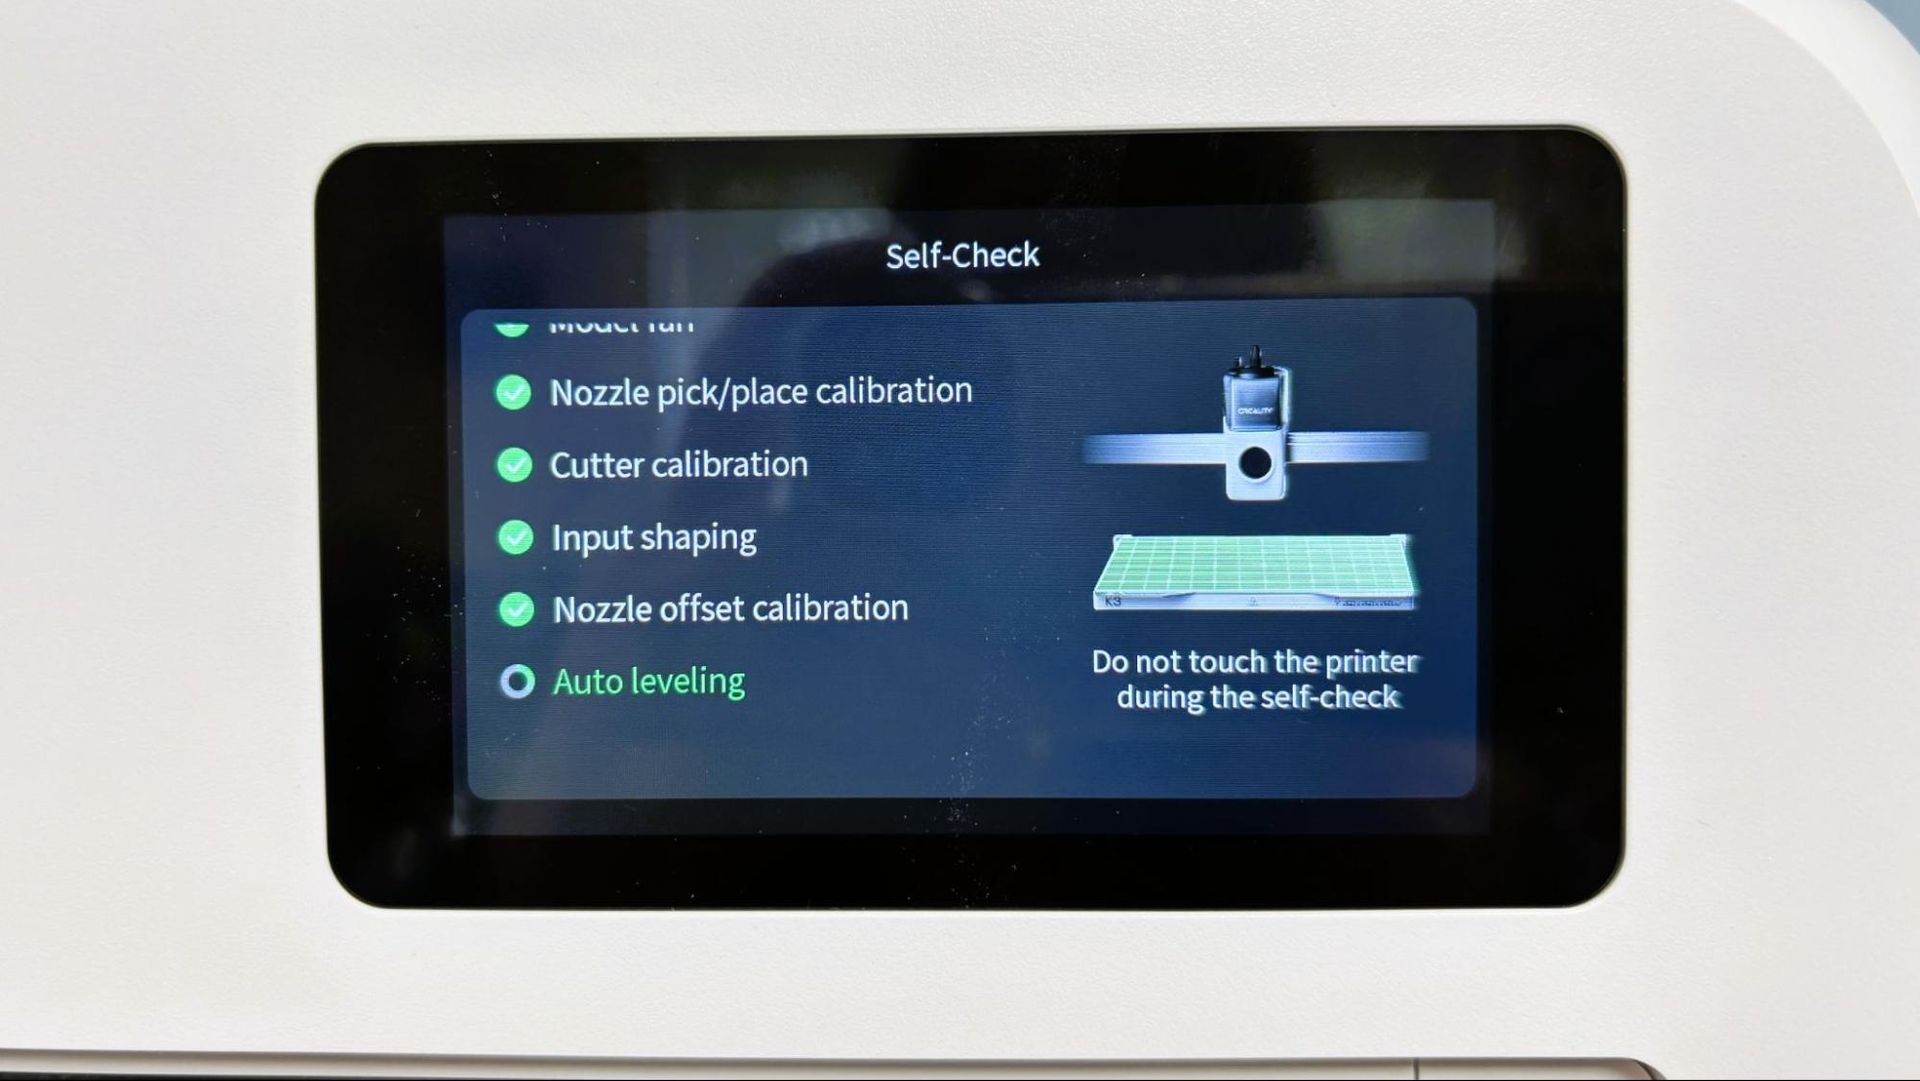
The Creality K3 does an excellent job calibrating and bed leveling as part of its initial self-check. Bed leveling can be repeated at the start of each print.
Loading Filament on the Creality K3
(Image credit: Tom's Hardware)
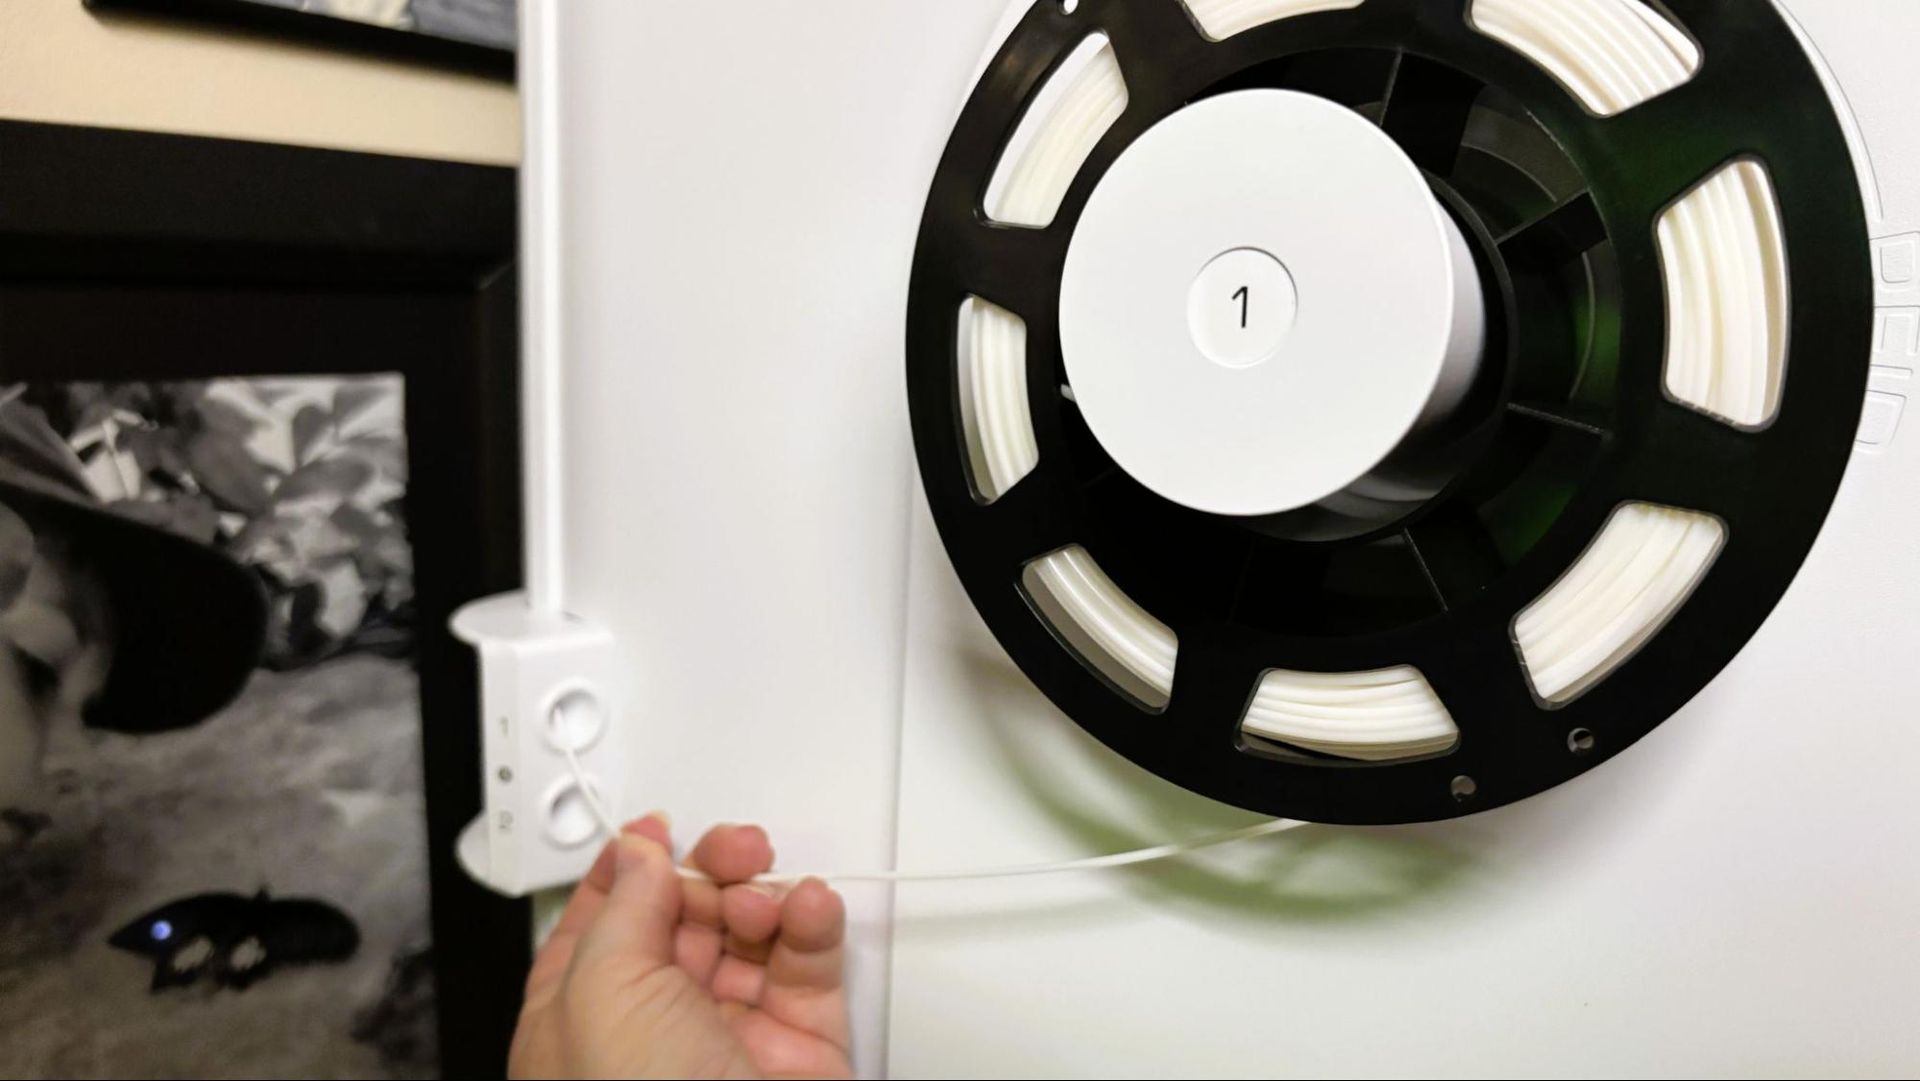
Loading filament into the Creality K3 is pretty simple. Filament is inserted into a port on the side bracket, which guides it up to the CFS Nano, which does the rest. The filament waits in the tube until called for by a print job. It is then loaded into the tool.
To unload, the tool is selected from the printer’s screen. The printer then cuts the filament and retracts it out of the tool, and it can be manually pulled out of the CFS Nano the rest of the way.
All four filament slots can read RFID tags in the spools to load information for Creality-branded filament. For other filament brands, the printer will beep to remind you to manually enter the filament type and color.
Preparing Files / Software for Creality K3
(Image credit: Tom's Hardware)
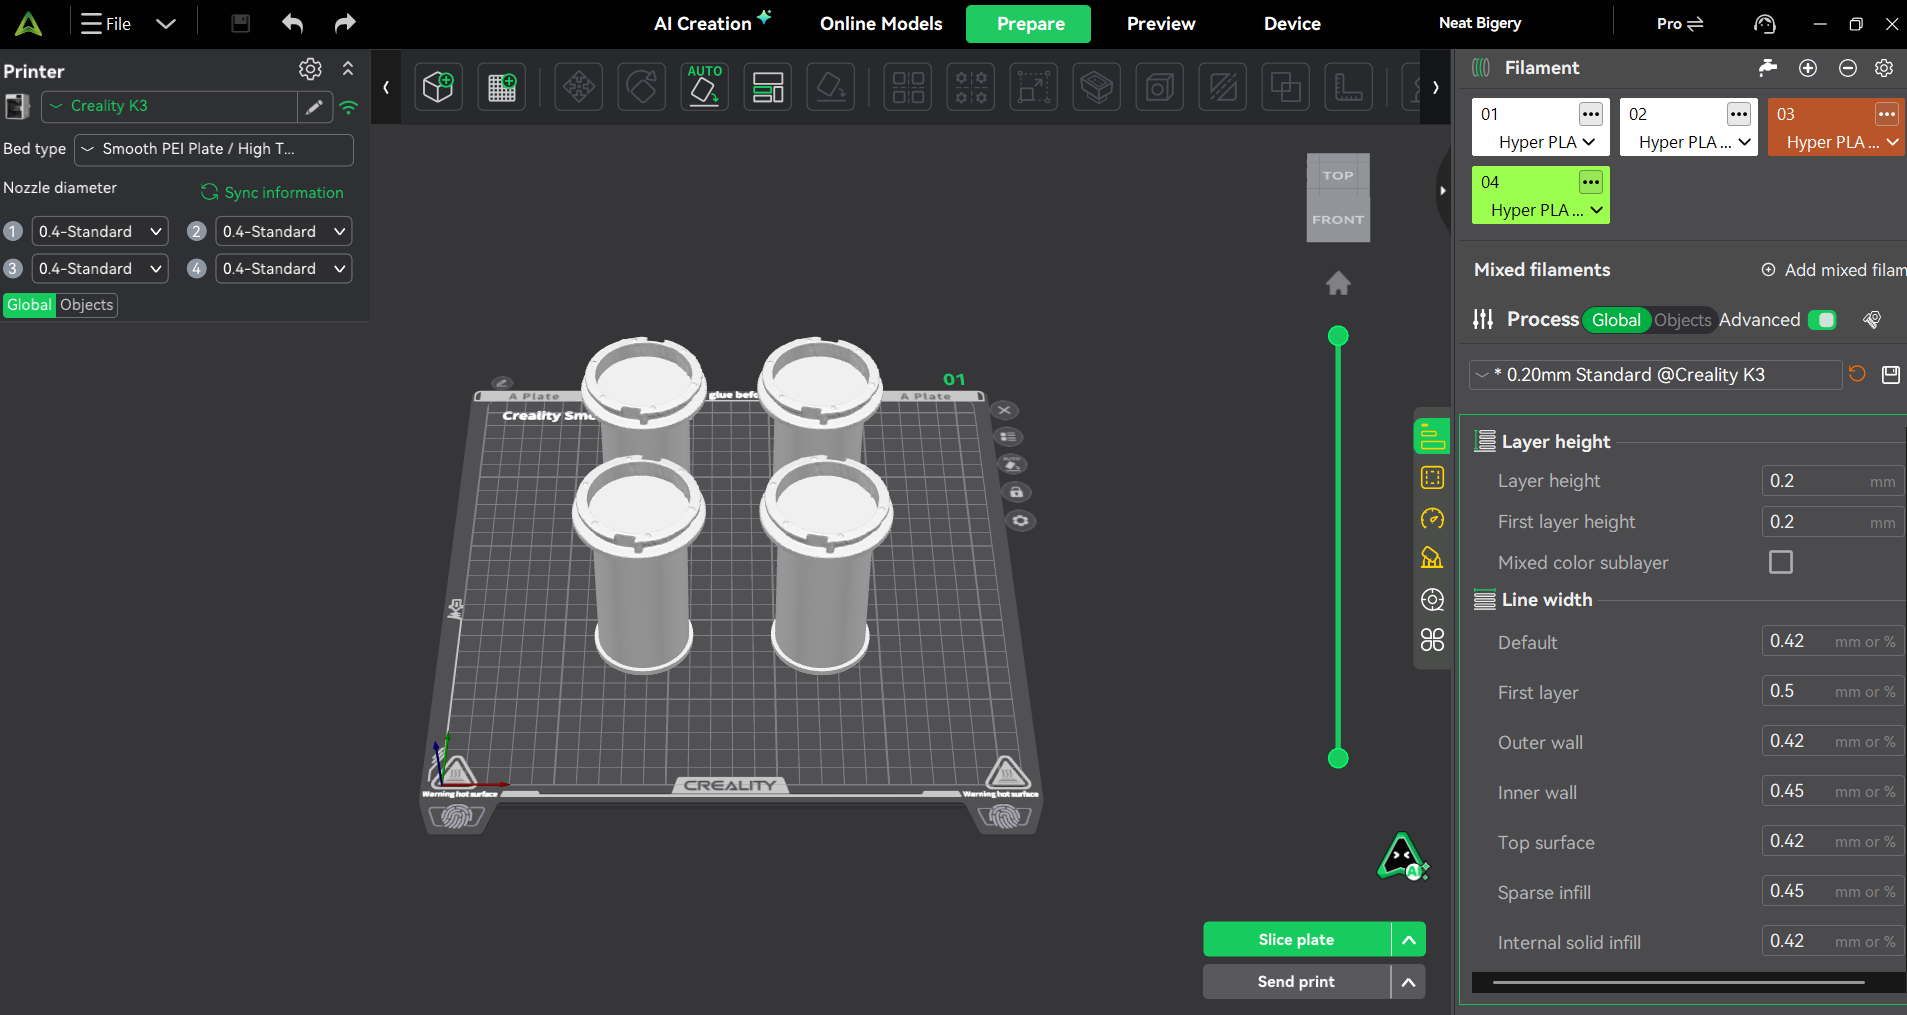
The latest version of Creality Print 7.3 is available from Creality.com. It is based on the Orca Slicer and Ultimaker Cura Engine. The default settings worked well, and there is a new AI assistant mode, which is still labeled as beta. At the time of the review, the only thing missing for the K3 was a button to map the filaments into the slicer. The button is still there for the earlier K-series printers in the slicer. The slicer does have filament mixing for more color combinations.
(Image credit: Tom's Hardware)
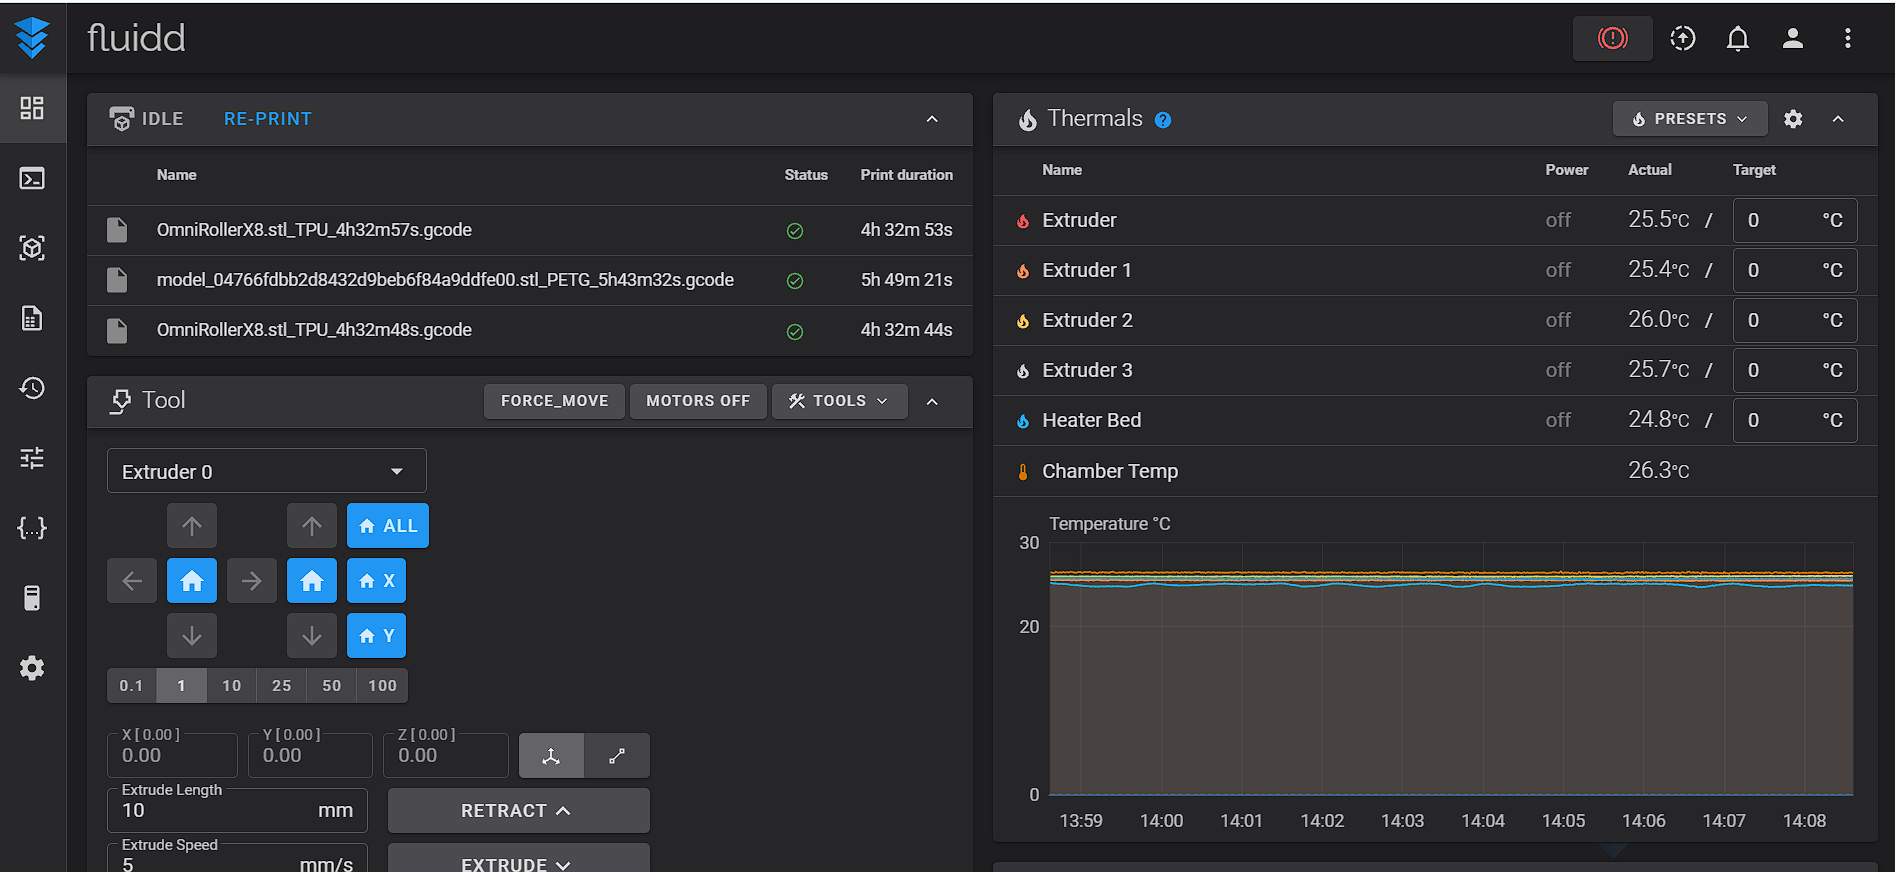
A link at the top of the page will take you to Creality’s AI Creation tools and Creality Cloud, Creality’s online file-sharing service. If you don’t like the Cloud, you can export files from the slicer and either move them to the printer with a USB stick or move them over your home network by accessing the printer’s FLUIDD interface. To access FLUIDD, you need to find the IP address of your printer and type that into a browser window, followed by:4408 with no spaces.
(Image credit: Tom's Hardware)
Printing on the Creality K3
The Creality K3 comes with a 200g spool of white Hyper PLA. If you want more colors and materials, you should check out our guide to the best filaments for 3D printing for suggestions.
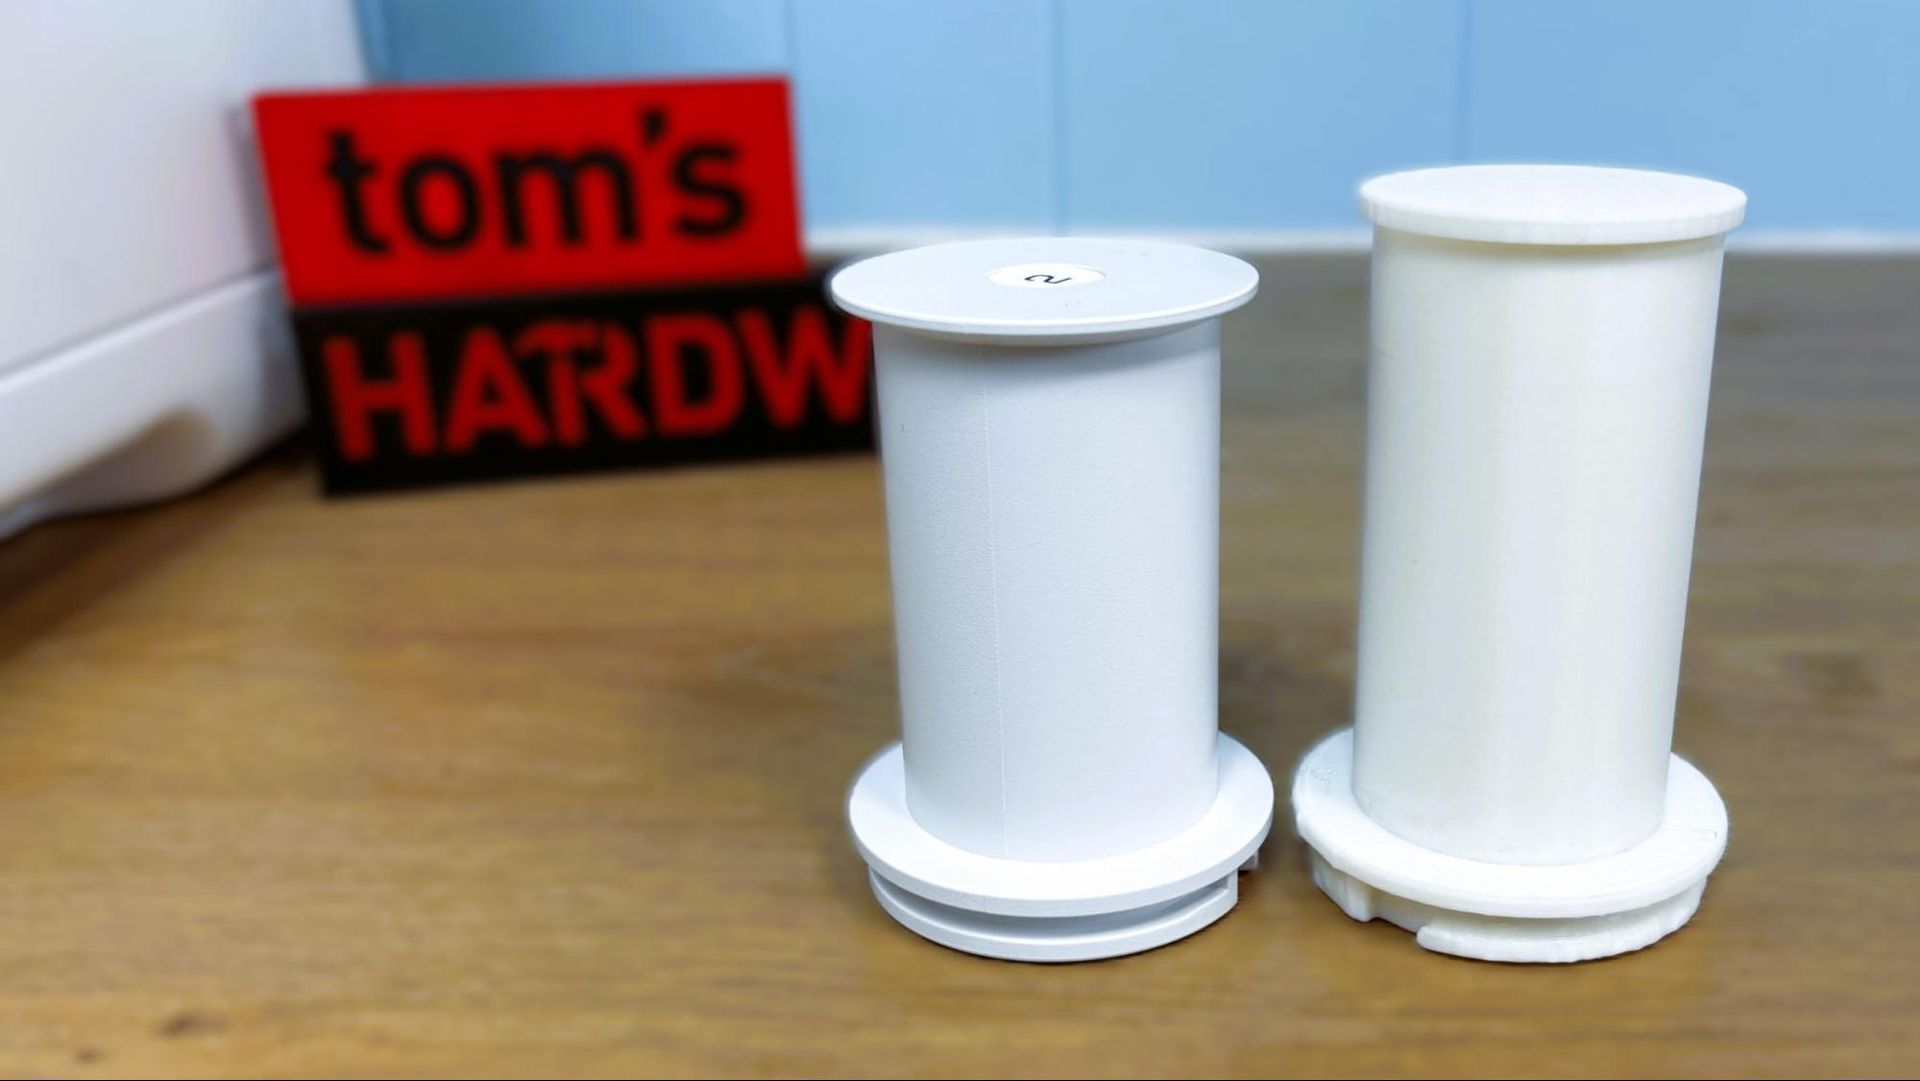
For the first print, I was going to run a pumpkin fidget toy, so I grabbed a spool of Prusa orange and was really quite cross when it didn’t fit on the preposterously large spool holders. I decided right then to mod the spool holder with the Creality Pika scanner. I took the scan into Tinkercad and reduced the diameter of the spool holder, then ran the new spool holders in Inland basic white using a .2 layer height and an average print speed of 170mm/s. The print took 8 hours and 34 minutes to complete. I do not usually mod printers while reviewing them, but Prusa Orange is perfect for pumpkins.
Below is the original spool holder (left) and the modded version (right).
(Image credit: Tom's Hardware)
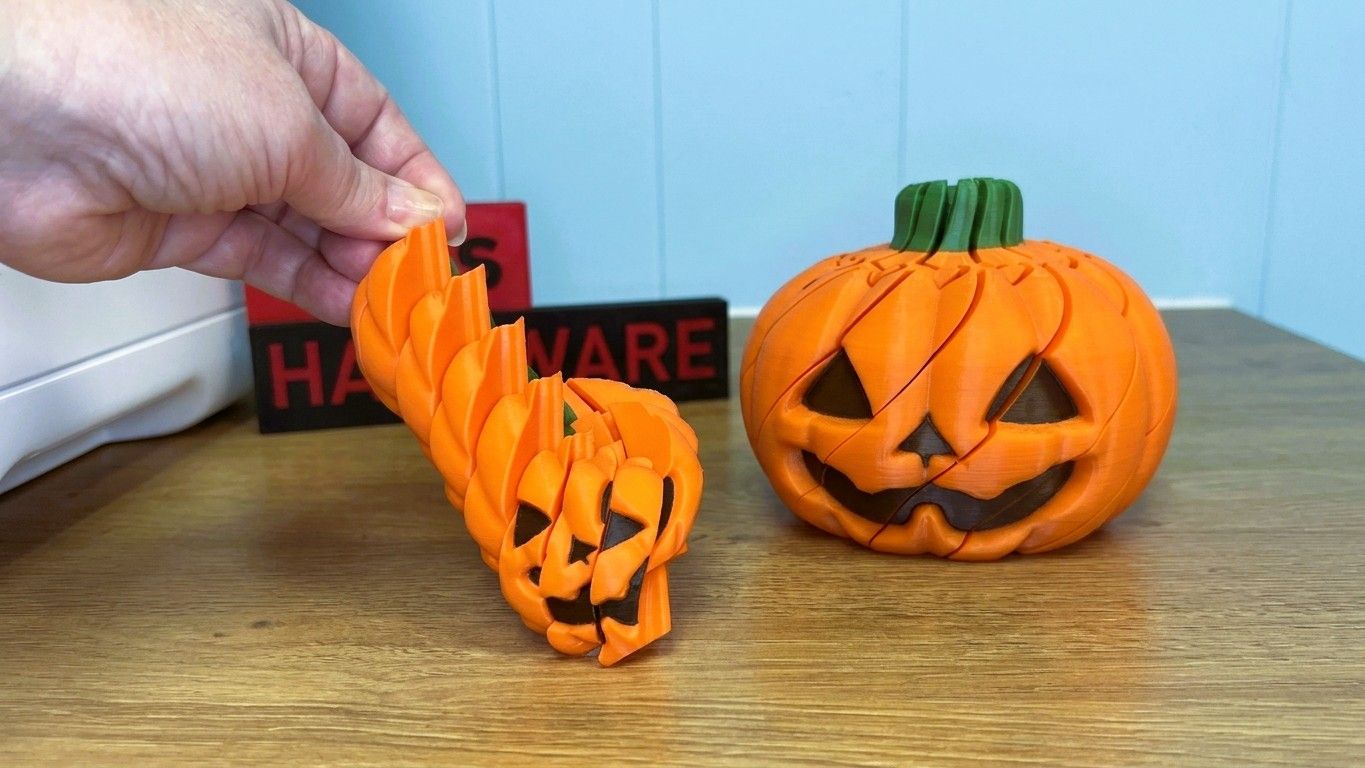
For my second print, I did a pumpkin fidget toy I found on MakerWorld using Prusa orange PLA, Elegoo green PLA Pro, and Polymaker black HT-PLA Pro. I used a .2 mm layer height and printed with an average speed of 160mm/s; the print took a little over six hours. It came out nice without a hint of overextrusion. I liked it so much I decided to print it again scaled up to 200%. Using the same settings, the larger print took 16 hours and 28 minutes and is also very nice with a good fidget action.
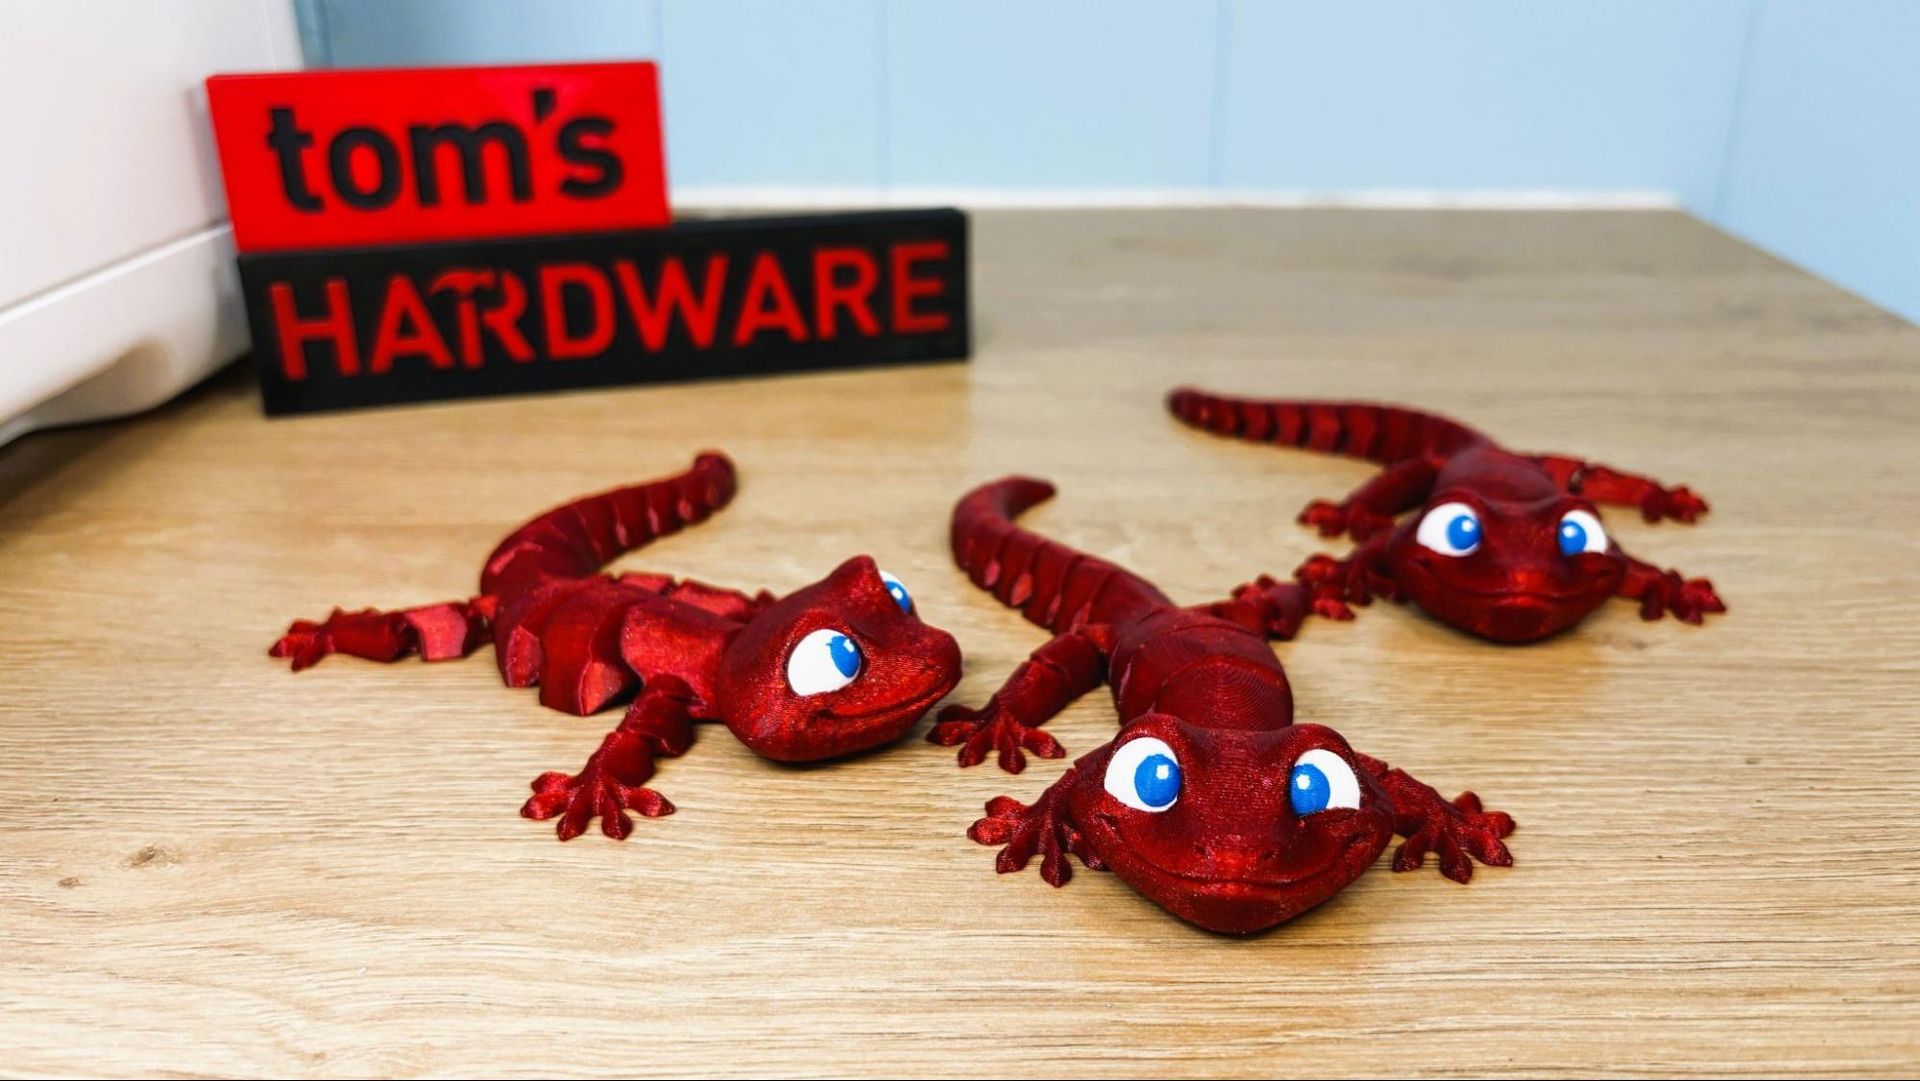
For PETG, I printed a plate of 3 flexy geckos I found on Creality Cloud using Prusa Carmine Red, Prusa Sky Blue, and Bambu Lab basic white PETG. Using a .2mm layer height and running at 180mm/s, the print took 5 hours 45 minutes to complete. The geckos are smooth and clean, plus all of the links work perfectly with no stringing or overextrusion present.
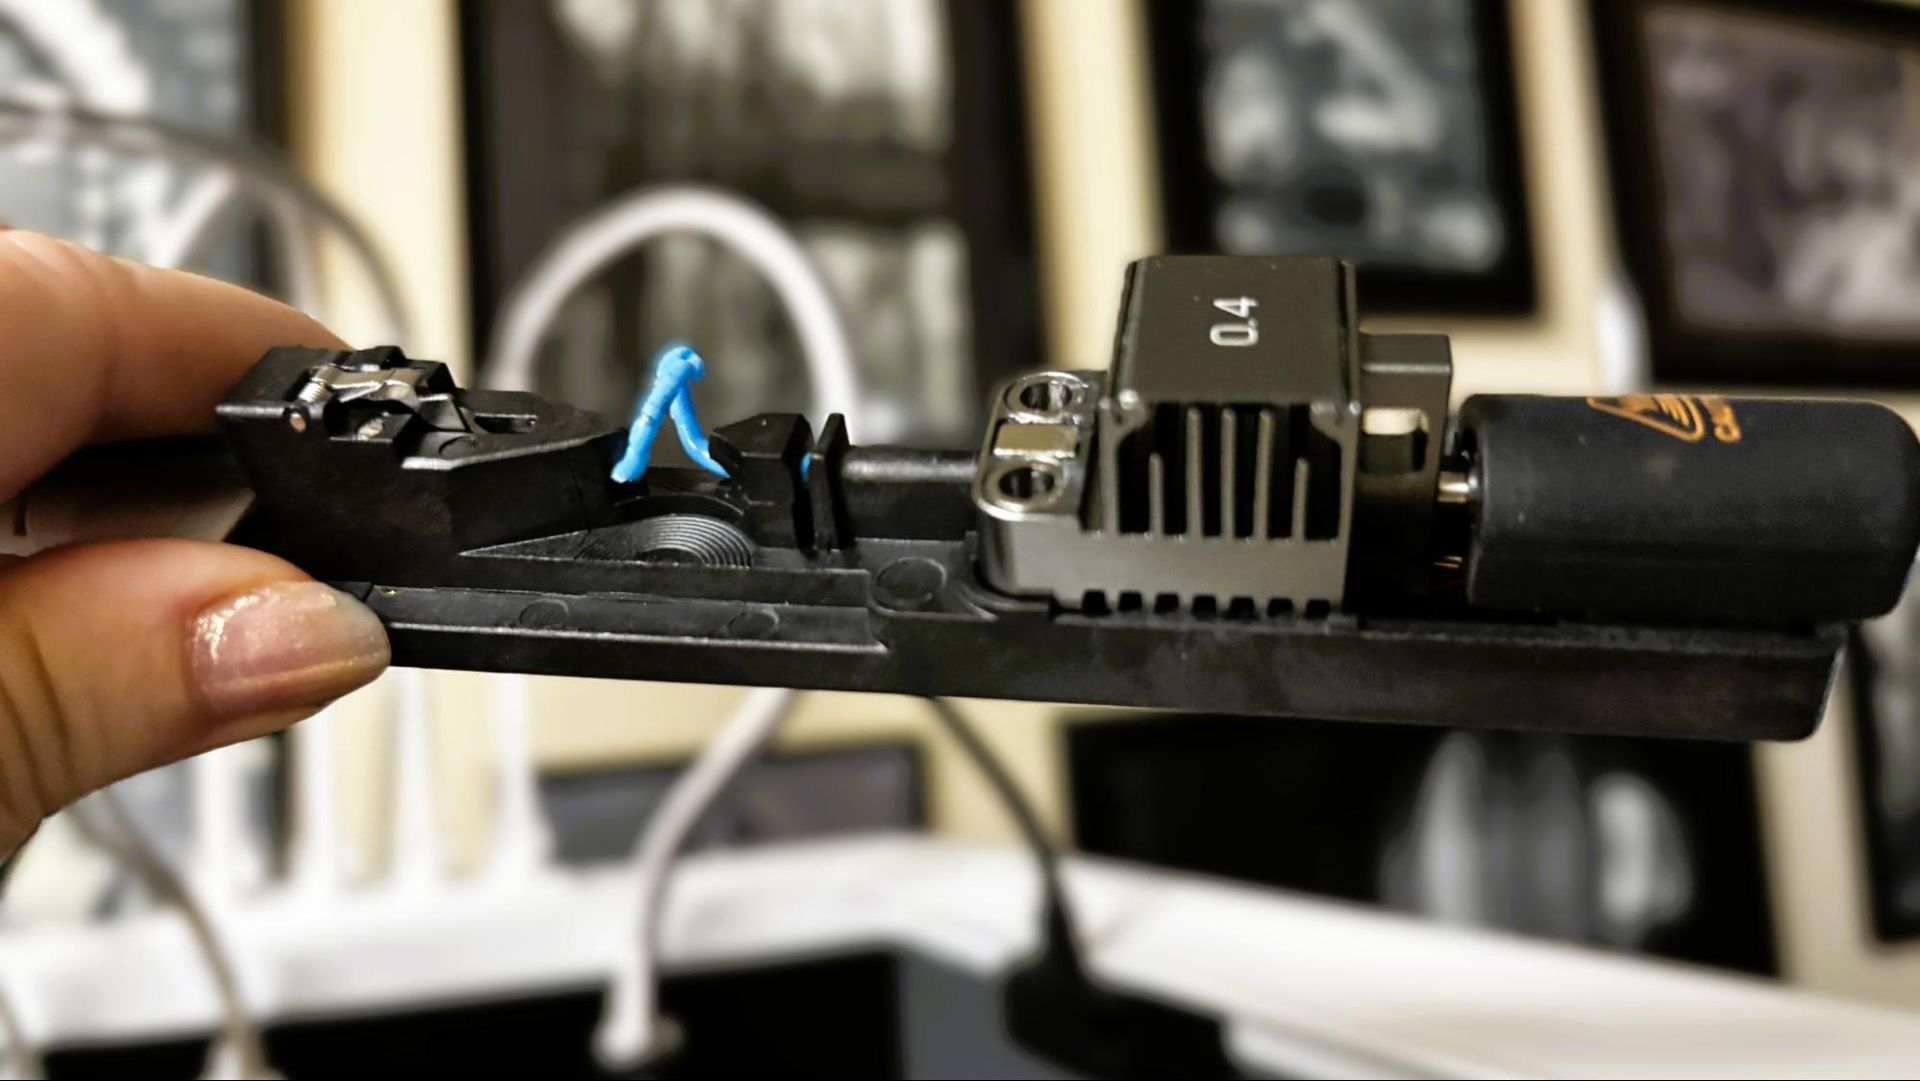
The Creality K3 did not have its special “flex” CFS at the time of review, but I decided to try TPU anyway. I printed some omni wheels for a Death Racer we’re working on in both hard TPU for MFS from Inland and some 95A Inland rainbow TPU. The stock CFS Nano had no trouble pushing these, and the toolhead extruder had no problem with it. It did well. Trouble came when I tried some 90A TPU from Bambu Lab. I’d stick to the harder stuff until the TPU kit is ready.
Soft TPU does not agree with the KliTech tools. (Image credit: Tom's Hardware)
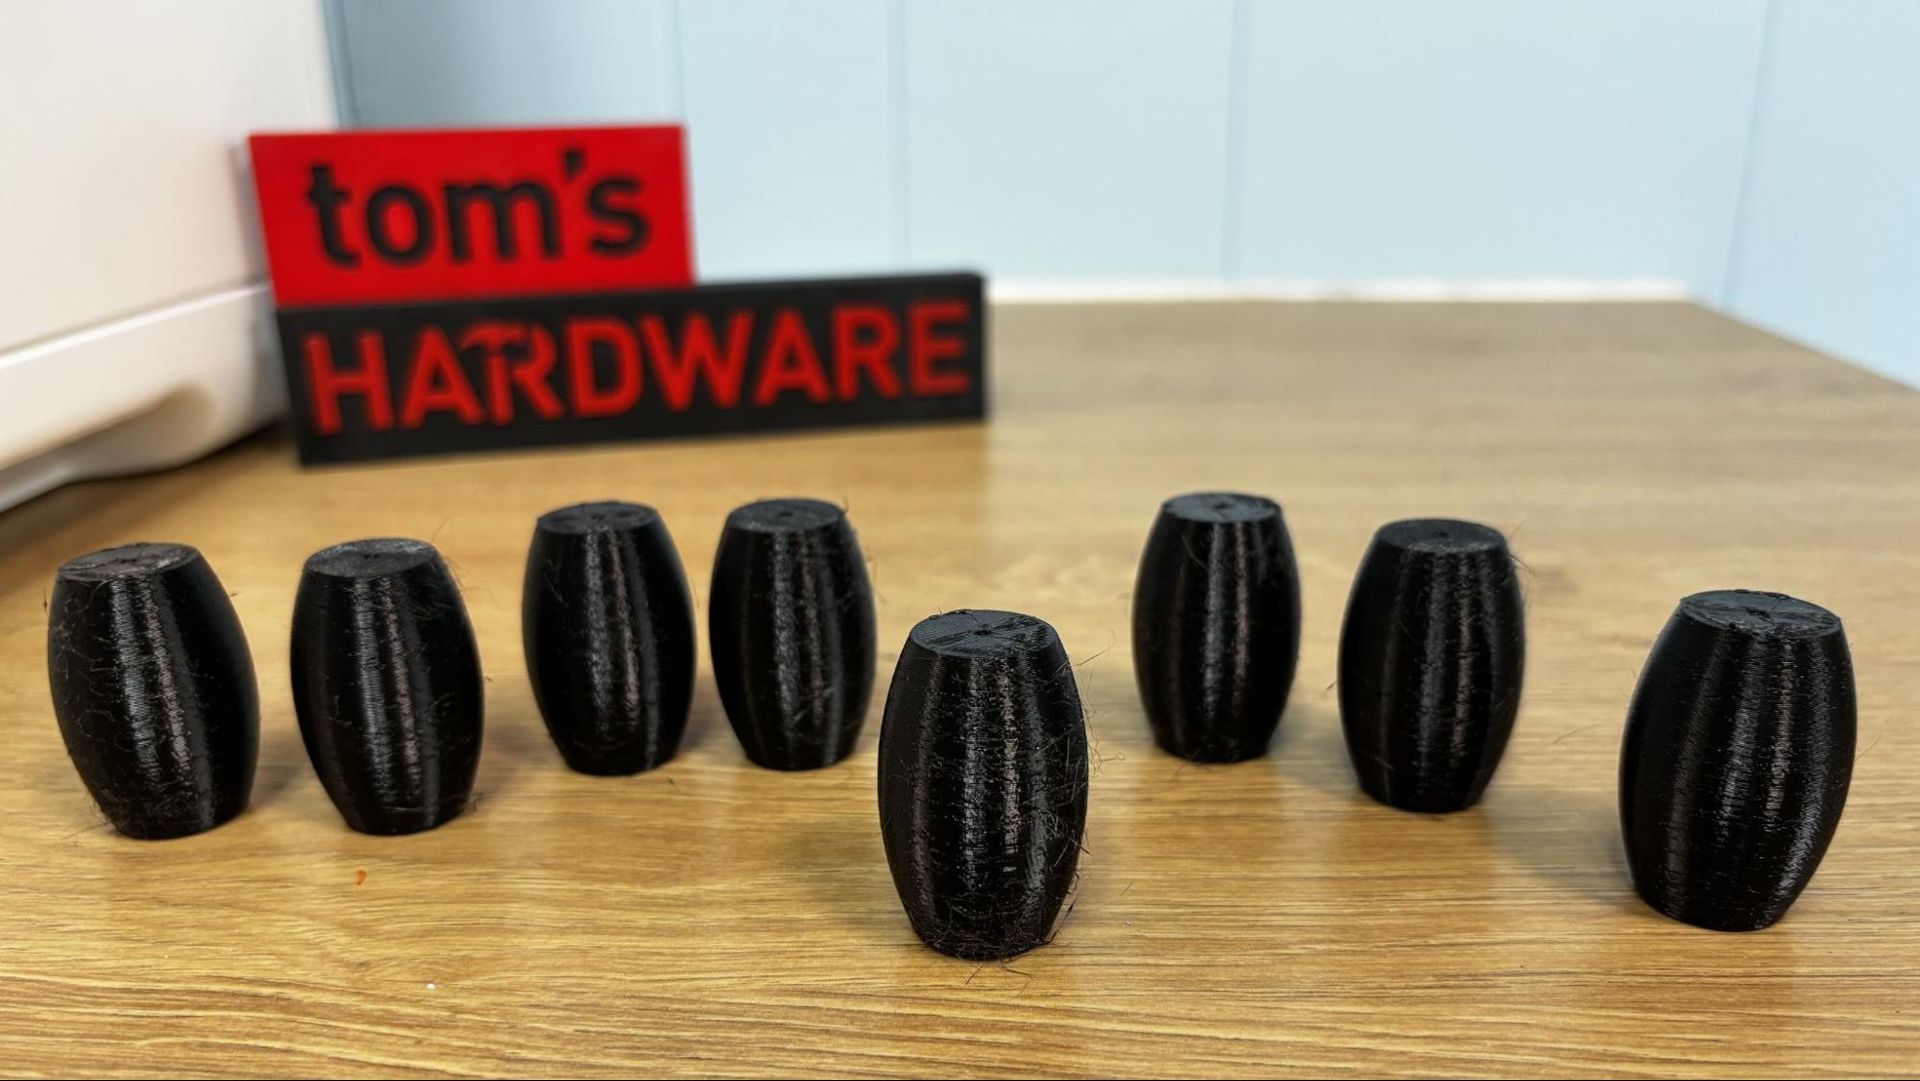
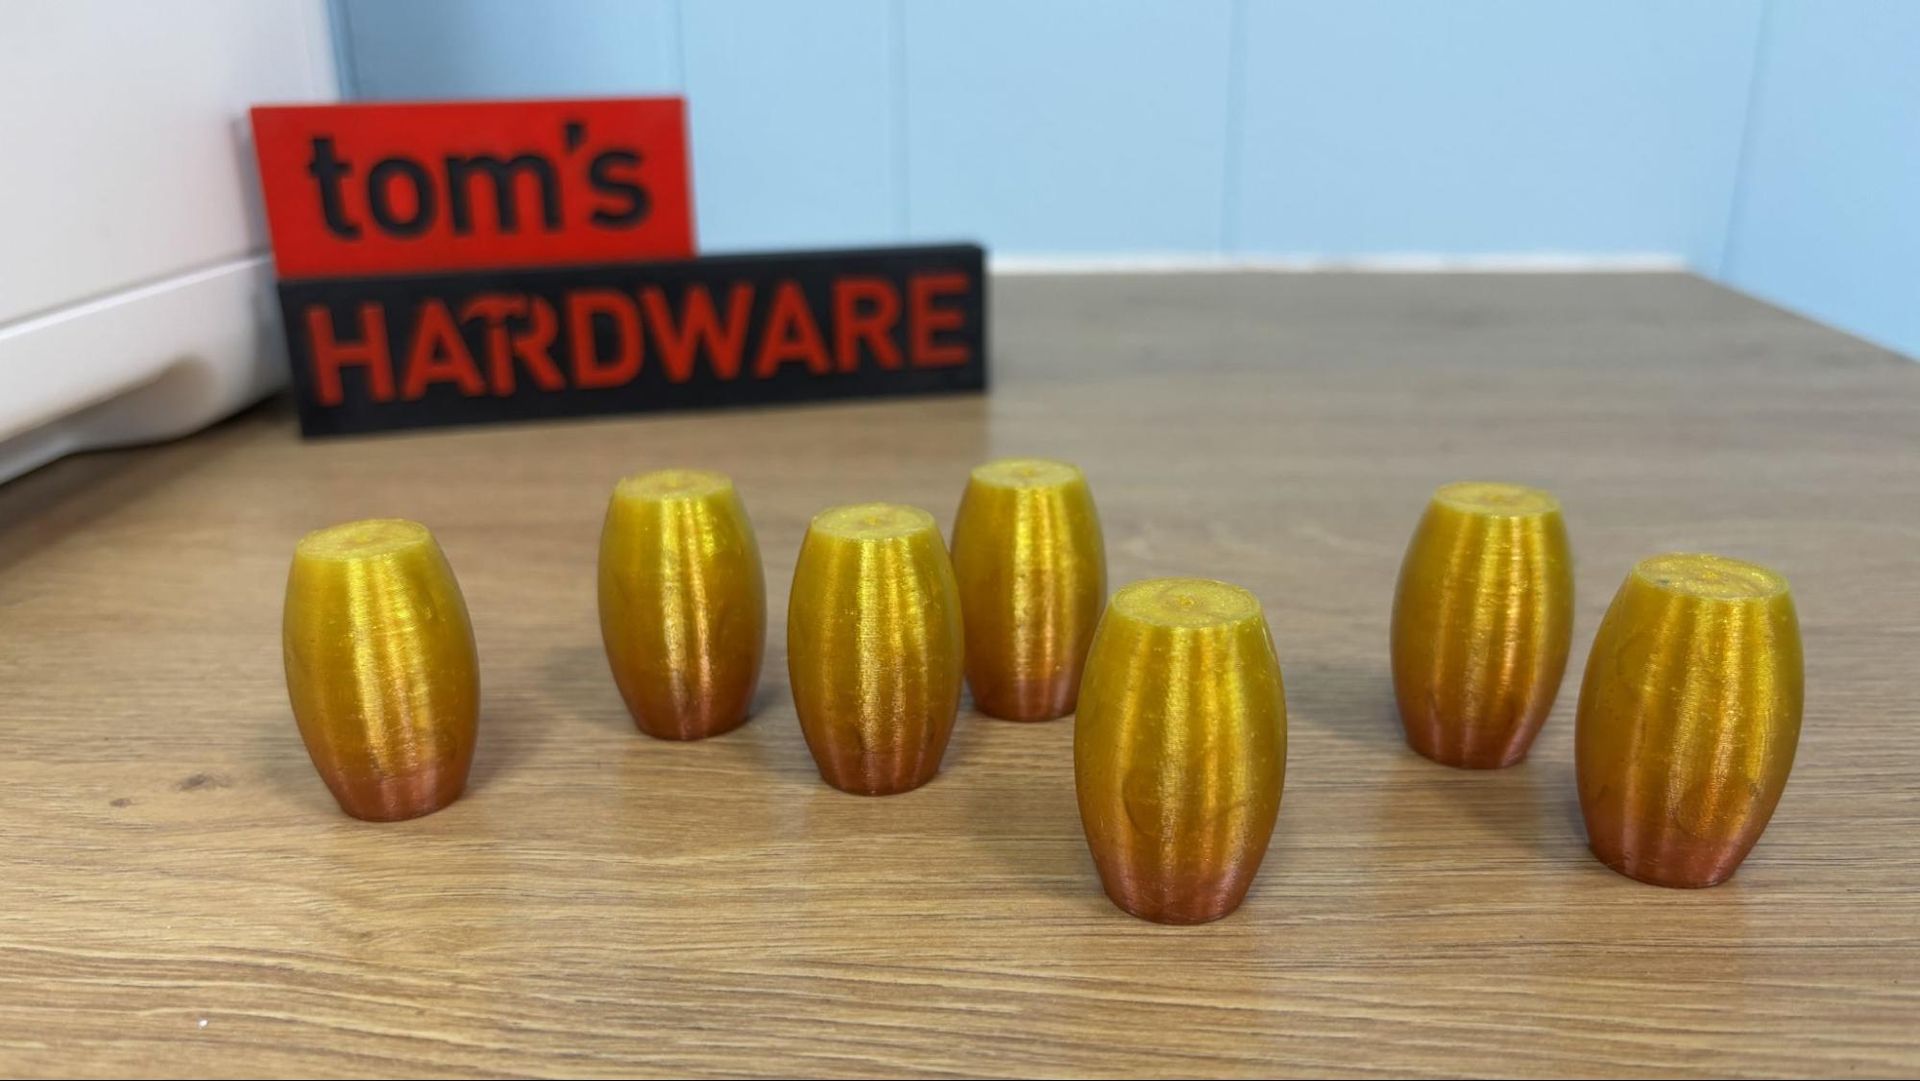
I did get good prints with the black TPU for AMS and the rainbow 95A filaments. The prints are omni-wheel rollers from the Deathracer project of Michael Baddeley. Both sets of eight rollers were printed at a .2mm layer height at an average speed of 50mm/s and each took a little over 4 hours to print. There was a tiny bit of stringing, but otherwise the rollers are perfect.
Michael Baddeley’s omni wheels in hard TPU for MFS.Tom's HardwareMichael Baddeley’s omni wheels in normal 95A TPU.Tom's Hardware
Bottom Line
(Image credit: Tom's Hardware)
The Creality K3 is a terrific printer that should become more capable with accessories like the tophat and TPU kit in the future. The oversized spools are a little annoying, but easily fixed. The only thing I worry about is Creality’s track record of releasing a printer, then introducing a better “pro” or “max” model within four months. I wouldn’t be surprised if we get a six- or eight-color K3 variant before next spring.
At its prelaunch price of $849, it’s $100 more than a similarly equipped, slightly larger Snapmaker U1, which is a tough place to be. It is also the same price as the fully enclosed Flashforge Creator 5 Pro, which we didn’t review, but we did check out the budget model Flashforge Creator 5, which is currently available for $699.
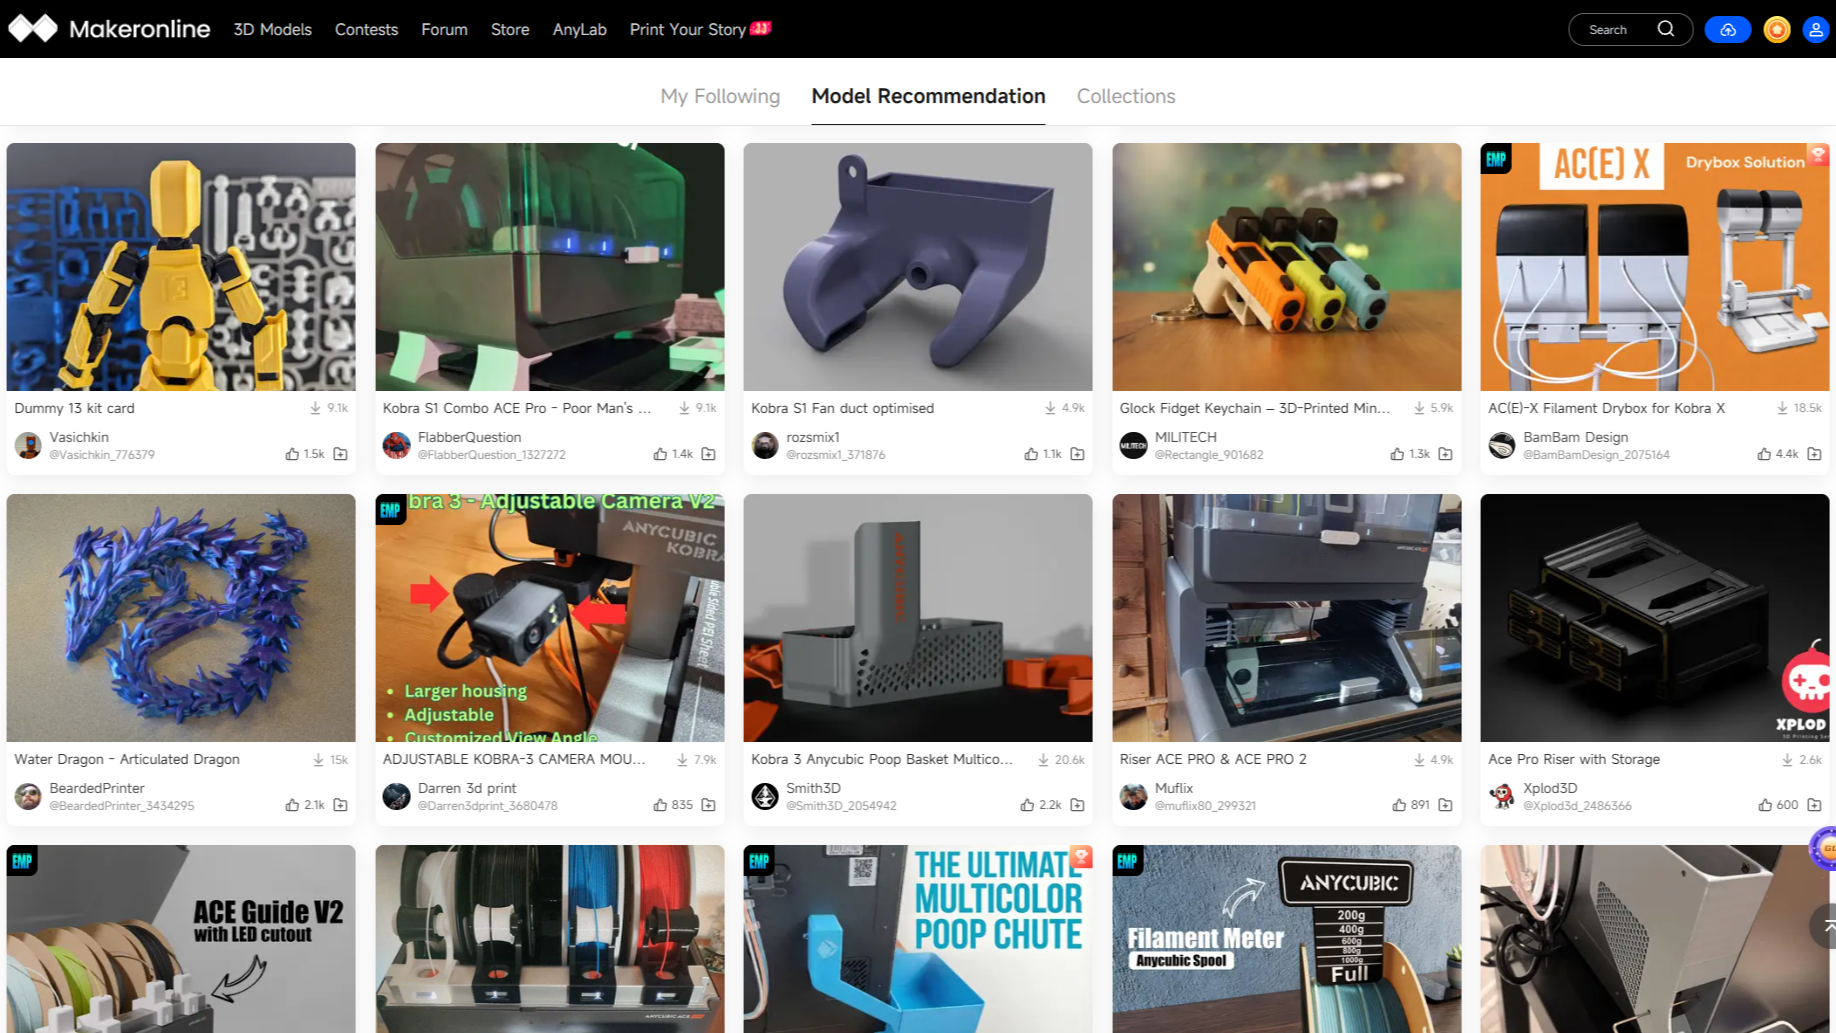
Anycubic has announced an exclusive partnership with Thingiverse, the world’s oldest and largest repository of free STL models for 3D printing. The move comes roughly eight months after Thingiverse was purchased from UltiMaker by MyMiniFactory. This is clearly a “collaboration,” not an acquisition, as Thingiverse remains part of the MyMiniFactory family and dedicated to the SoulCrafted, human-made art movement.
Instead, Anycubic will gain permission to share the files directly with its own users on the MakerOnline platform. Selected models will be adapted for multicolor printing and converted by Anycubic from STL to 3MF format for compatible printers (such as the Kobra X), helping reduce manual setup and making it easier for users to move from choosing a model to preparing it for printing.
As Thingiverse is an open platform, this partnership aims to make it easier for Creators to have their content enjoyed by Anycubic 3D printer owners around the world, said Romain Kidd, CEO of Thingiverse, in an email to Tom’s Hardware. Kidd said the collaboration will allow Anycubic users to have close to a “1-click” printing experience.
Kidd emphasized that Thingiverse designers would need to opt into the program. “We (of course) plan to respect Creators rights, licenses, and showcase them,” he said. When we spoke to Kidd earlier this year, he insisted that Thingiverse ultimately belongs to the creators and the people who use it, and they would always be involved in the development of the platform.
"As 3D printing reaches more mainstream users, people need more than hardware,” said James Ouyang, co-founder of Anycubic. “They also need quality content and simpler ways to turn their ideas into successful prints. Building a more integrated 3D printing experience is an important part of our long-term strategy, and working with Thingiverse helps us take another step toward that goal."
With creator trust a central concern across the open-source community, both companies have stressed that existing Creative Commons and Non-Commercial (NC) licensing terms will be strictly preserved across all converted 3MF files.
The partnership between Anycubic and Thingiverse highlights an industry-wide scramble to build custom ecosystems for consumers to keep them locked into brand loyalty. It would seem every manufacturer craves to provide the same friction-free experience as Bambu Lab has with MakerWorld and shops full of branded filament. Consumers new to 3D printing expect a “just push play” experience, with models flowing from app to printer without thinking. Leveraging Thingiverse’s model library will fast-forward over the long process of courting designers and hosting contests to build up a pool of ready files.
The program will launch on November 17, which is notably the opening day of Formnext, the world’s largest trade show for additive manufacturing. Tom’s Hardware will have a reporter at the show to see what else Anycubic and other 3D printer manufacturers will be announcing that day.
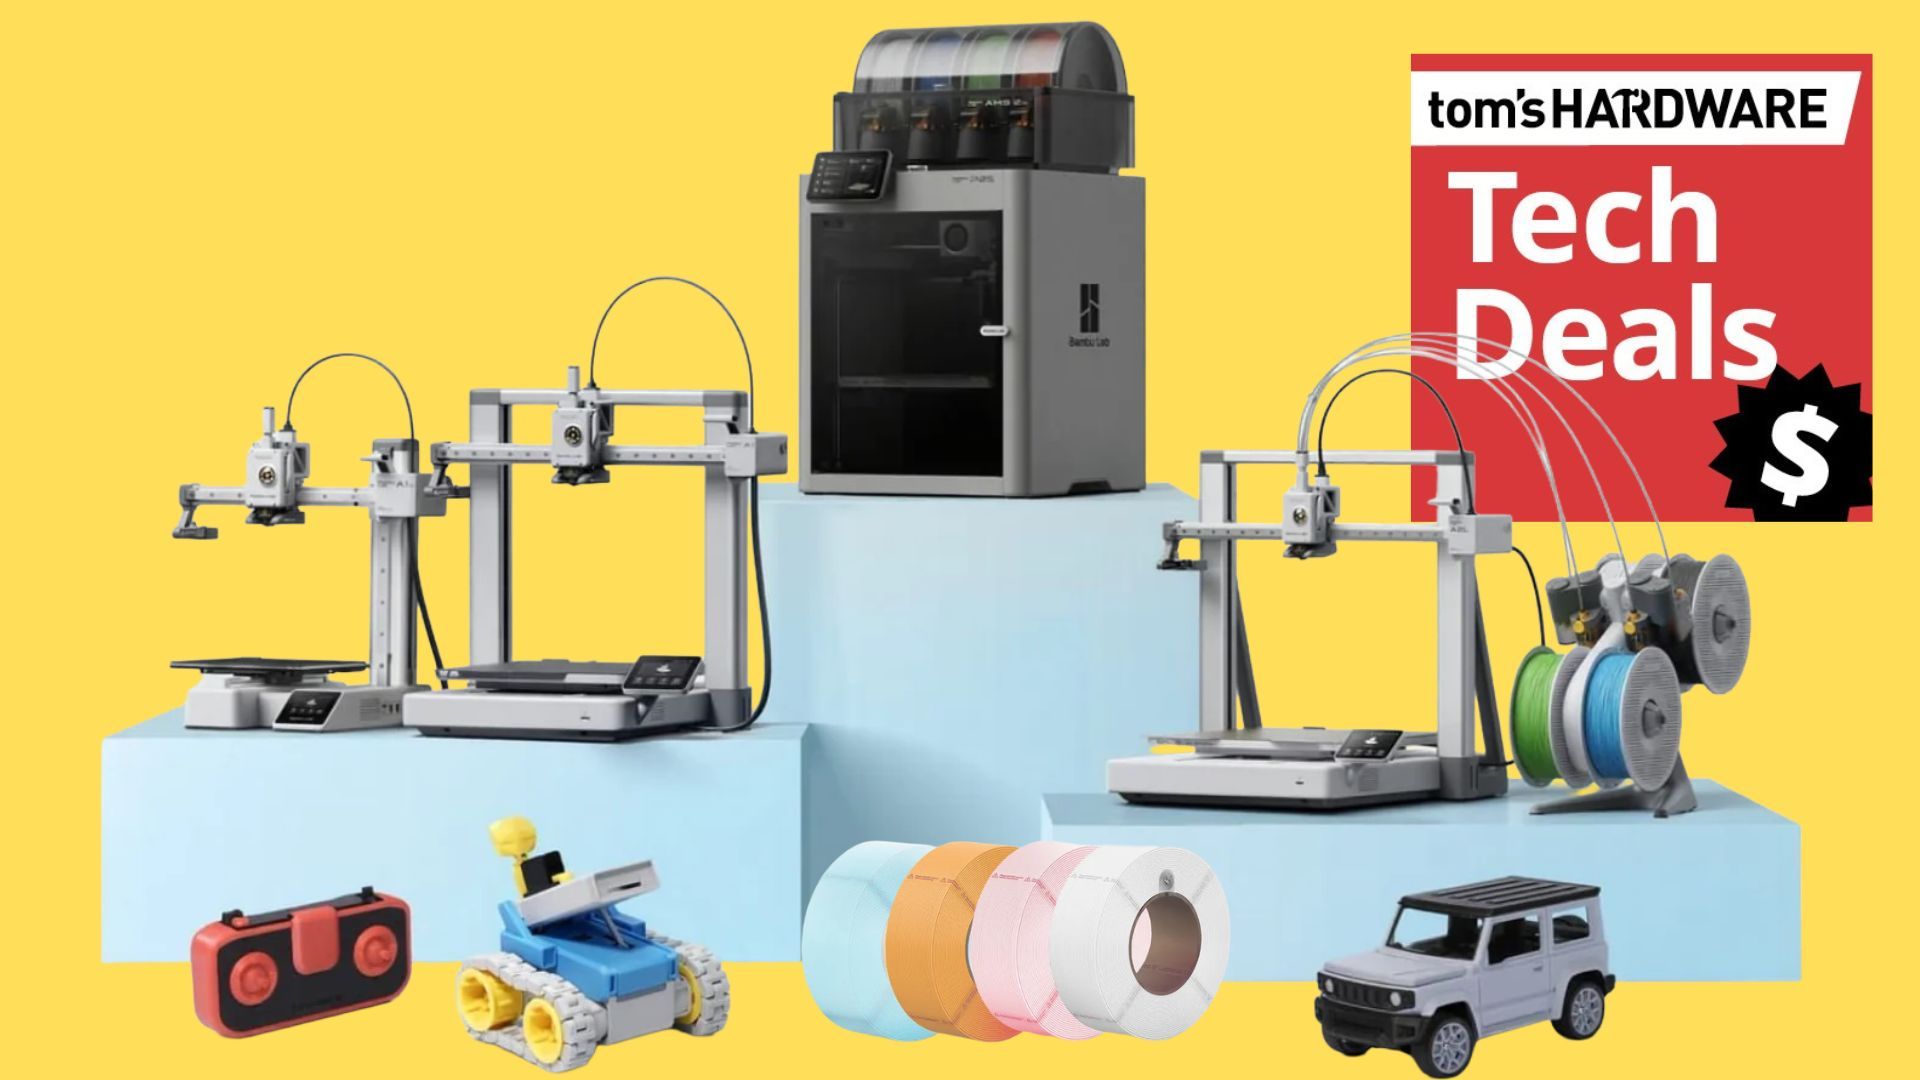
Bambu Lab has arrived early for the Black Friday sales extravaganza. The big sales event doesn't hit retailers until late next month during the Thanksgiving Holidays, but Bambu Lab is striking out in front of the chaos by starting its Black Friday sales right now. You can already grab big savings on 3D printers and filaments ahead of the main event.
Bambu Lab's sale is running from October 16 to December 1, 2026. So you don't have to wait to find out what kind of discounts are going to arrive during Black Friday, as they're already here.
Already, we can see savings of up to $300 on their flagship H2C 3D printer combo directly from Bambu Lab. With further discounts across the entire 3D printer lineup. There are also big Black Friday deals available on filament and accessories.
We've listed the best Bambu Lab deals currently available below. We've included links to Bambu Lab printers that we've previously reviewed, too, which you can check before you buy to see a full run-through of each printer's performance to help you make your decision.
Bambu Lab Deals on 3D Printers
H2C AMS Combo: was $2199 now $1899 Bambu Lab's Flagship 3D printer comes with an AMS color printing unit for multicolor printing, as well as being able to print twice as fast as other Bambu Lab multicolor printers.
Top-of-the-line performance with one of Bambu Lab's flagship 3D printers. Features include touchscreen controls, dual-nozzle printing, a 350mm x 320mm x 325mm build volume, and auto bed levelling, along with full AMS 2 compatibility.
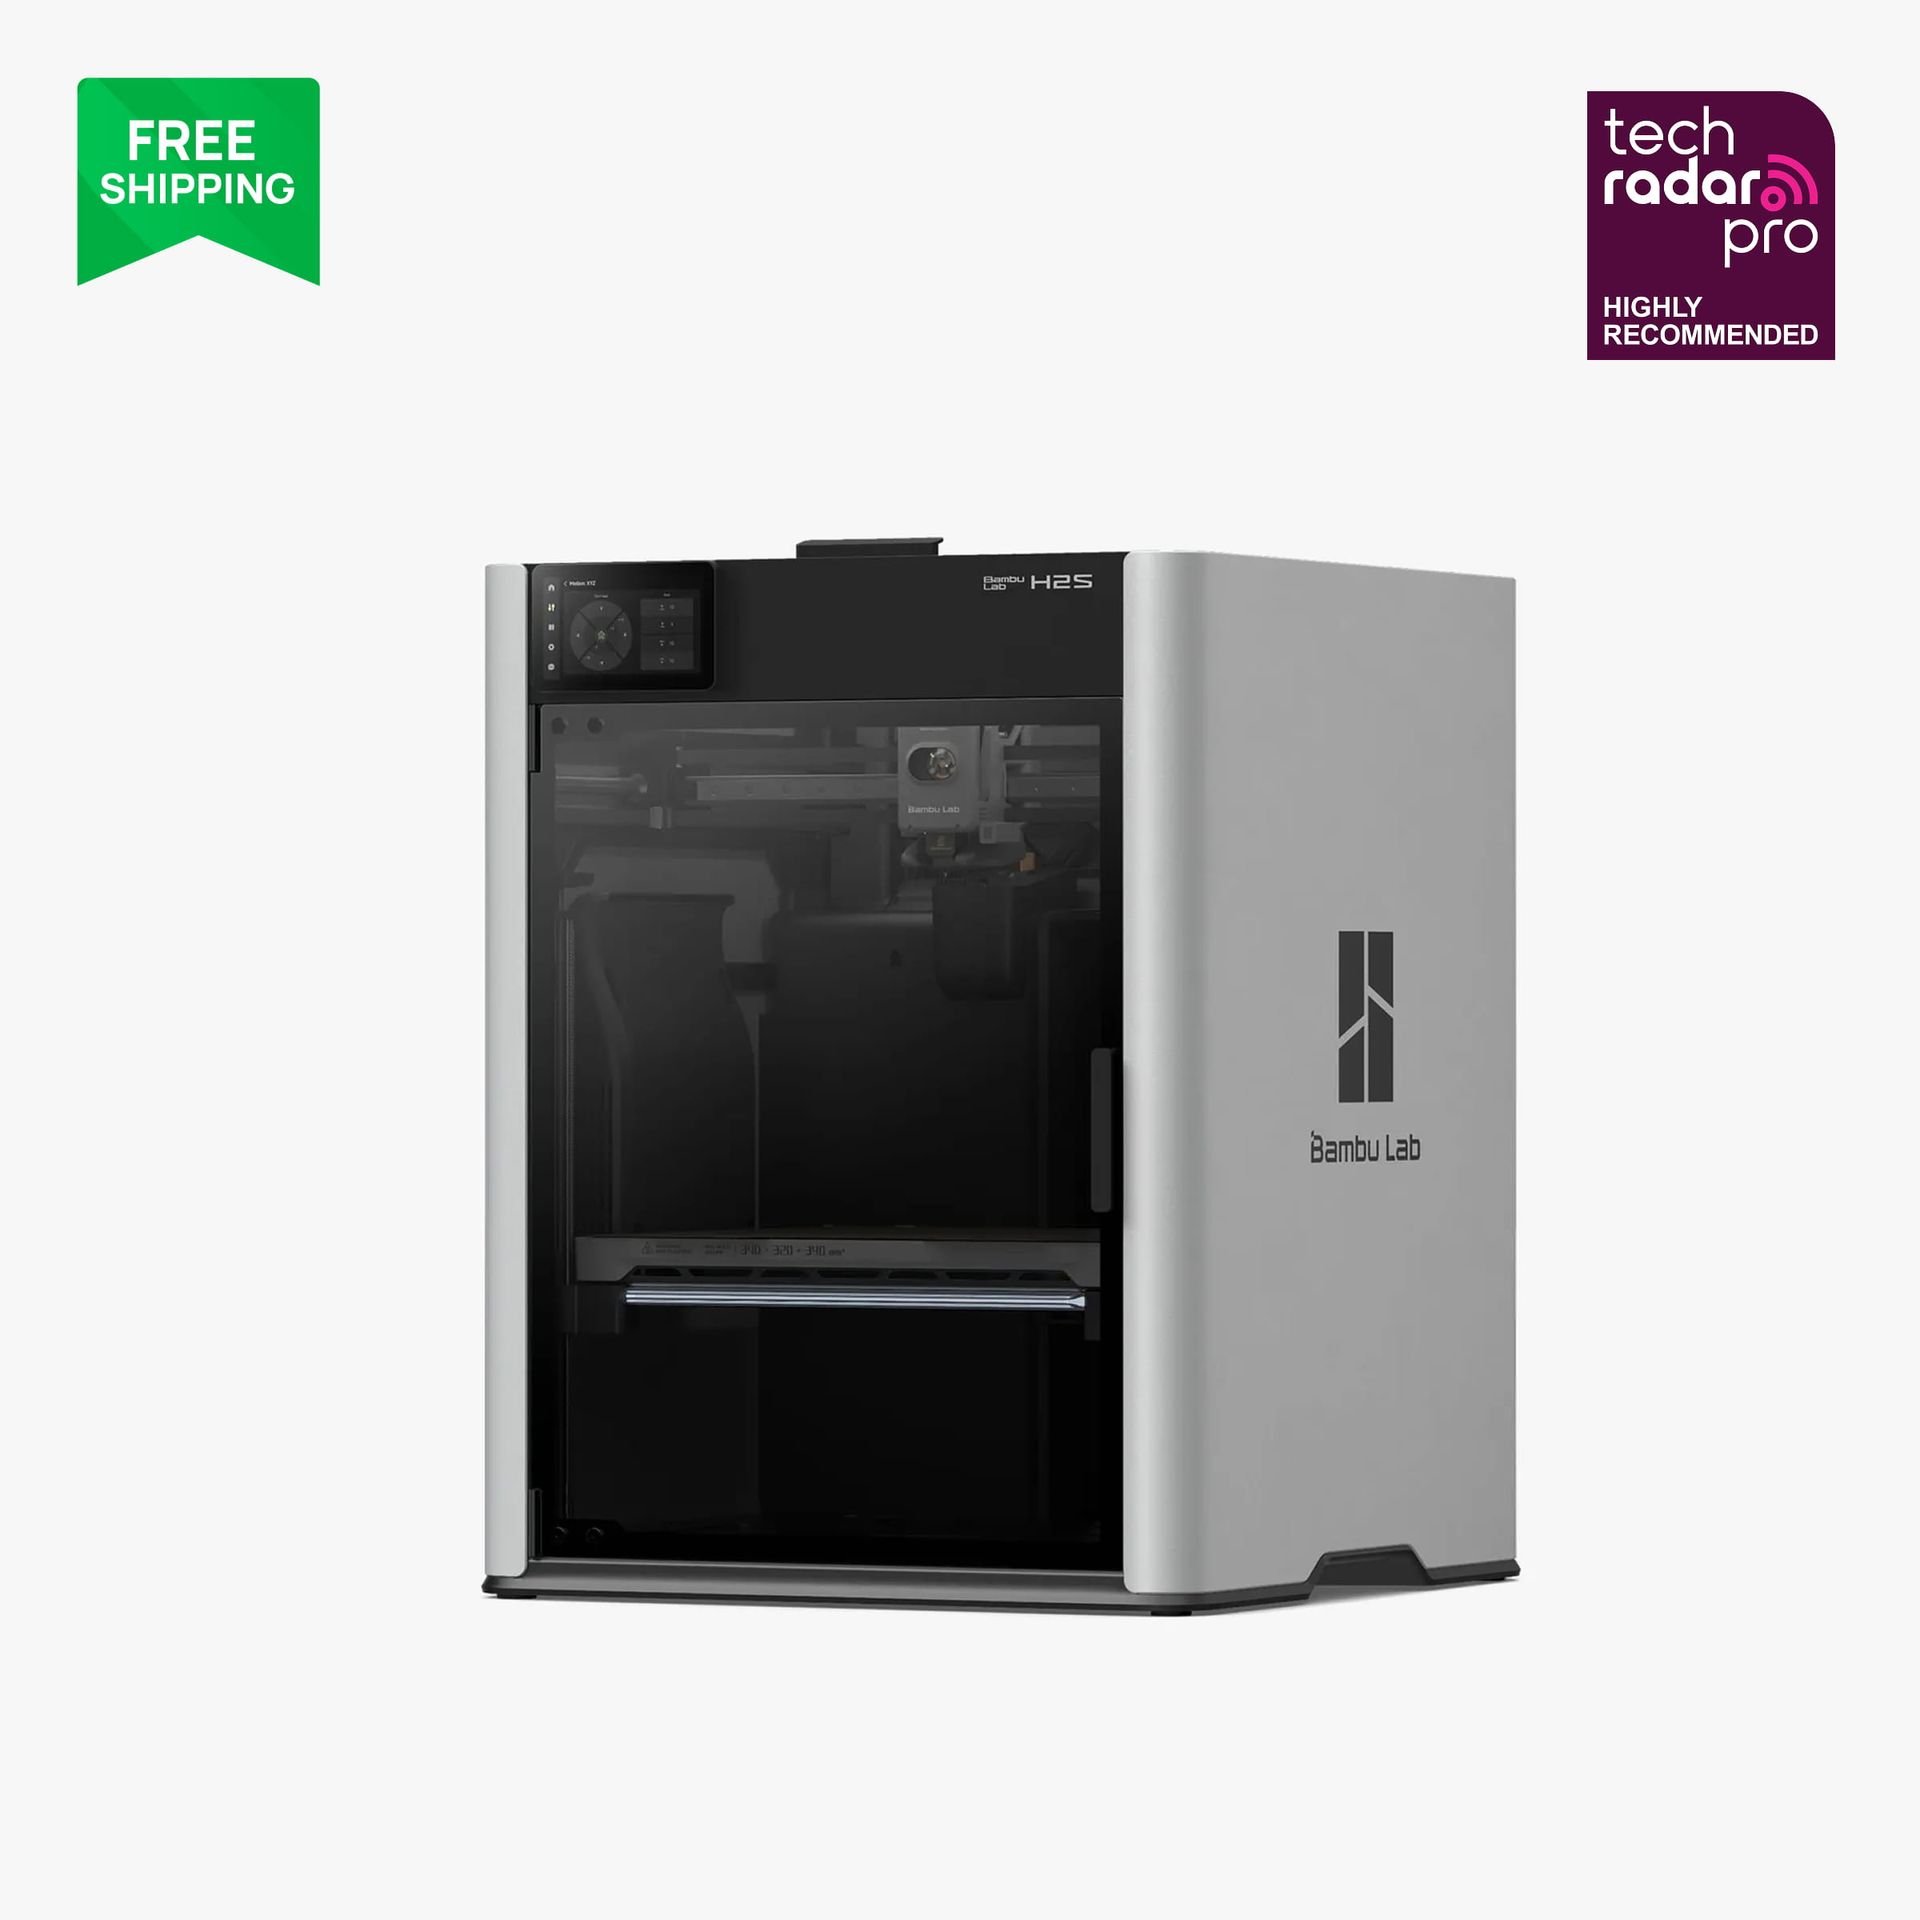
H2S with AMS: was $1399 now $1249 The H2S is a variant to the H2D above, and it's a good, reliable option for large volume printing. This combo also ships with the AMS at a discount.
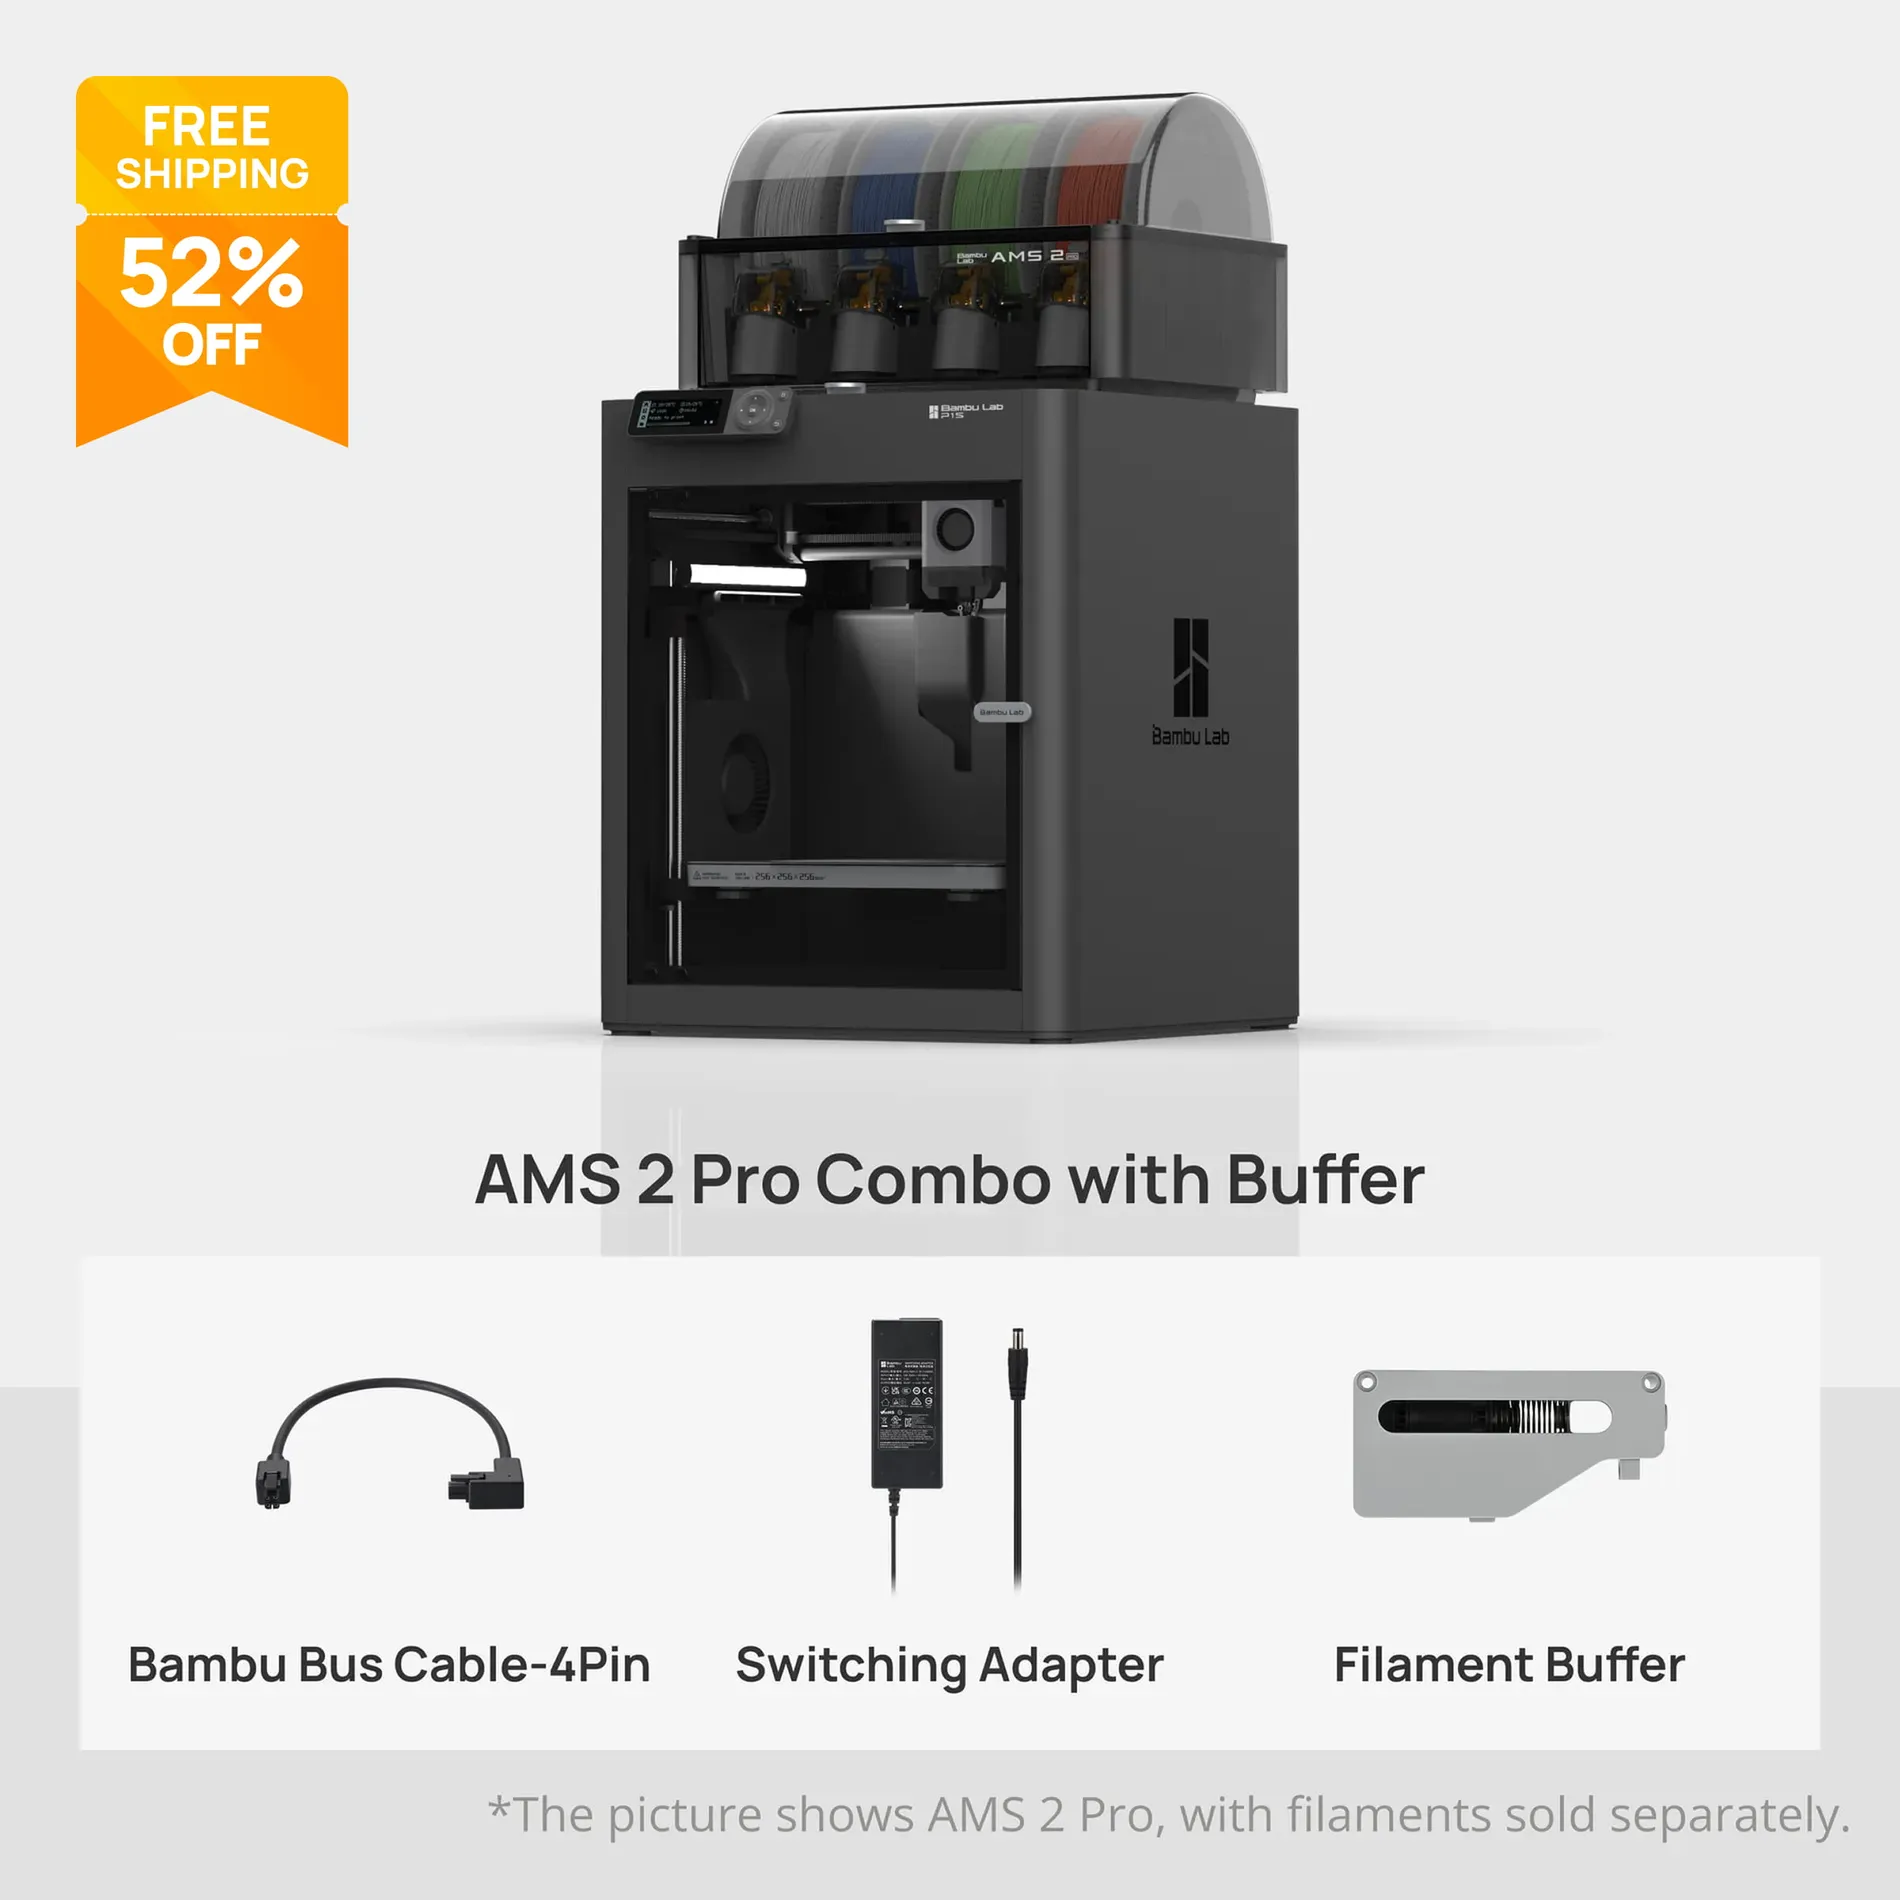
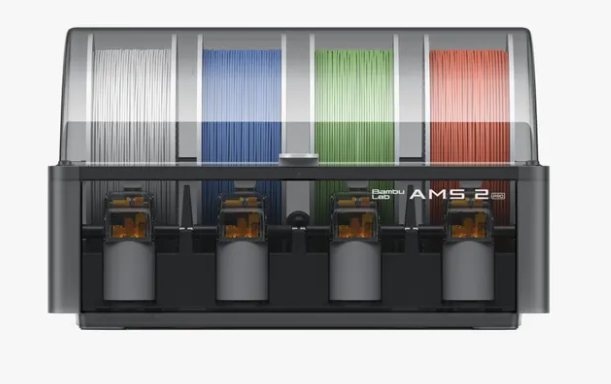
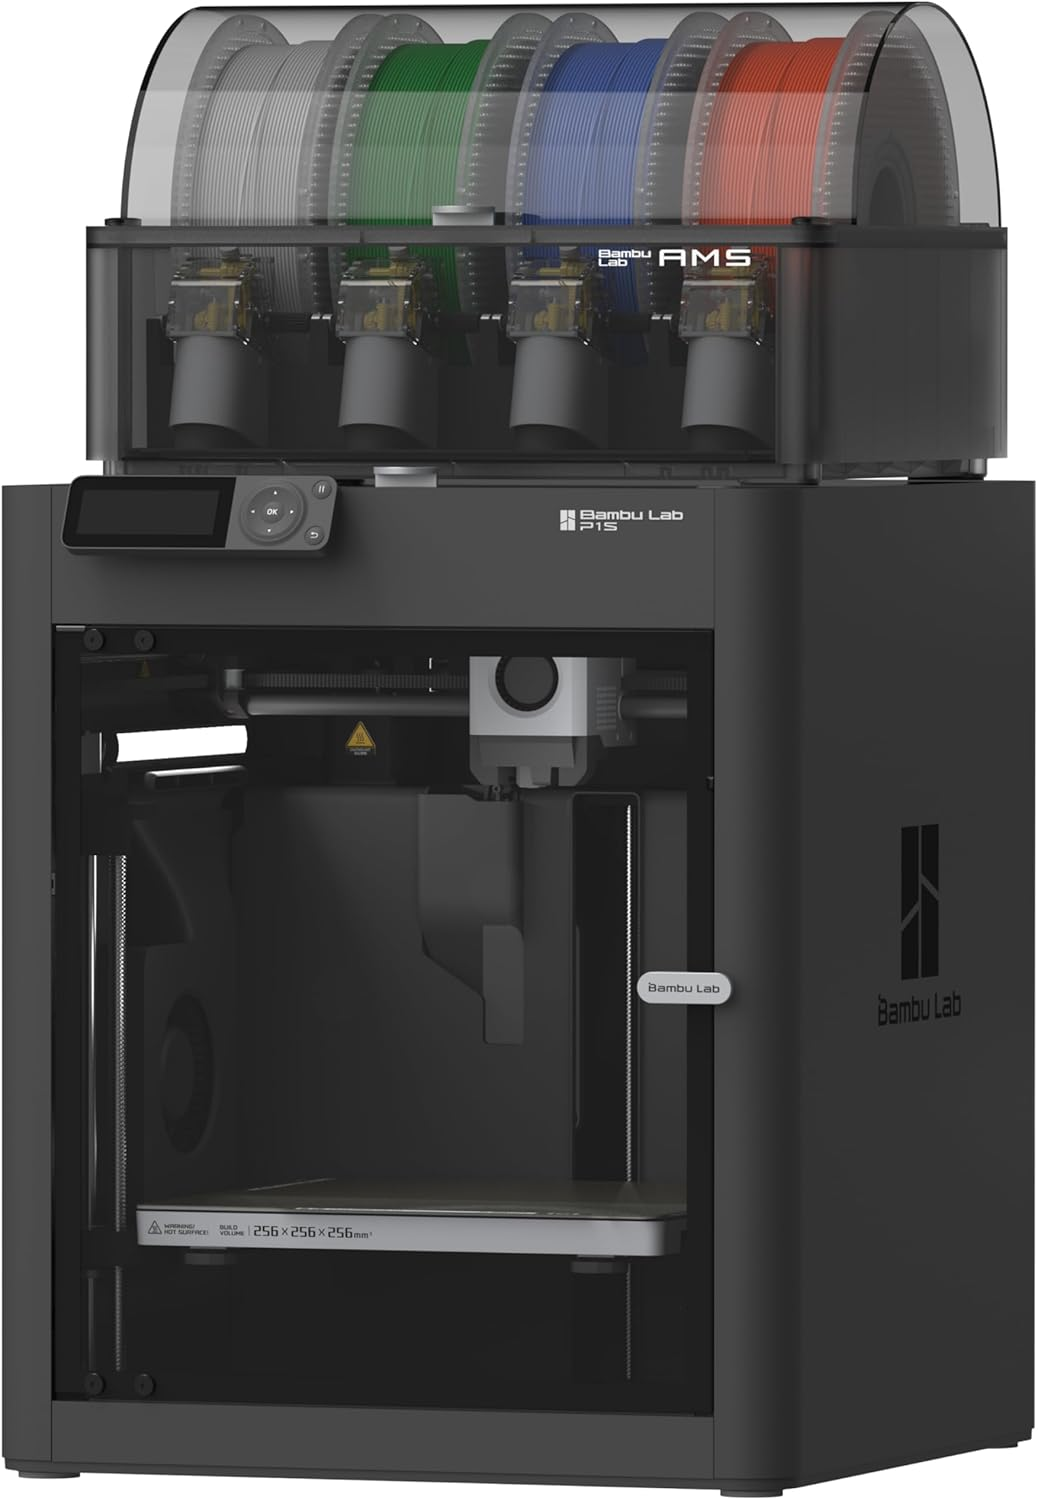
P1S with AMS 2 Pro: was $579 now $509 A mega saving on the Bambu Lab P1S with the new AMS 2 Pro included. The AMS 2 Pro is a big upgrade, supporting adding a 65°C heated filament dryer, faster motors, new ceramic feed inlets, and more.View Deal
A1 Mini 3D Printer: was $219 now $199 This popular compact printer is solidly built with a full-metal linear rail system and bearings, features full auto-calibration, vibration and flow-rate compensation, and compatibility with multi-color AMS accessories.
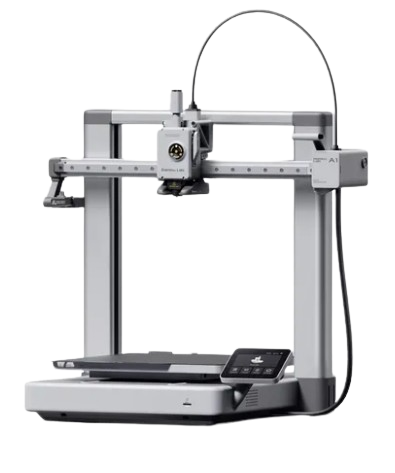
A1 3D Printer: was $299 now $259 The latest version of the Bambu Lab A1 uses an upgraded heatbed cable with Kevlar reinforcement and thicker insulation for an improved product. Features include full AMS compatibility, full-auto calibration, and a 256x256x256 mm³ build volume.
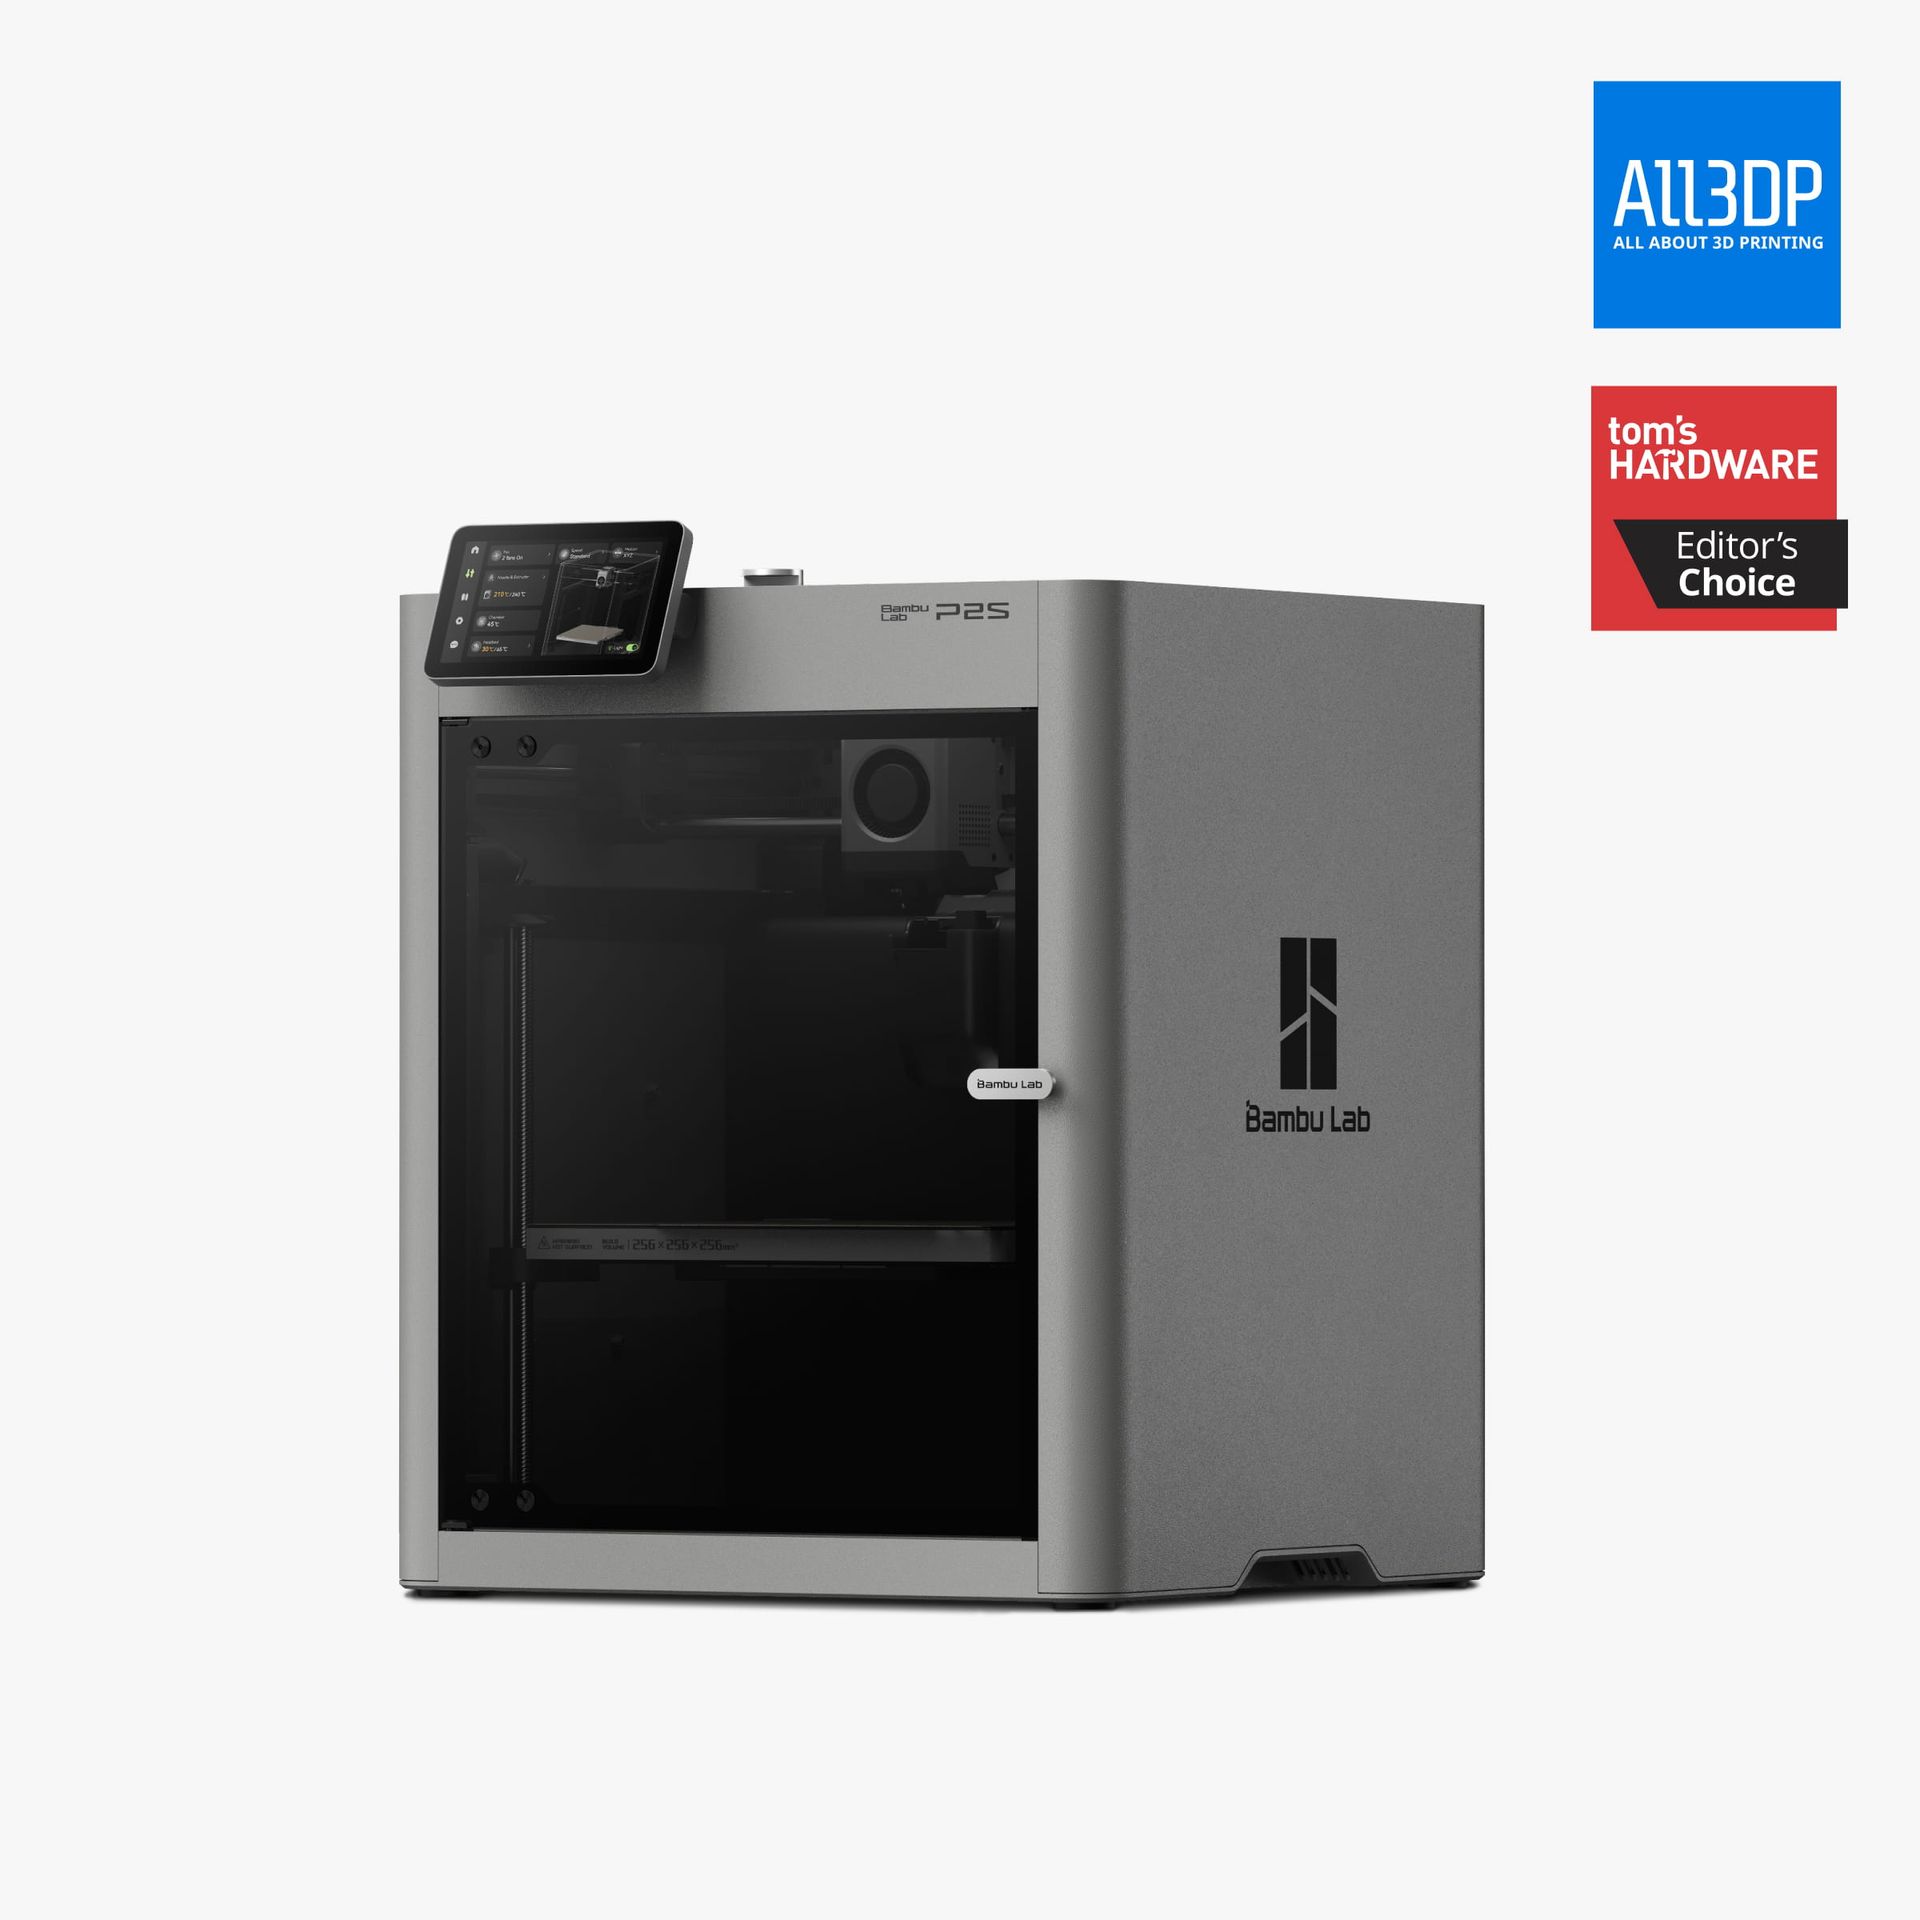
P2S 3D Printer: was $549 now $449 A great refresh of the P1S, with a better nozzle, screen, camera, and improved cooling system. This is the new standard to which other 3D printers will be measured.View Deal
Bambu Lab Filament Deals
You'll need plenty of colorful filament with your 3D printer too, and there are a few great filament deals in the Bambu Lab Black Friday sale. These discounts mean you can stock up on more spools of filament for all your 3D printing projects. All Bambu Lab filaments have been tested to perform well on Bambu Lab printers for more reliable printing results.
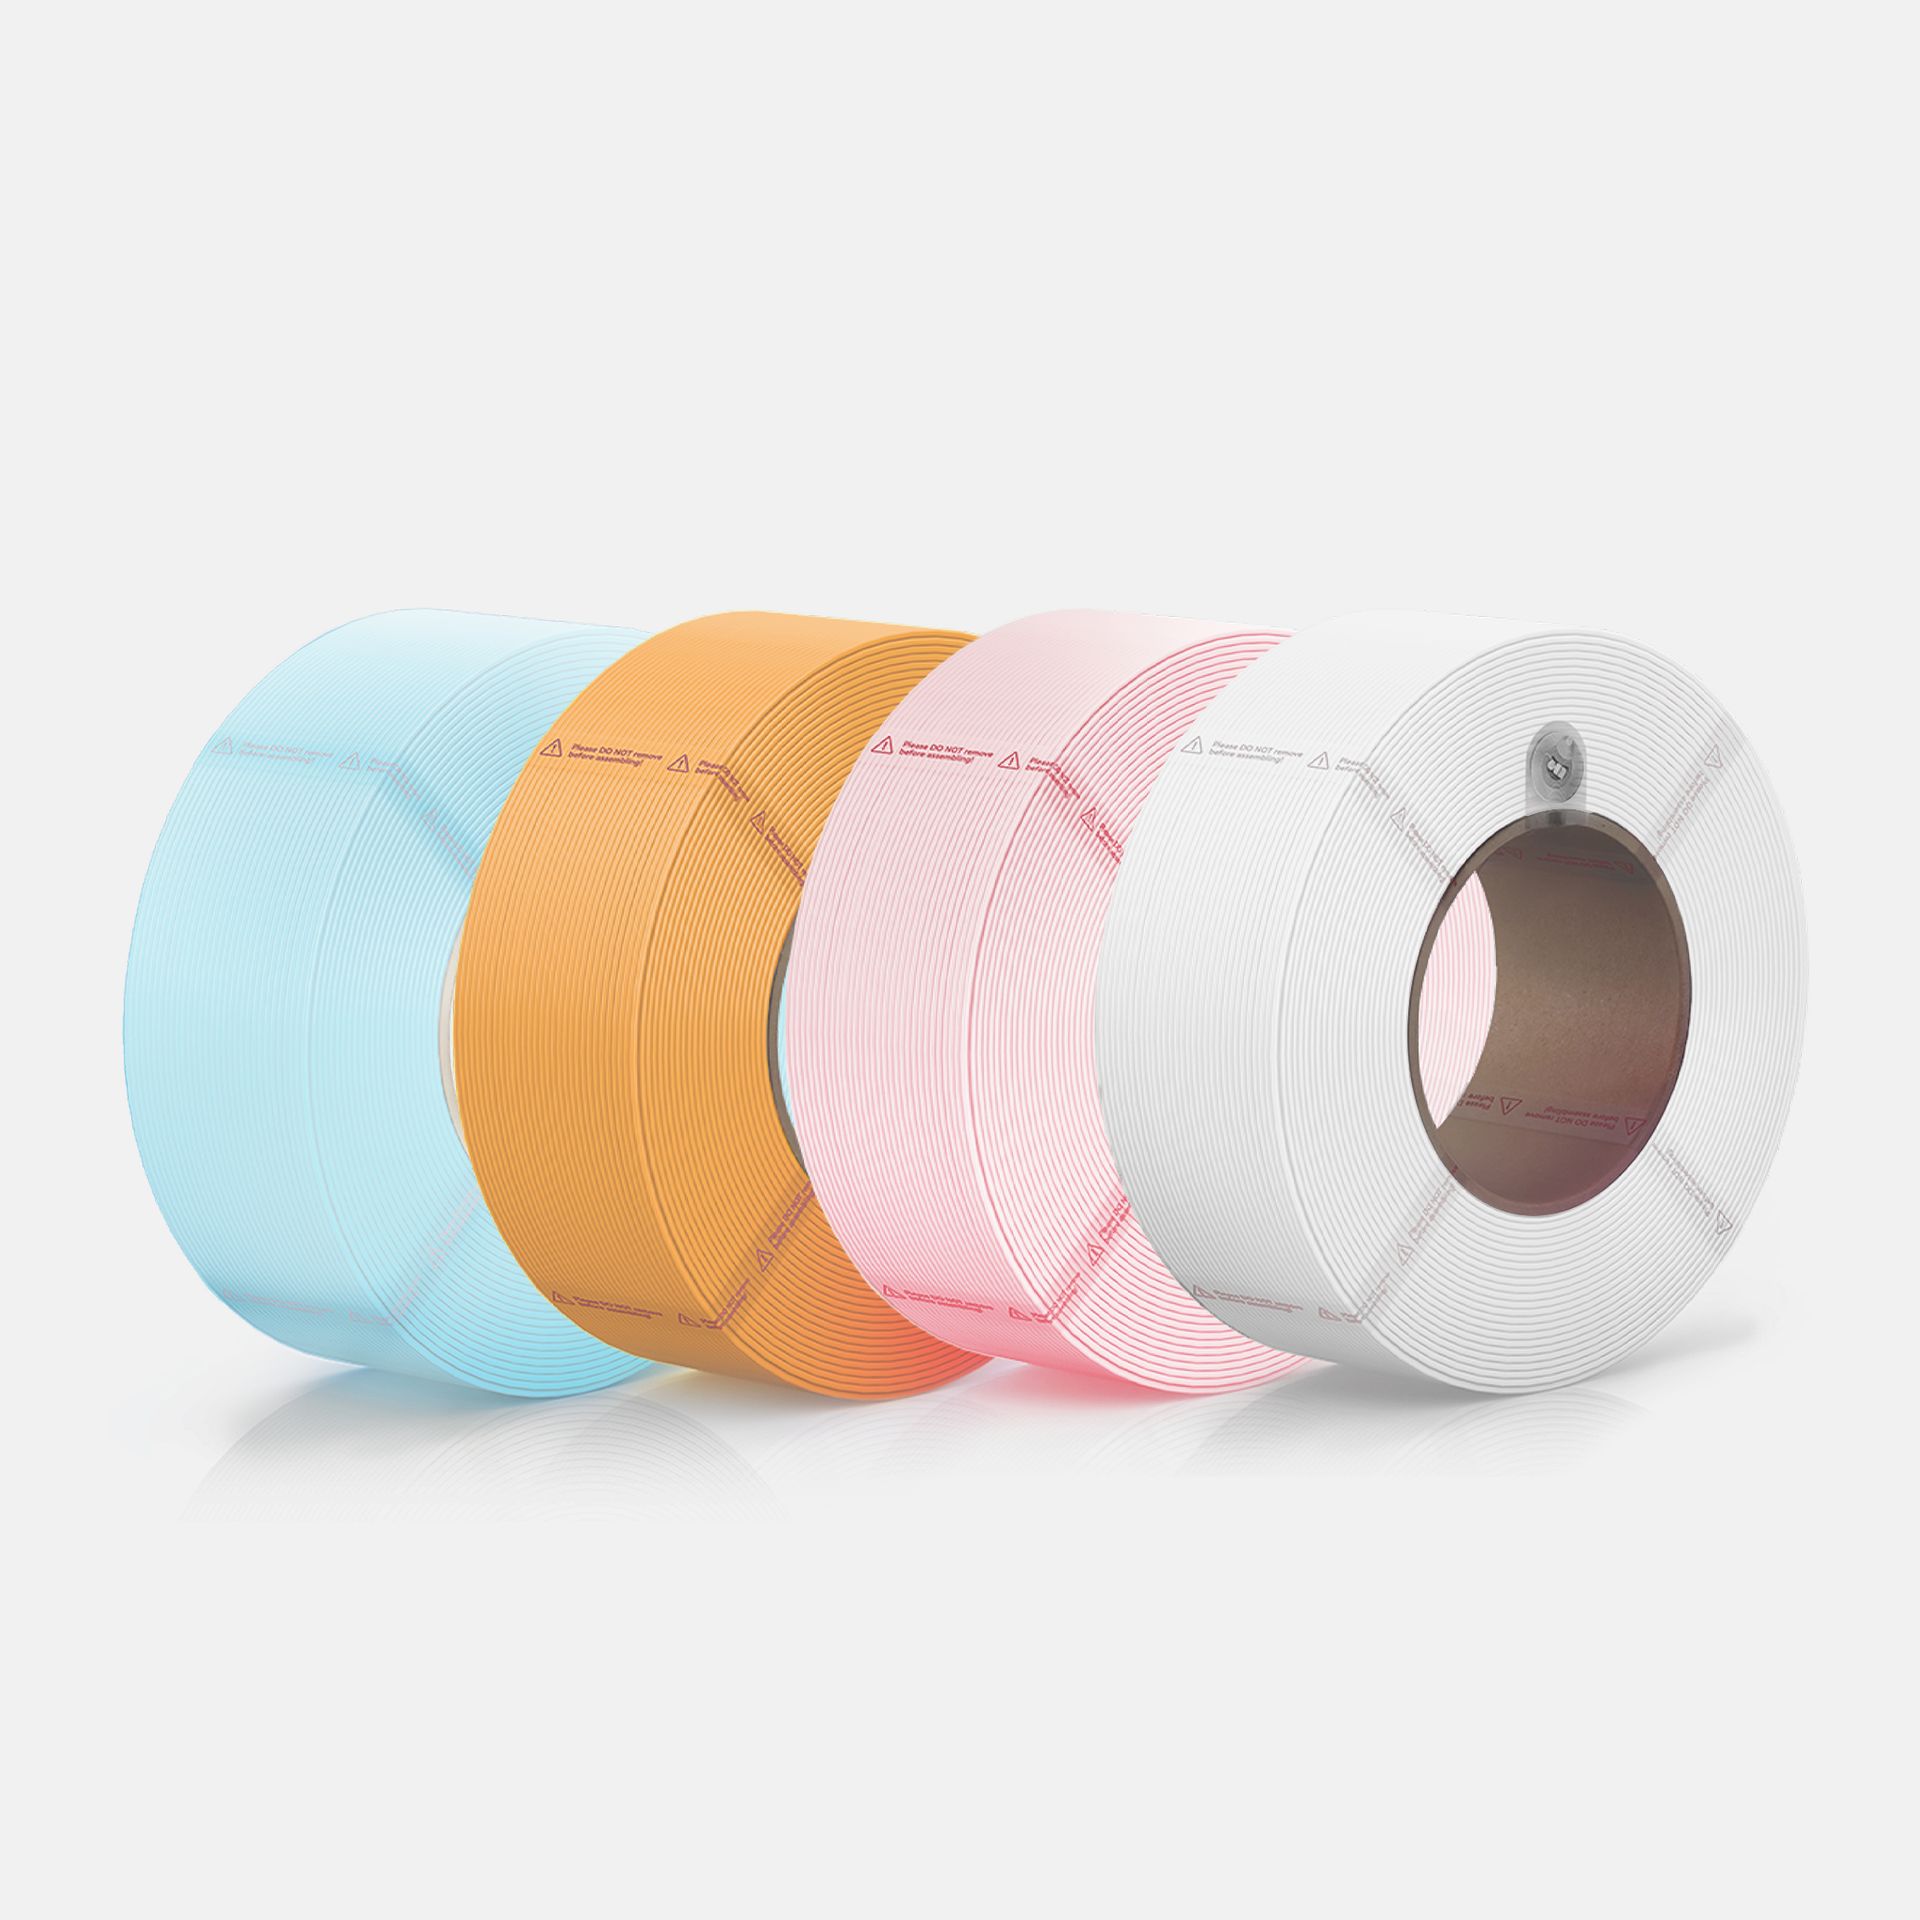
PLA Pure Pastel Pack: was $67.96 now $49.99 This pack of 4 x 1 kg spools comes in a variety of pastel colors and is a great choice for making toys. The PLA spools have passed EU food-contact testing and also give off fewer emissions whilst printing. View Deal
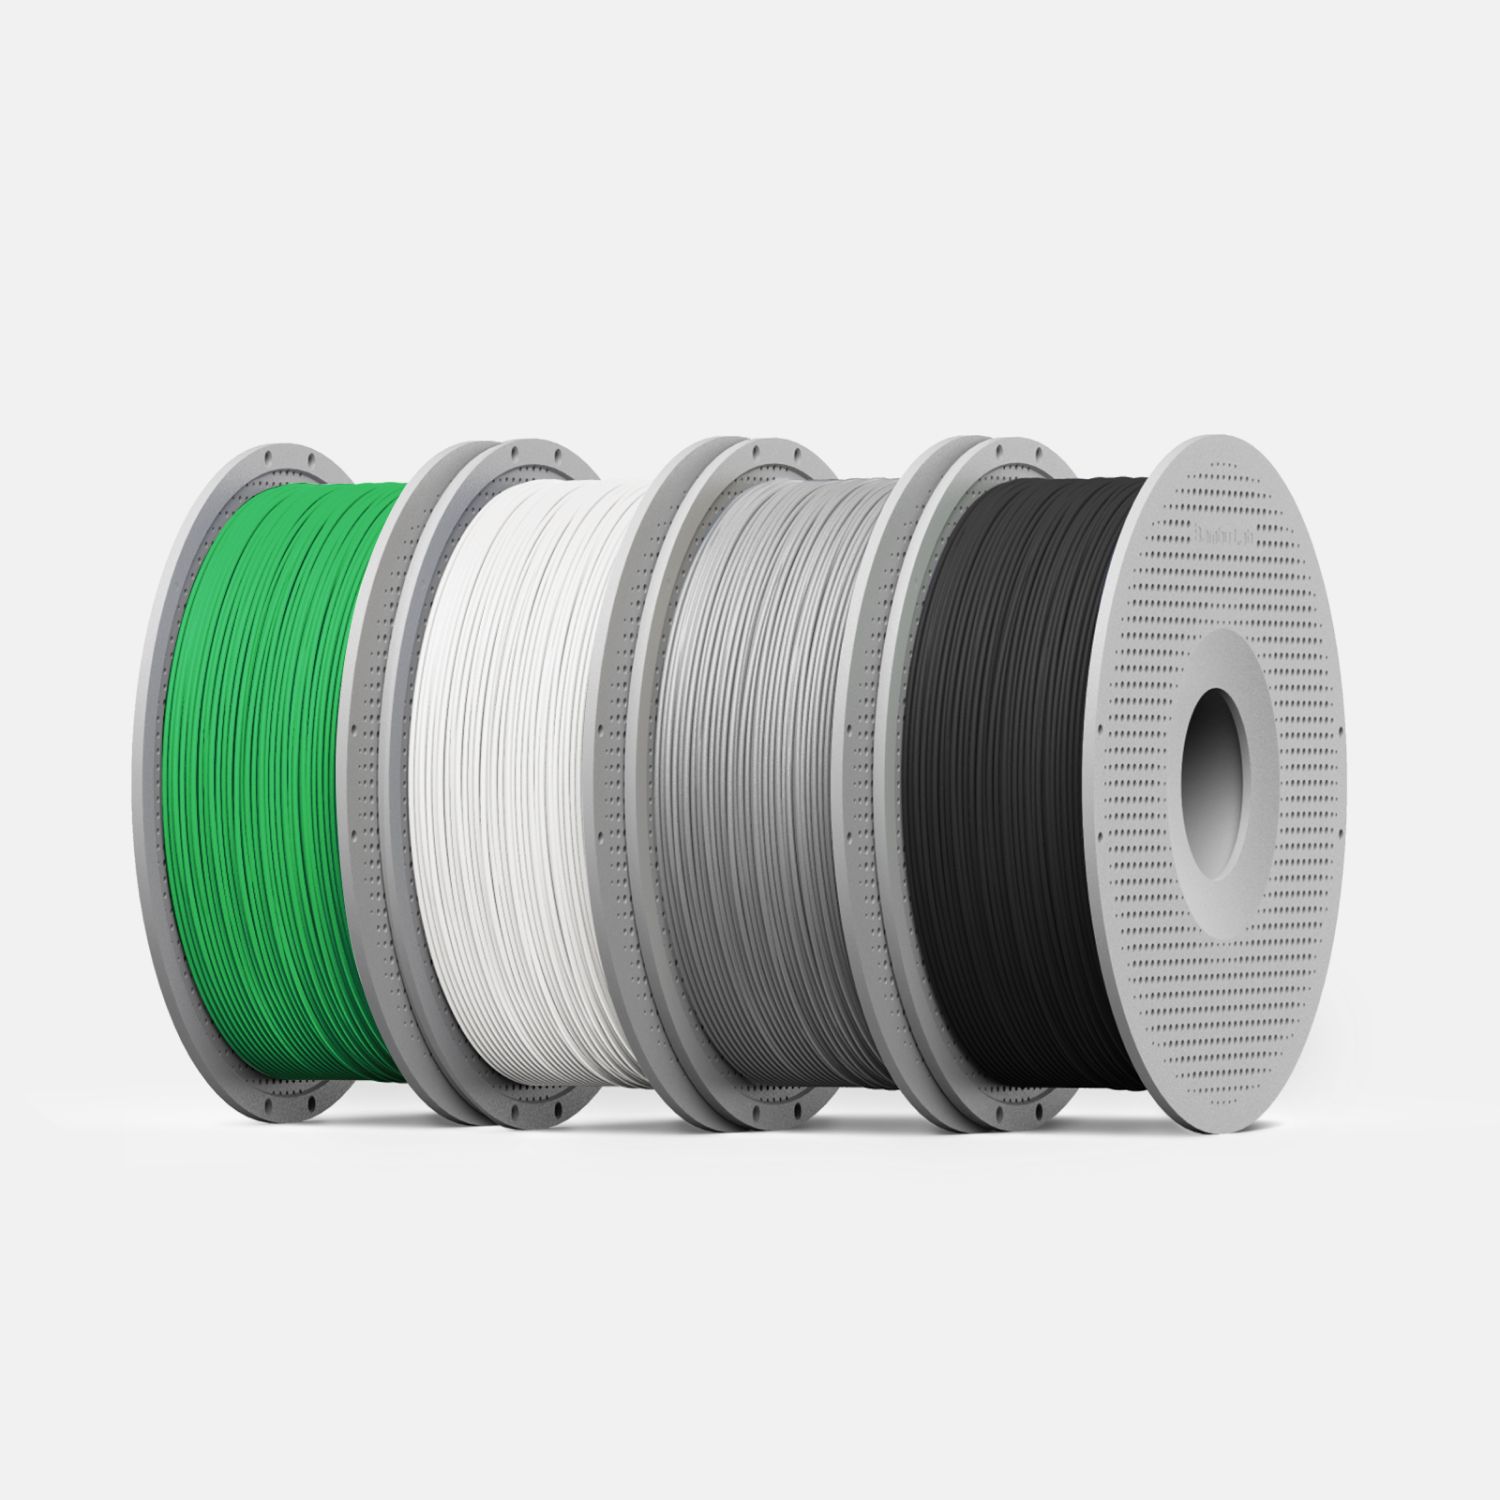
PLA Basic Starter Classic Pack: was $71.96 now $52.99 This starter pack gives you four 1KG PLA (Polylactic Acid) filament spools, in bambu green, jade white, gray, and black colorways. This is one of the more forgiving materials for beginners.View Deal
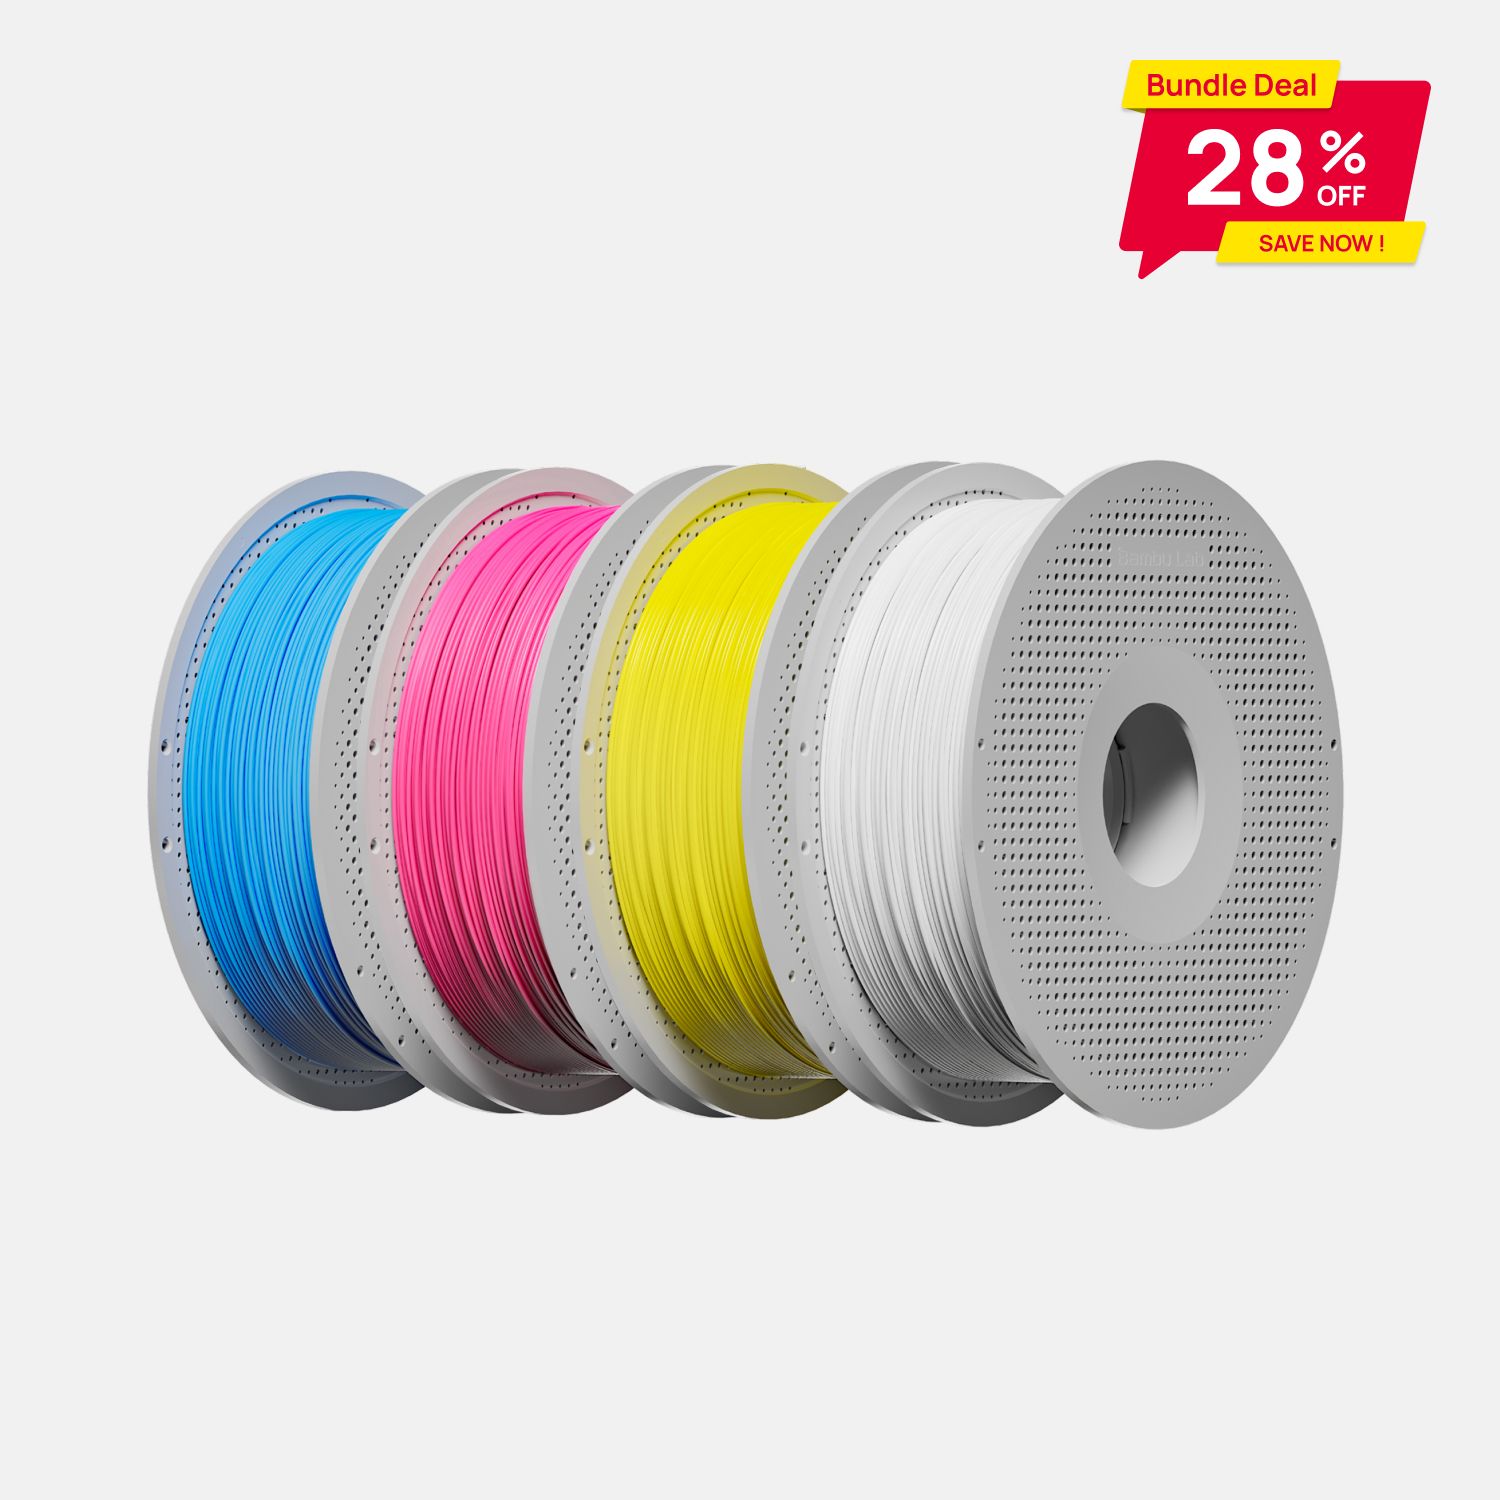
PLA CMYK Lithophane Bundle: was $71.96 now $52.99 If the more basic colors of the classic pack don't appeal, and you're curious to try making your own piece of 3D-printed art, you can choose this CYMK Lithophane bundle. You get four 1KG PLA spools in cyan, yellow, magenta, and jade white to experiment with here.View Deal
Bambu Lab Automatic Material Systems Attachment Deals
AMS addons (Automatic Material Systems) for Bambu Lab printers will allow you to print with multiple different colors at the same time, while also helping to keep your filament dry and secure. Depending on the 3D printer combination and compatibility, you can link multiple units together for up to 16 different color combinations in your prints.
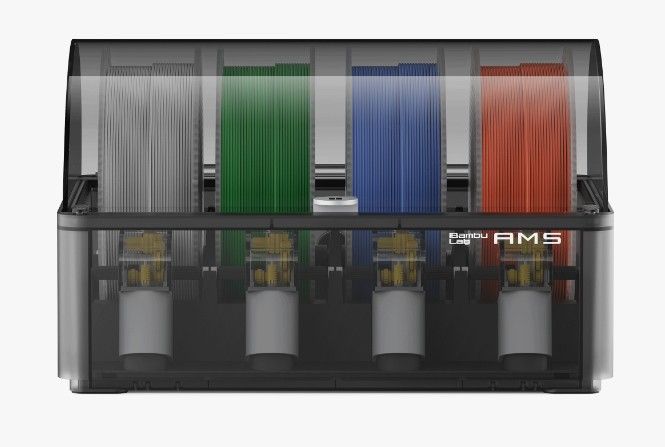
Compatible with Bambu Lab's X1 and P1 series of 3D printers, the AMS - Automatic Material System provides an enclosure for multiple filament spools and also keeps them dry for better printing results. View Deal
AMS 2 Pro: was $299 now $229 Compatible with Bambu Lab's X1 and P1 series of 3D printers, the AMS - Automatic Material System provides an enclosure for multiple filament spools and also keeps them dry for better printing results. Check printer specs to see if additional accessories are needed for compatibility.View Deal
Bambu Lab's AMS lite - Automatic Material System can be matched with Bambu Lab's A1-series of 3D printers for making prints using multiple filament colors. View Deal
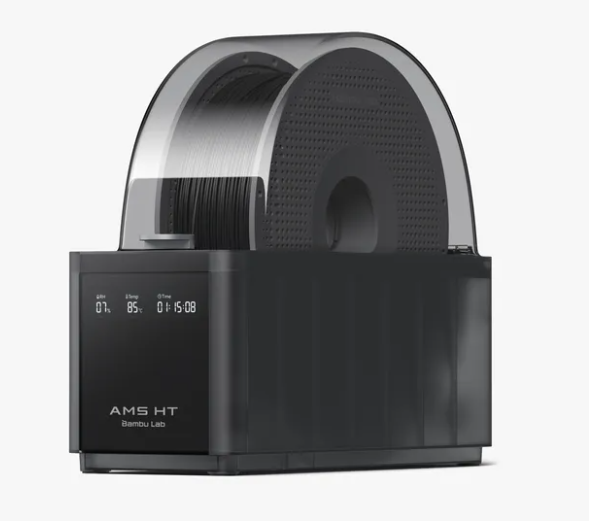
AMS HT: was $139 now $119 A single spool attachment for high-performance filaments. Air-tight containment can keep filament moisture-free, or dry filament with its up to 85°C temperature setting. Link them together for multi-color printing. View Deal
This Halloween weekend is the perfect time to think about buying a new 3D printer at a brilliant discount. Spooky season is nearly over, but as we hurtle towards the holiday season, the big names in the 3D printer world have slashed prices, making it even more affordable to pick up a new printer before the year is out. There are options that'll suit any skill set and experience, from total beginner to complete pro. We've put together some of the best deals you'll find on 3D printers right now, and you'll see discounts on some of the best 3D printer models out there.
You'll see the biggest and best models on sale right now. There are models from Elegoo, Creality, Anycubic, Bambu Lab, and Prusa on sale, with resin and filament discounts to match, along with accessories.
These big names are running sales throughout the next few weeks as we head towards the Black Friday sales period, but just because the sales are live doesn't mean the stock will be there. If you want a bargain on a new 3D printer right now, here are the deals you'll want to look for.
Best 3D Printer Deals for Halloween
P1S with AMS 2 Pro: was $579 now $509 A mega saving on the Bambu Lab P1S with the new AMS 2 Pro included. The AMS 2 Pro is a big upgrade, supporting adding a 65°C heated filament dryer, faster motors, new ceramic feed inlets, and more.View Deal
Mars 5 Ultra 9K: was $338 now $259 We loved the excellent 9K resolution as it brought crisp details to prints, making it ideal for gaming miniatures. As with many resin 3D printers, the small build volume is a downside, but these printers are made for detail, not large functional parts.
A1 3D Printer: was $399 now $259 The latest version of the Bambu Lab A1 uses an upgraded heatbed cable with Kevlar reinforcement and thicker insulation for an improved product. Features include full AMS compatibility, full-auto calibration, and a 256x256x256 mm³ build volume. See our review of the Bambu Lab A1 for more details on this 3D printer.
P2S 3D Printer: was $549 now $449 A great refresh of the P1S, with a better nozzle, screen, camera, and improved cooling system. This is the new standard to which other 3D printers will be measured.View Deal
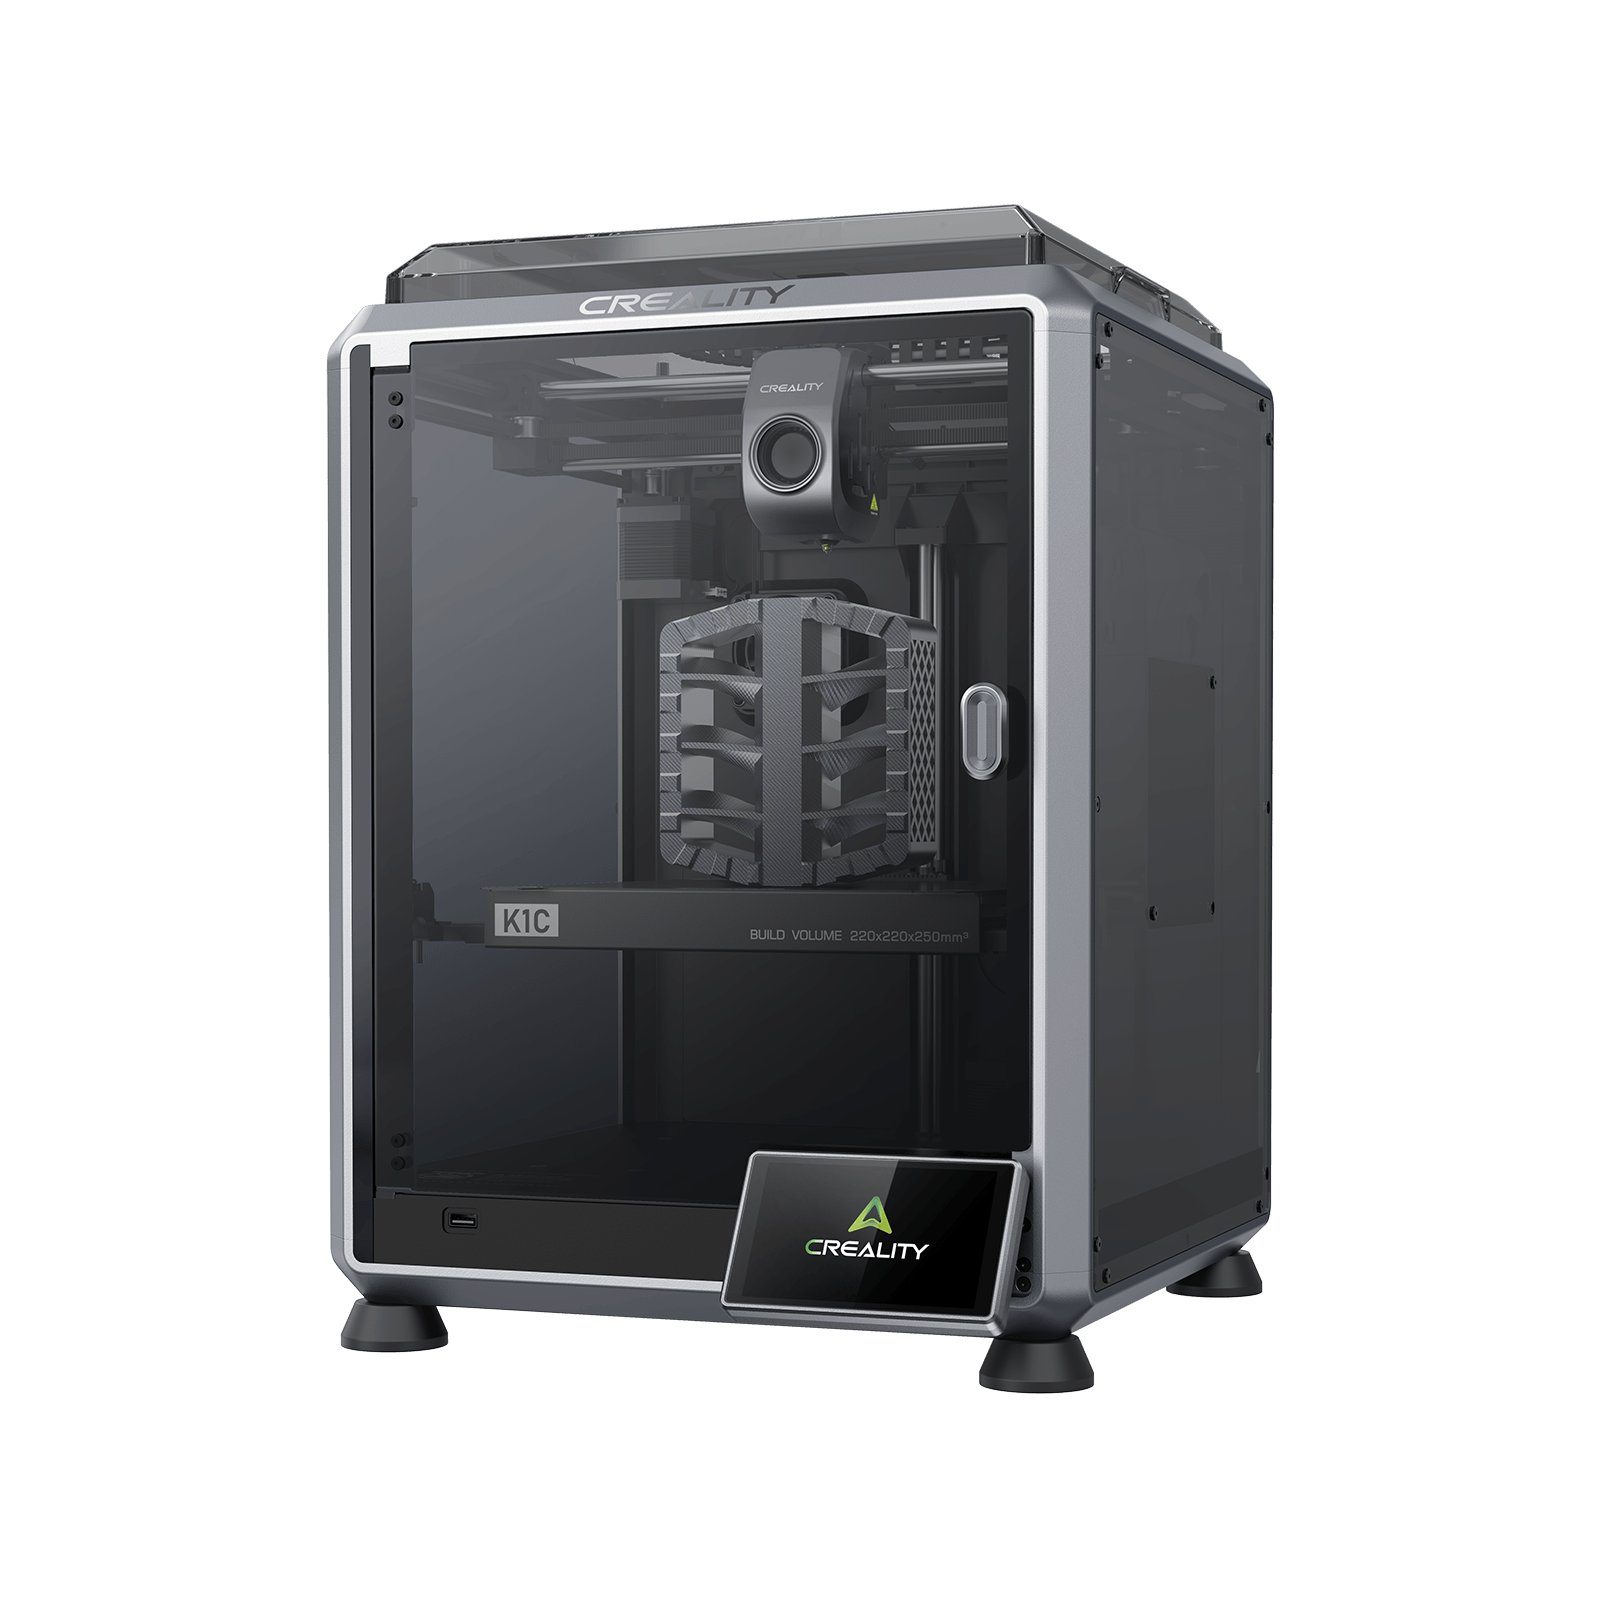
K1C 2025 3D Printer: was $559.00 now $499 An upgrade over the K1, the Creality K1C is a fully enclosed, Core XY 3D printer with a steel-tipped 4mm nozzle, running the easy-to-use Klipper firmware with a touchscreen. It has a build volume of 220 x 220 x 250 mm and features an AI-supported camera to help with build issues and to record time-lapse videos.View Deal
We absolutely loved the MK4S 3D printer and gave it a perfect score in our review. The MK4S has a build plate size of 250 x 210 x 220 mm, a PEI spring steel flex plate, automatic bed leveling, and a color touchscreen interface.
A1 Mini 3D Printer: was $299.00 now $199 This popular compact printer is solidly built with a full-metal linear rail system and bearings, features full auto calibration, vibration and flow-rate compensation, and compatibility with multi-color AMS accessories.
Work next to the printer without distraction, thanks to the low noise "silent mode" that lets the A1 print at under 48 decibels of noise.
The Neptune 4 max has a 420mm x 420mm x 480mm build volume and can print with speeds up to 500 mm/s. Other features include a 300 °C high-temperature nozzle and automatic print bed leveling.
Mars 4 Resin 3D printer: was $299.98 now $239.99 If you want to start 3D printing or need a second machine for detailed models, a resin 3D printer is a good buy. Elegoo's Mars 4 is a compact and easy-to-use resin 3D printer. With a 4K resolution, your prints will be crisp, and a layer cure time of 2.5 seconds means you won't be left waiting. When compared to FDM printers, the build volume is small at 143 x 89 x 175mm.View Deal
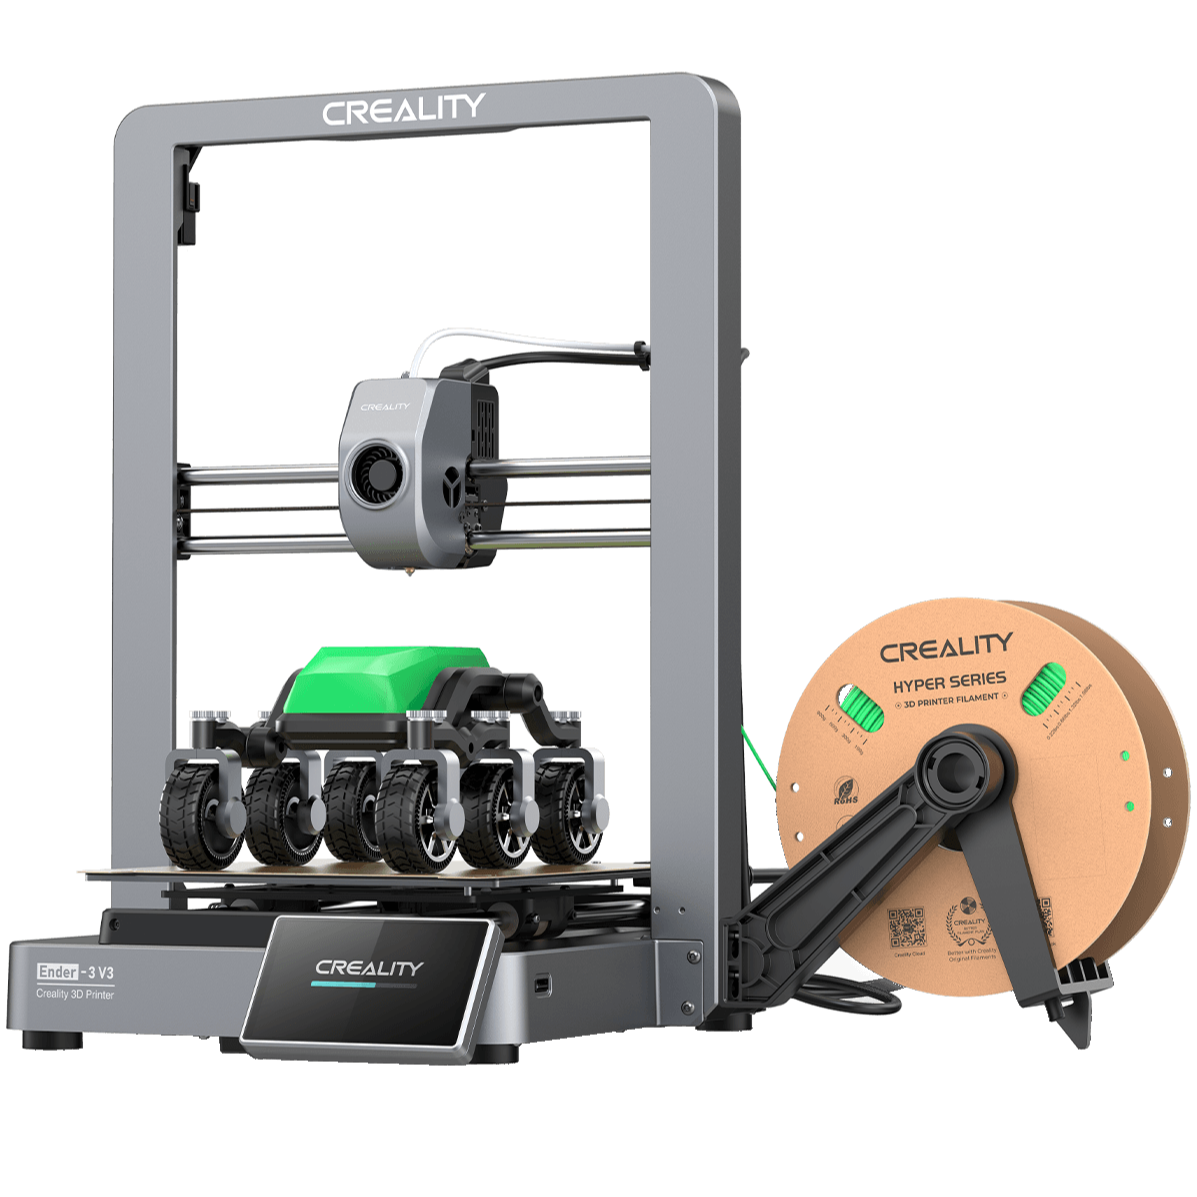
The Creality Ender 3 V3 is a great 3D printer for budget creators. It delivers great auto bed leveling, a fast Klipper-based 3D printer, and it uses fully open source software, allowing the community to add and improve its toolset. It offers a 220 x 220 x 250mm build volume and allows for printing PLA / PETG and TPU via a strong direct drive extruder.
Top-of-the-line performance with Bambu Lab's flagship printer solution. The H2D is bigger than the X1 Carbon and, with optional extras, can be converted into a laser printer/cutter. The H2D is compatible with the AMS2 multi-color and multi-material printing attachments. Features include touchscreen controls, dual-nozzle printing, a 350mm x 320mm x 325mm build volume, and auto bed leveling.
H2S with AMS: was $1499 now $1249 The H2S is a variant to the H2D, and it's a good, reliable option for large volume printing. This combo also ships with the AMS at a discount.
Centauri Carbon 2 3D Printer Combo: was $449.00 now $369.00 Elegoo bundles four different colored (Black, White, Red, Blue) 1KG spools of PLA filament with their excellent Centauri Carbon 2 3D printer. Get printing straight away, and make 4-color prints with the 256 x 256 x 256 mm build volume. View Deal
The Neptune 4 Pro has auto-bed leveling with a 225mm x 225mm x 265mm build area, an intelligent segmented heat bed, a 300 °C high-temp nozzle, and up to 500 mm/s print speed.
Saturn 4 Ultra 16K: was $649.99 now $519.99 Elegoo's top-tier resin 3D printer with a staggeringly detailed 16K print resolution for amazing, detailed prints. Comes complete with auto-bed leveling and tilt-release for easy print removal. There's even a camera for watching your prints take shape, with time-lapse stills.View Deal
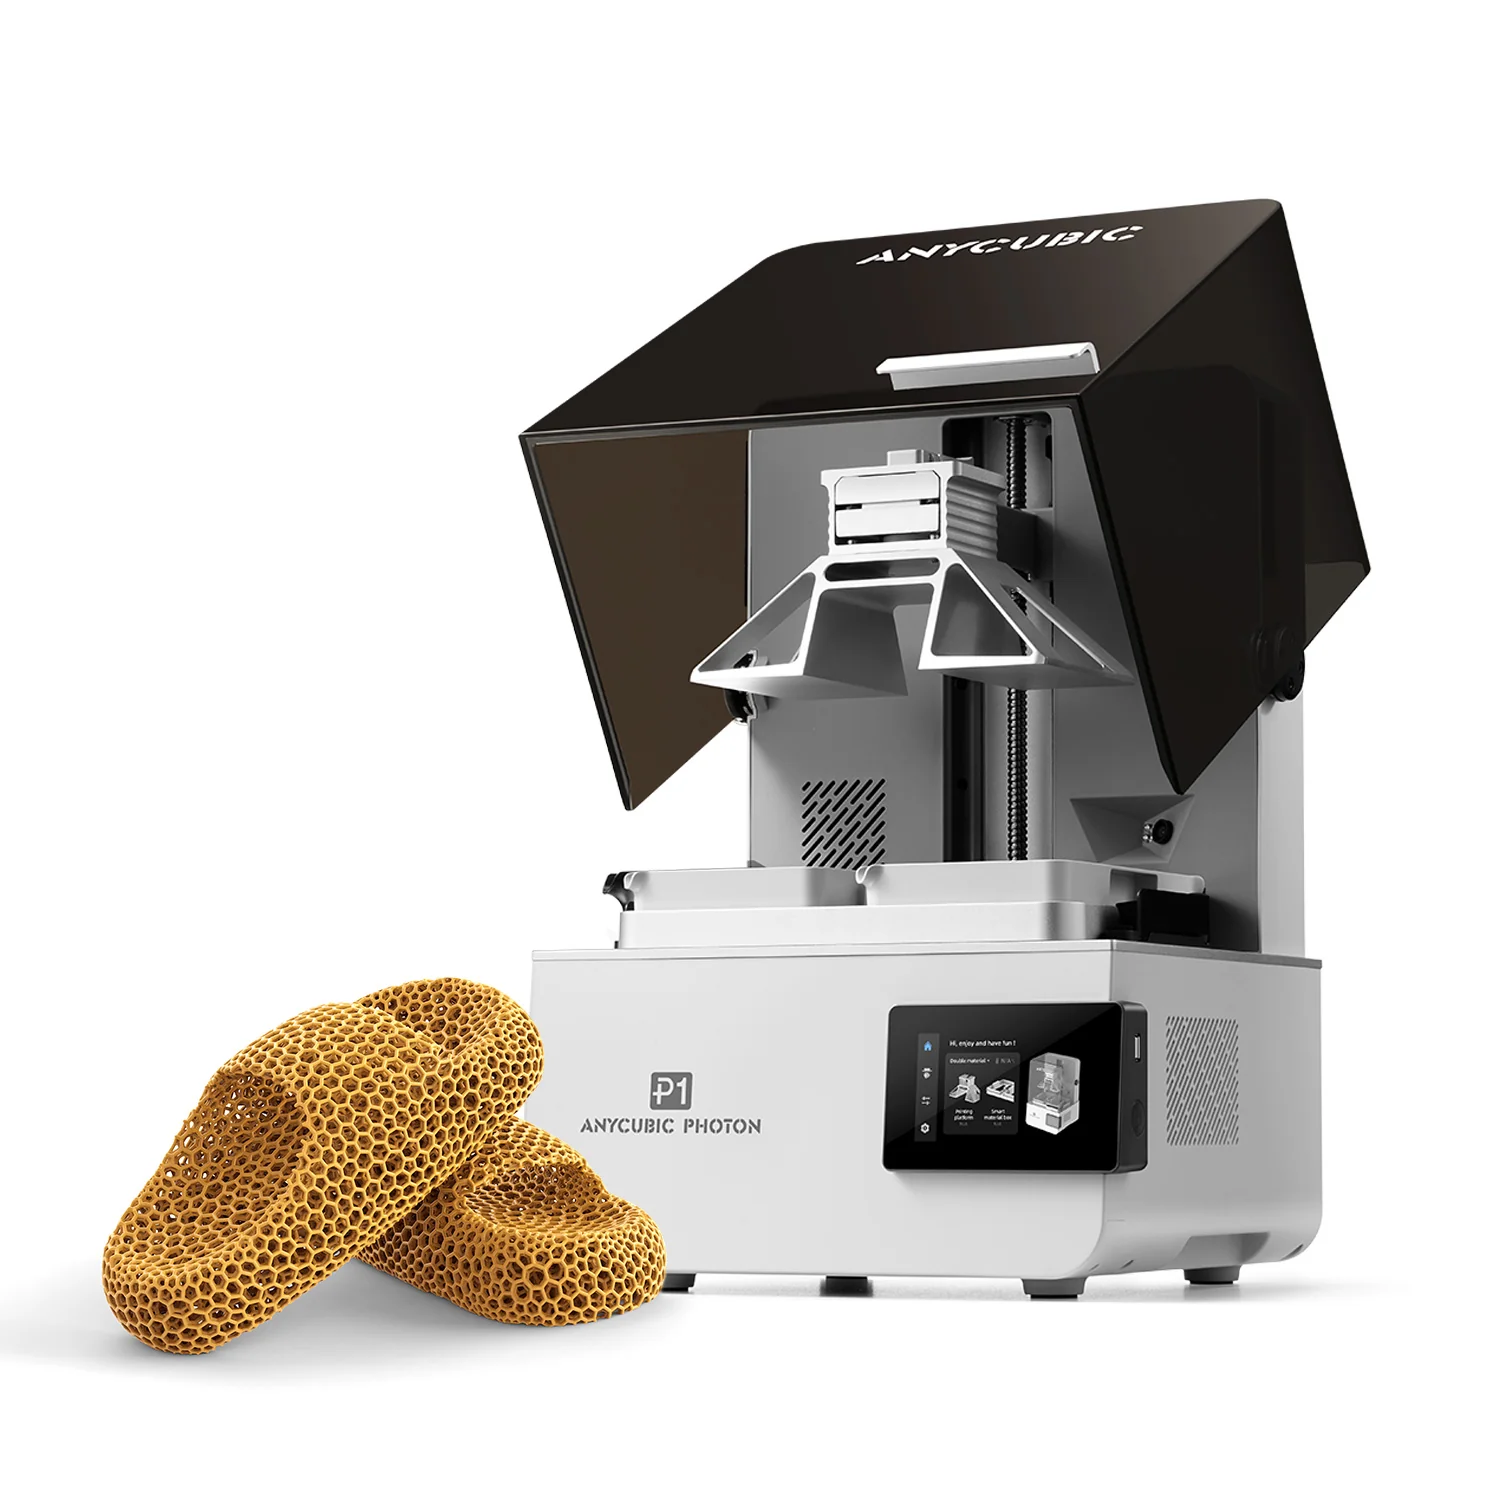
This dual color, dual material Anycubic Photon P1 printer is one of the most feature-packed consumer resin 3D printers on the market. Our Photon P1 review confirms that this is a beast of a printer, with a user-friendly setup and interface, along with some clever AI-inspired features to help you get by.View Deal
A 320 x 320 x 385 mm build volume with up to 500 mm/s print speeds, a 300 °C high-temperature nozzle, and automatic print bed leveling. Includes Wi-Fi/WLAN/USB transfer for importing prints.
The Creality K2 Plus is a core XY 3D printer with a large print volume, fast speed, and a heated chamber. It offers a generous 350 x 350 x 350 mm build volume and compatibility with PLA/PETG/TPU/ABS (up to 350 degrees) filaments, making it a printer for makers who want to get projects out the door.
It's also a winner of a Tom's Hardware Editor's Choice award, which you can read more about in our Creality K2 Plus review.View Deal
Best 3D Printer Filament and Resin Deals for Halloween
PLA CMYK Lithophane Bundle: was $91.96 now $52.99 If the more basic colors of the classic pack don't appeal, and you're curious to try making your own piece of 3D-printed art, you can choose this CYMK Lithophane bundle. You get four 1KG PLA spools in cyan, yellow, magenta, and jade white to experiment with here.View Deal
ABS - Black (40101) / Refill / 1 Kg: was $18.99 now $12.34 ABS is a strong, inexpensive, impact-resistant plastic that needs a high-temperature nozzle; it's the same material that Lego bricks are made from. You can pick this up at this lowest price with 10 or more items. Multiple colors are available.View Deal
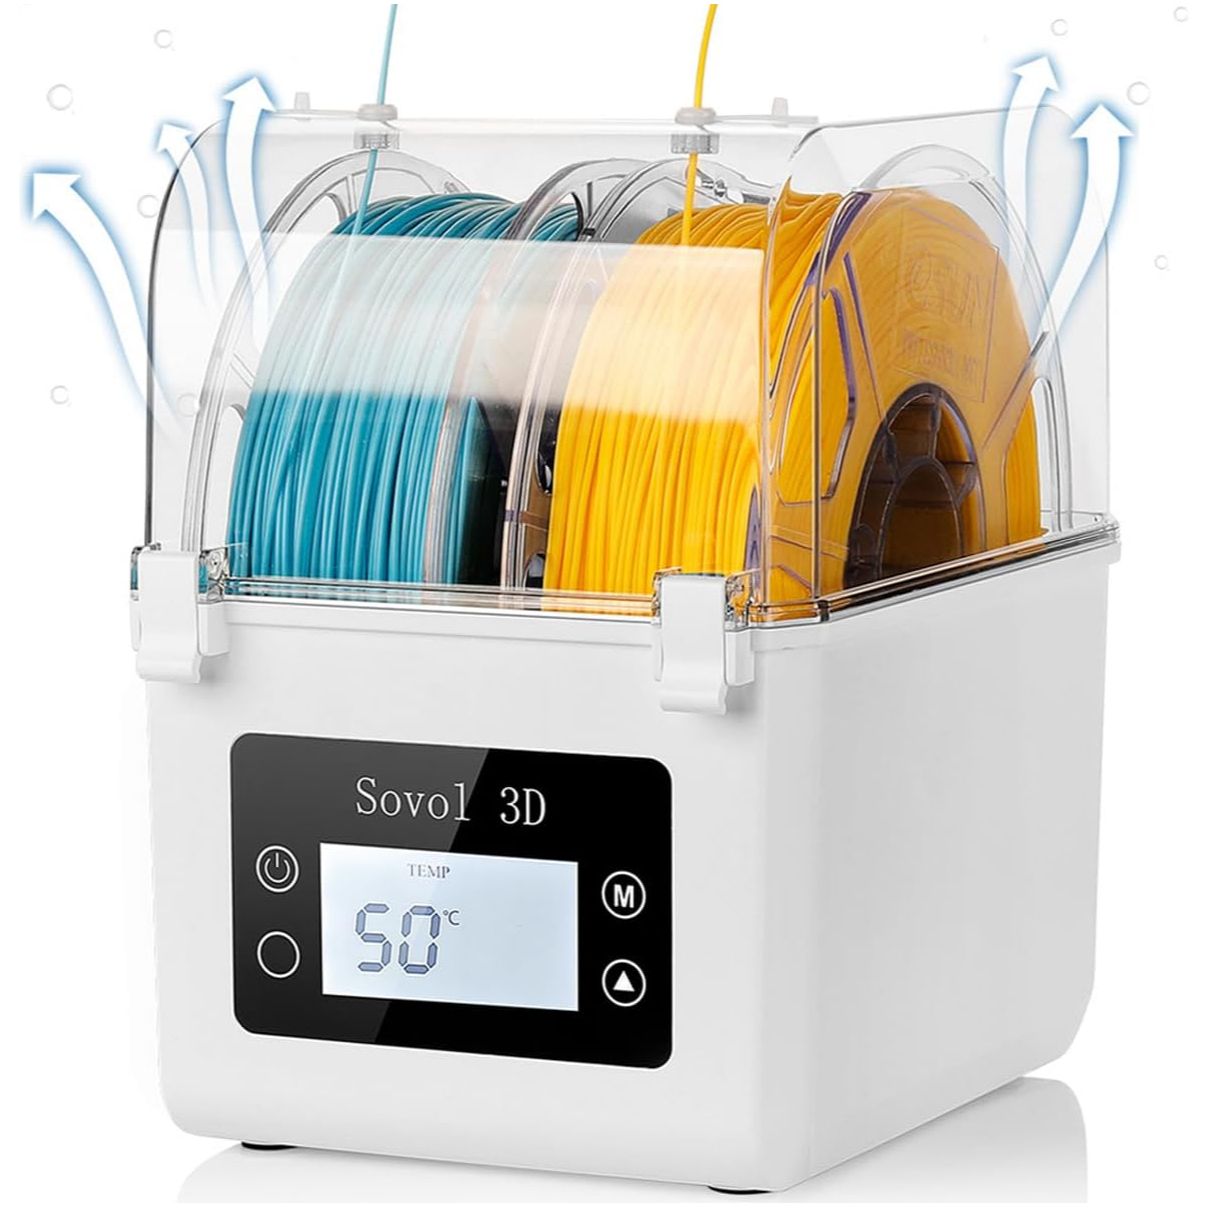
Filament that has absorbed moisture just makes for a horrible printing experience. TPU and PETG become a mess on the print bed. Using this filament dryer will keep your filament dry, and it is ready to use via the feeder tube on the lid. Pop the spools in the dryer, set the timer and temperature, and your filament will be dehydrated and ready to print your next project. View Deal
3D Printer Resin LCD UV-Curing Resin: was $21.99 now $16.99 This photopolymer resin is designed to reduce printing time and to reduce volume shrinkage during the curing process to ensure a smooth finish. Suitable for most DLP/LCD 3D printers. Less odor than other resins.View Deal
PLA Basic Starter Classic Pack: was $91.96 now $52.99 This starter pack gives you four 1KG PLA (Polylactic Acid) filament spools, in bambu green, jade white, gray, and black colorways. This is one of the more forgiving materials for beginners.View Deal
A study published on October 22 in the journal Forensic Science International reports that researchers from Curtin University in Perth, Australia, have developed a forensic method to analyze 3D-printed PLA parts and match them to their respective filament, correctly matching 26 out of 28 samples of PLA. This potentially provides a way to link seized 3D-printed “ghost-guns” with other seized filament, allowing police to form a clearer network for the manufacturing and distribution of the 3D-printed firearms.
3D-printed firearms have become a big problem worldwide, as they are untraceable and even compostable in the case of PLA, with tools like this AI 3D-printed gun generator making it scarily accessible. Serial numbers, registration, and a network of licensed distributors are usually the first line of investigation when it comes to crime involving firearms, but easily manufacturable, untraceable, disposable plastic firearms are a new threat with no clear way to crack down on them yet.
However, this research, by Dr. Georgina Sauzier et al. from Curtin University's School of Molecular and Life Sciences, along with forensics experts from ChemCentre, has devised a way to trace a printed object to a specific filament product, down to the brand and type.
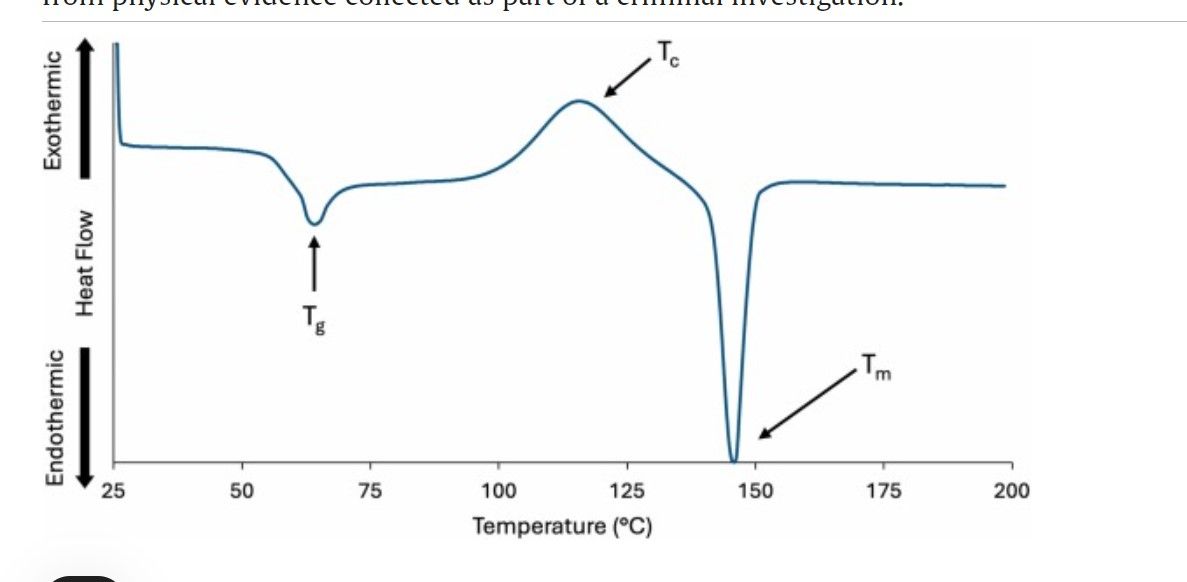
The process of 3D printing changes the filament’s physical properties, and this change can be measured. In this research, differential scanning calorimetry (DSC) is used, a thermoanalytical technique that lets the sample go through a range of temperatures, and the instrument measures how heat flows through the sample. It measures how much energy or power is used to keep the sample at a certain temperature or to change its temperature, giving us a graph of its thermal properties.
(Image credit: ScienceDirect)
The sample’s thermal properties can then be cross-referenced with its unprinted filament, creating an association between them. As of now, the tested PLA products are the only successfully identified material, with PETG and ABS not providing enough information to link them to their filament product. Sauzier blames the amorphous nature of those filaments, giving very similar results with no clear identifiers linking them to their respective filament products. PLA has a semi-crystalline molecular structure, which provides clearer temperature transition points under the temperature tests as the crystalline structures break down and rearrange.
However, ABS and PETG did show some promise when tested using ATR-FTIR (Attenuated Total Reflectance-Fourier Transform Infrared), which uses infrared to identify chemical bonds and material composition. The team did find differences in additives using this method, but still did not give enough information to link them back to their respective filament products.
The research is still very early, with more rigorous testing to be done, as the team printed using only one machine, printed small sample tiles cut with scissors, and left them for a year in monitored office conditions before testing. Properties could further change as cooling rates vary greatly depending on what the printer is printing: Faster cooling and slower print speeds on overhangs, or slower cooling and faster print speeds on infill sections. Different printers may also affect the physical properties, adding one more factor in the chain.
So far, correctly identifying 26 out of 28 samples is a great start to cracking down on dangerous, untraceable illegal firearms. When the research matures and can reliably identify a broad range of materials, it could potentially trace 3D-printed firearms to the printer and filament, potentially creating a list of where they were purchased and who purchased them.
Ukraine's military intelligence agency GUR released details of a new 3D-printed Russian cruise missile that was first deployed around September and October of this year. The missile is faster than traditional weapons, hitting speeds of 500mph, and has a range of over 700 miles. According to Business Insider, these cruise missiles, called “Filin,” are more affordable than the traditional Kh-101 cruise missile that costs more than $2,000,000 per launch. This is why some fear that these weapons would be used by the Russian military in “missile spam” tactics against Kyiv to overwhelm its air defenses.
Russia’s invasion of Ukraine, which was originally planned to last just a few weeks, has turned into a multi-year war of attrition. This has made the frontlines a costly effort for both man and machine, which is why both sides are looking for more cost-efficient ways to conduct warfare. While drones have seen widespread use in this conflict, they’re relatively slow and are easier to shoot down. The Geran-5, which has been known to disintegrate in flight, could only hit a maximum speed of 270 mph, while the Filin can reportedly hit speeds of 500 mph and has a range of 745 miles. While this still isn’t as fast as modern fighter jets like the F-16 Fighting Falcon, the increased top speed could make it that much harder for Ukrainian air defenses to deal with the threat.
The GUR said that the Filin has a carbon and fiberglass fuselage, while also featuring some 3D-printed parts. It also said that Moscow was able to keep costs on the cruise missile low by relying on commercially available parts from both domestic and foreign companies. It used Russian-made engines instead of the Chinese turbojets found in many Shahed drones, while many electronic components, such as the flight controller, inertial navigation systems, equipment controllers, and counter-jamming hardware, are said to come from Western nations and their allies. The Ukrainian intelligence agency listed the following sources: 35 components come from the U.S., 22 from China, and 13 from Japan, Switzerland, Taiwan, and the Netherlands.
While 3D-printing isn’t necessarily cheaper than traditional manufacturing methods, it’s sometimes more cost-efficient for producing items that require unique geometries, such as solid rocket fuel or jet-engine turbine blades. It has even allowed a tech hobbyist to build a DIY MANPADS for under $100. While the Filin will likely cost way more than a home-made 3D-printed missile, the fact that it’s significantly more affordable than traditional cruise missiles could allow Russia to launch more of them, spelling trouble for the Ukrainian defenders.
Bambu Lab’s long-anticipated tool changer will launch on November 3rd. Dubbed the H3C, the 3D printer has 9 tools held by a Vortex-like rack mounted on the front of the chamber. Tool changers are the wave of the future, as they can switch colors faster and with less waste than Bambu Lab’s current AMS system.
Unfortunately, most of the information about the new 3D printer is shrouded in secrecy, but there are plenty of details that are already public knowledge. Bambu Lab is quite proud of this latest engineering feat, which you can see in the video below, and I’ll admit, I’m pretty impressed, too.
(Image credit: Bambu Lab)
Here’s what we can confirm about the H3C: It is a member of the H-line of flagship printers, which includes the H2S, H2D, and H2C. As you can imagine, it is most similar to its namesake, the H2C, which is a 7-tool induction-heated “nozzle swapper” with a motorized Vortex rack to hold tools not in use. The H2C is one of the larger Bambu Lab machines, with a 330 x 320 x 325mm build volume.
The 11-second-long teaser video shows the tool rack dropping down, along with a satisfying metallic snick. As you might imagine, tool heads that are stored above the build plate are not going to get in your way when you’re watching that first layer go down. This is an annoying problem with the Bondtech INDX system, which we reviewed paired up with a Prusa CORE One, which forces you to peer through the tool rack to see what's going on inside the printer. Visibility on the Bambu H3C is probably better.
If you type “H3C leak” on YouTube, you can find several YouTubers who do not have machines under review dissecting the clues sprinkled around the internet. One “AI-enhanced” image showed 10 spools, which I can now finally confirm is completely wrong. Today’s video clearly shows only nine colorful Bowden tools arching over the top of the printer. We’re not at liberty to say what’s holding the spools, but I think it’s safe to acknowledge that it's a very Bambu sort of system.
The H2 line has been touted as a home manufacturing hub, so you might wonder if the H3C is the same? Perhaps it is. I had an opportunity to talk to Dr. Tao at Formnext last year when the H2C was fresh, and he was very interested in creating multitasking machines that could do more than just 3D print.
Sadly, not everyone was impressed with adding a laser to the H2D, but since the Bambu Lab A2L has an optional blade cutting and embossing tool, we can safely assume that the notion of multitasking is alive and well. I once programmed an Ender 3 to pick up Sharpie markers, so just think about the things a much more sophisticated machine with a team of sharp engineers could program.
I can’t wait to tell you more about the H3C. There are definitely a couple of surprising things about this printer that are going to come out of left field. We’ll let it all out on November 3rd.
A 3D scanner is an amazing tool to add to your 3D printing workflow, allowing you to scan real-life objects to import into sculpting or CAD software, then print out your own modified copies on a 3D printer. In the past, a good scanner cost thousands of dollars, but Creality has finally given us a device within reach of hobby-level consumers. The Creality Pika is easy to use, with the look, feel, and size of a point-and-shoot digital camera. It can wirelessly tether to a mobile phone running a Creality scanning app, which makes scanning on the go easier than ever before.
It can also be tethered to a laptop wirelessly or with a cable for more stable scanning, but marker-free laser scanning can only be performed while physically tethered to a computer. The scanner runs on AA-sized rechargeable batteries, which are provided.
It weighs just 260 grams (just slightly over a half-pound) with the batteries installed, reducing arm fatigue when operating without a tripod. A tabletop tripod and manual turntable are included for scanning small items. While not as precise as Creality’s Sermoon series, the Creality Pika, currently on pre-order for $699, is a fraction of the price. The best part is that both use the same software, Creality Scan, which is excellent.
The Creality Pika’s portability and price make this one of the best scanners we’ve reviewed in 2026.
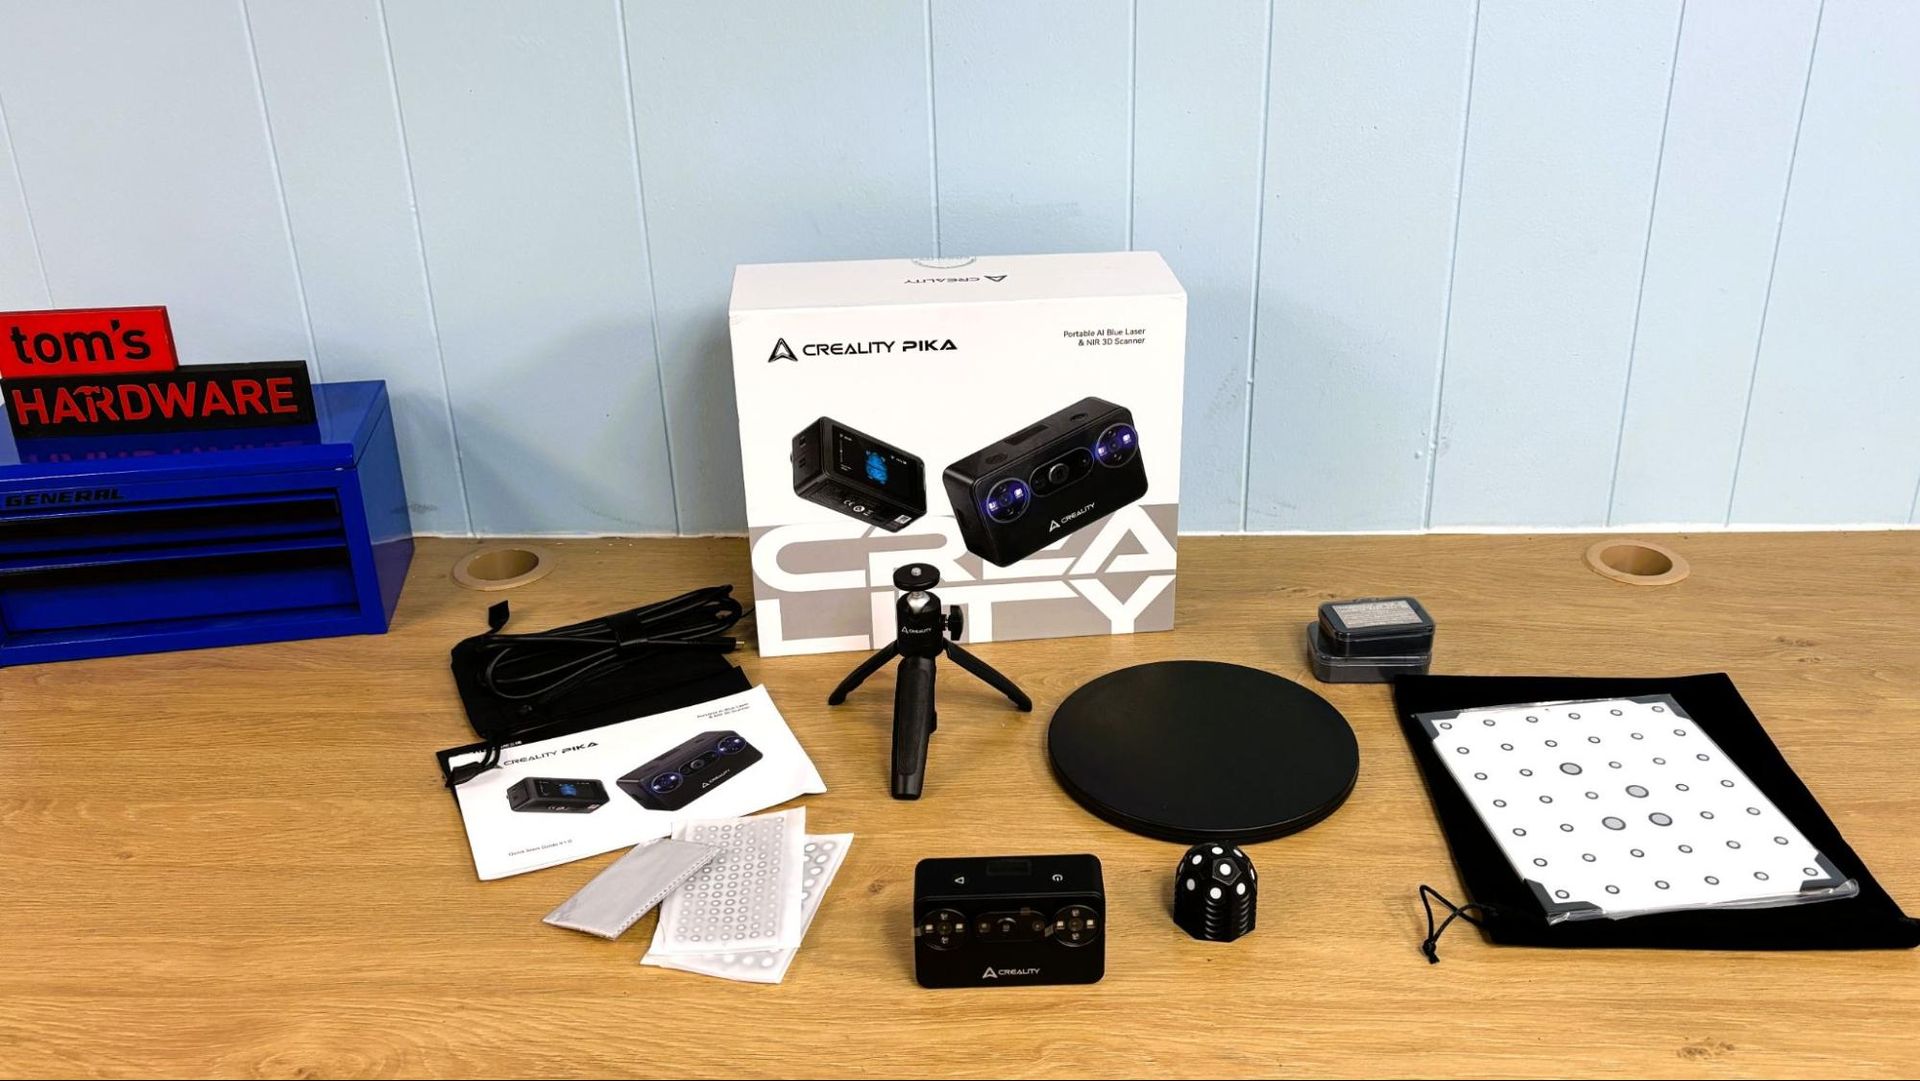
The Creality Pika comes with a very nice tripod. Also included are the glass calibration board, a manual turntable, marking blocks, batteries (including a spare), a generous pack of marking dots, and a mostly useless quick start guide. The Quick Start guide is just a packing list in eleven different languages and QR codes to Creality’s website and Facebook community.
Design of the Creality Pika
(Image credit: Tom's Hardware)
The Creality Pika is a small handheld scanner that weighs only 260 g with its battery. It has a 3-inch touch screen on the back that shows the scan in progress while paired to a phone or PC on Wi-Fi, or allows exposure and zoom adjustments when scanning via cord. There are two buttons on the top of the scanner for power and start/stop, and a selector switch for USB or Wi-Fi.
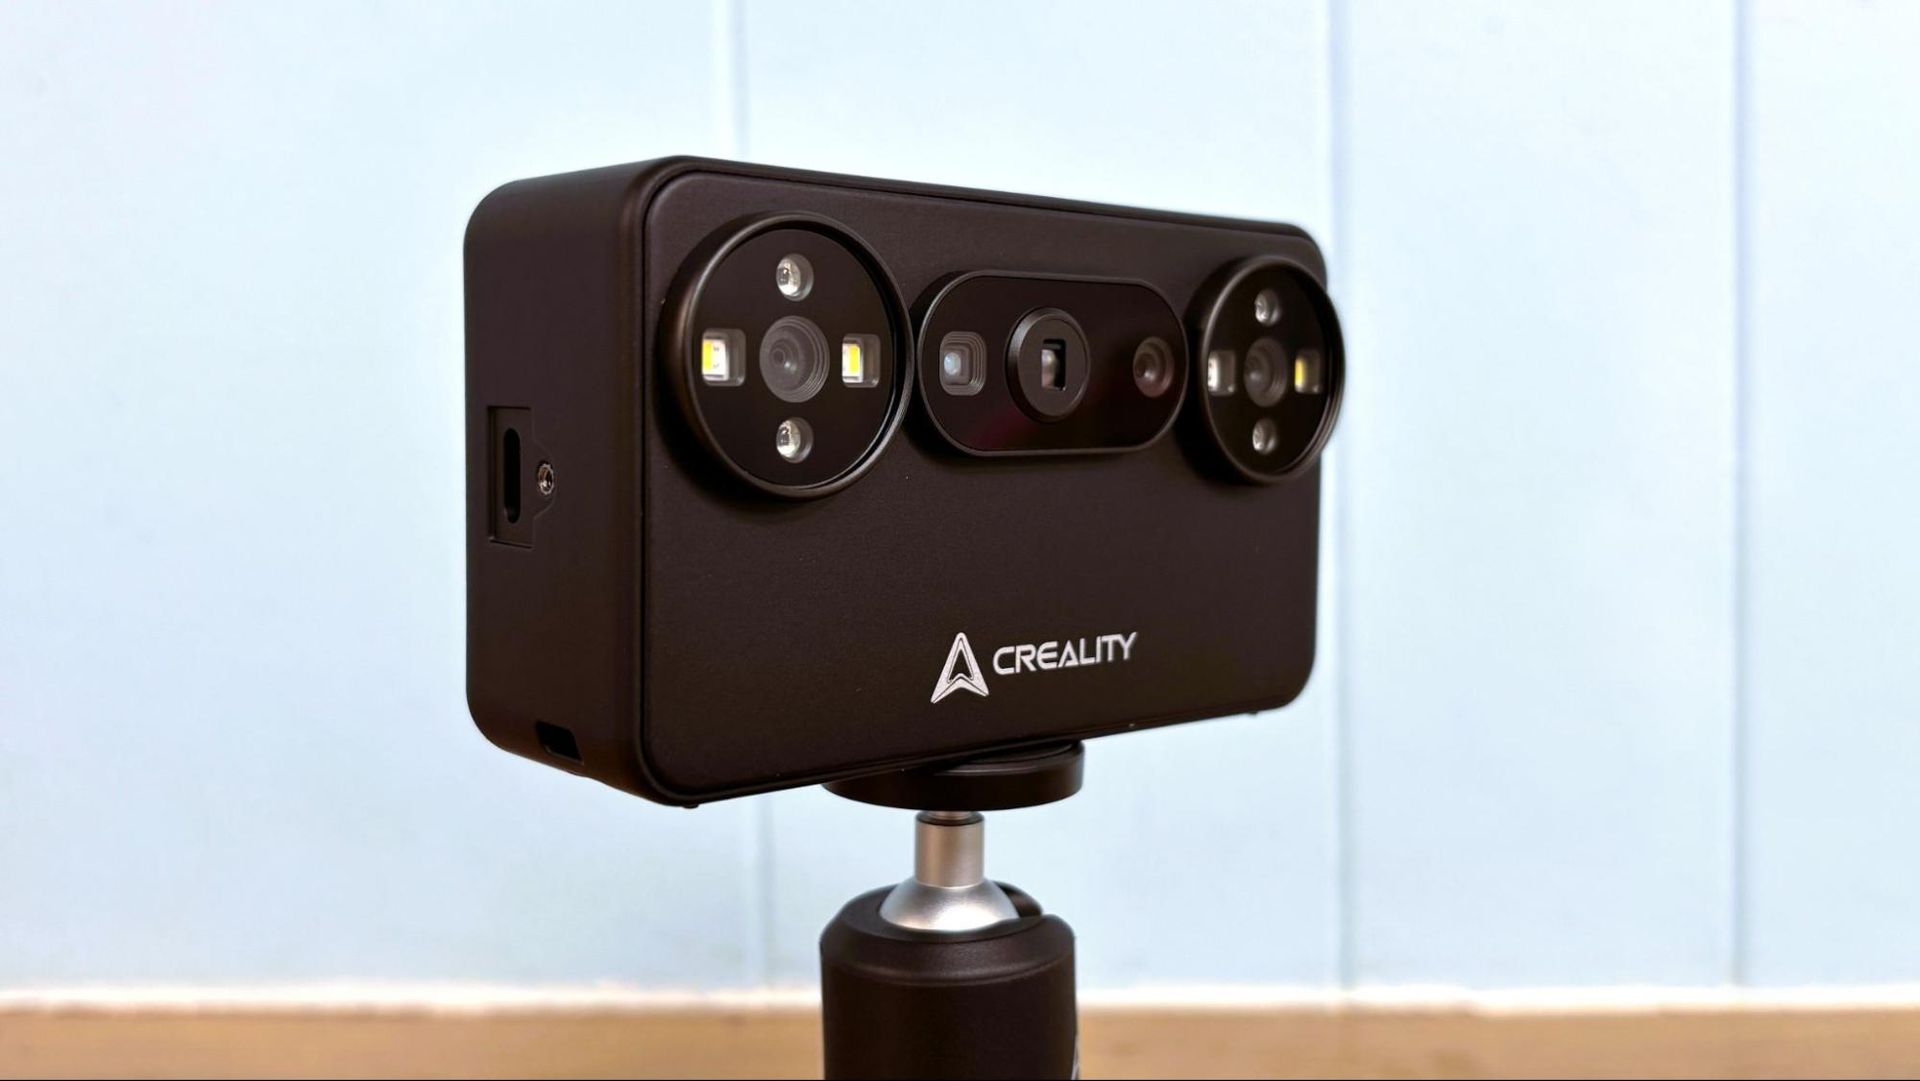
The scanner has a play button to start and stop scans, as well as a button to adjust the lights and a toggle for zoom. The front of the scanner has an RGB camera, two 3D scanning cameras, a DOE projector, a parallel-line laser, four blue and white fill lights, and four infrared fill lights. There is an always-on cooling fan with grills on the top and bottom of the scanner. Two batteries are included, which can be charged in the camera or via a USB-C port located near the top of the battery.
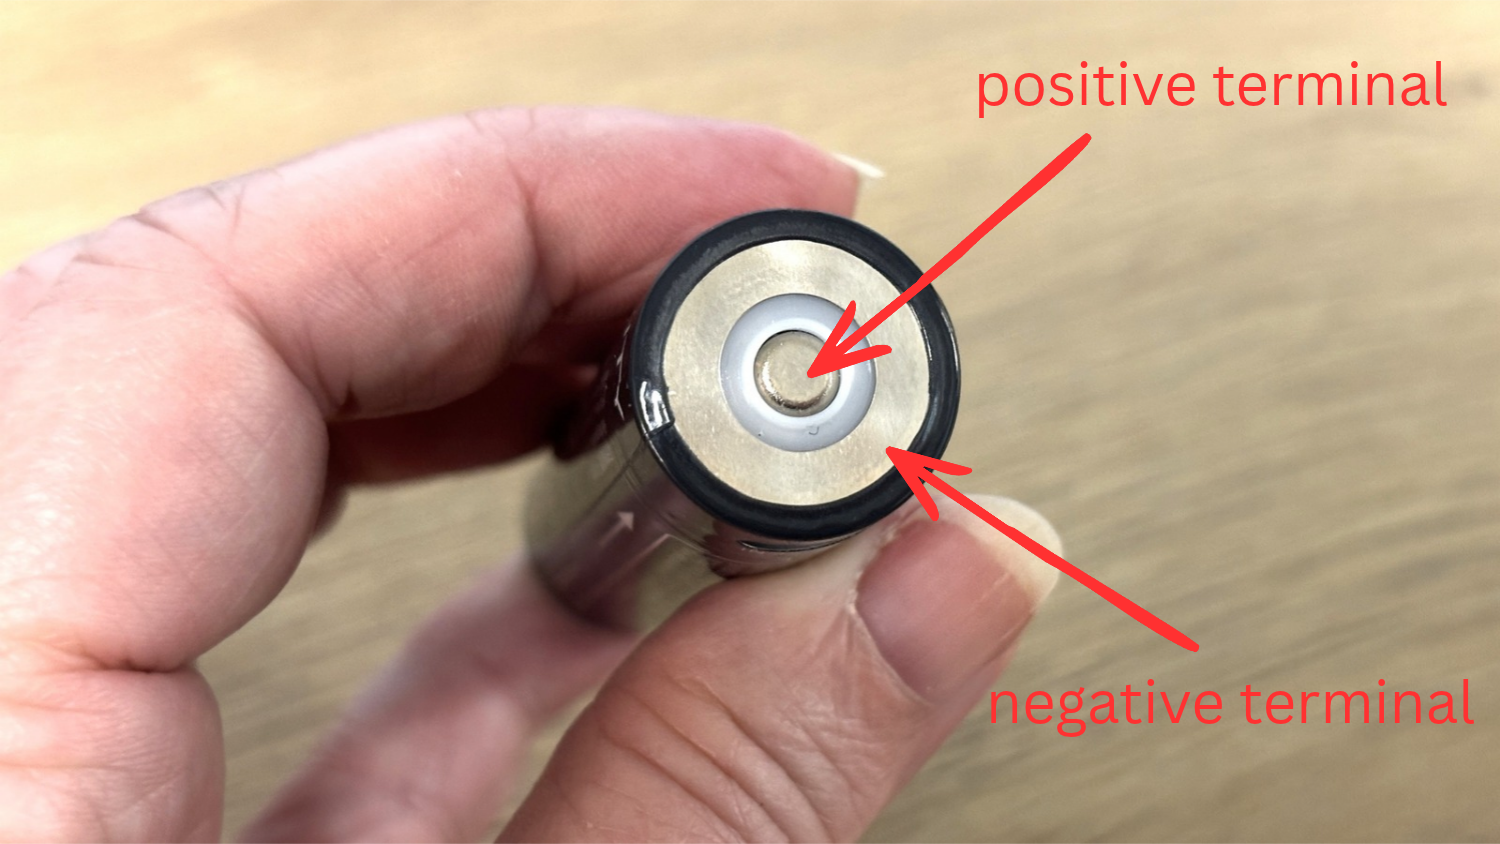
The batteries, curiously, have both positive and negative terminals on top of the battery. Care should be taken when carrying these to avoid shorting them together with anything metal in a purse or pocket.
(Image credit: Tom's Hardware)
Getting Started and Calibrating the Creality Pika
The Creality Pika uses a glass calibration board to do an initial calibration of the scanner. The calibration process involves holding the scanner above the board at various heights and at various angles. The process takes about ten minutes.
Installing the Software for Creality Pika
(Image credit: Tom's Hardware)
Creality Scan app can be downloaded from Creality's website, with versions for PC, Mac, Android, and iPhone. A really good user guide with links to tutorials and troubleshooting help is located on the Creality Scan homepage. The discovery tab has links to items scanned by other Creality users.
The Pika must be tethered by cable or Wi-Fi. Though the Pika does have an onboard 8-core 2.0 GHz CPU, it passes along a big chunk of computer processing to whatever it’s connected to. My iPhone 15 has just enough oomph to power the scanner, so you may have an even better experience with a newer device. Either way, using a wireless connection is slower, and using it with hardware near the minimum requirements can be frustrating.
My old laptop, with only 8GB of RAM, did not work, despite being enough to run previous scanners. Thankfully, my admittedly low-end gaming laptop, with 16GB of RAM, was good enough to run the scanner quite well. The software installed on the computer is used for both scanning and processing.
Minimum Requirements
Creality Recommends
For Windows
· i7-Gen7 CPU · Nvidia GPU (8GB VRAM) · 16GB RAM · Windows 10 or 11 (64-bit)
· i7-Gen13 CPU or above · Nvidia GPU RTX 3060 or above · 32GB RAM · Windows 10 or 11 (64-bit)
For Mac
· macOS 14 or above · M2 Apple CPU · 16GB RAM
· macOS 14 or above · M3/M4/M5 Apple CPU · 32GB RAM
For iPhone
· iOS15+ with an A15 chip or above · 6GB RAM
· iOS15+ with an A17 chip or above · 8GB RAM
For Android
· Android OS 10+ · Qualcomm Snapdragon 8 Gen2 chip or better · 8GB RAM
· Android OS 10+ · Qualcomm Snapdragon 8 Gen4 chip or better · 12GB RAM
Creality Scan can export scans as STL, PLY, OBJ, or ASC files. These files can be tidied up in other modeling software or uploaded directly to your 3D printer’s slicer.
Blue Laser Line 3D Scanning with the Creality Pika
(Image credit: Tom's Hardware)
The Creality Pika uses blue laser line scanning for detailed geometry capture, with seven parallel laser lines. The provided manual turntable works well when plastered with a bunch of the included marker dots. Unfortunately, it has a few millimeters of play in the center bearing, which can lead to a rough surface texture if not careful.
(Image credit: Tom's Hardware)
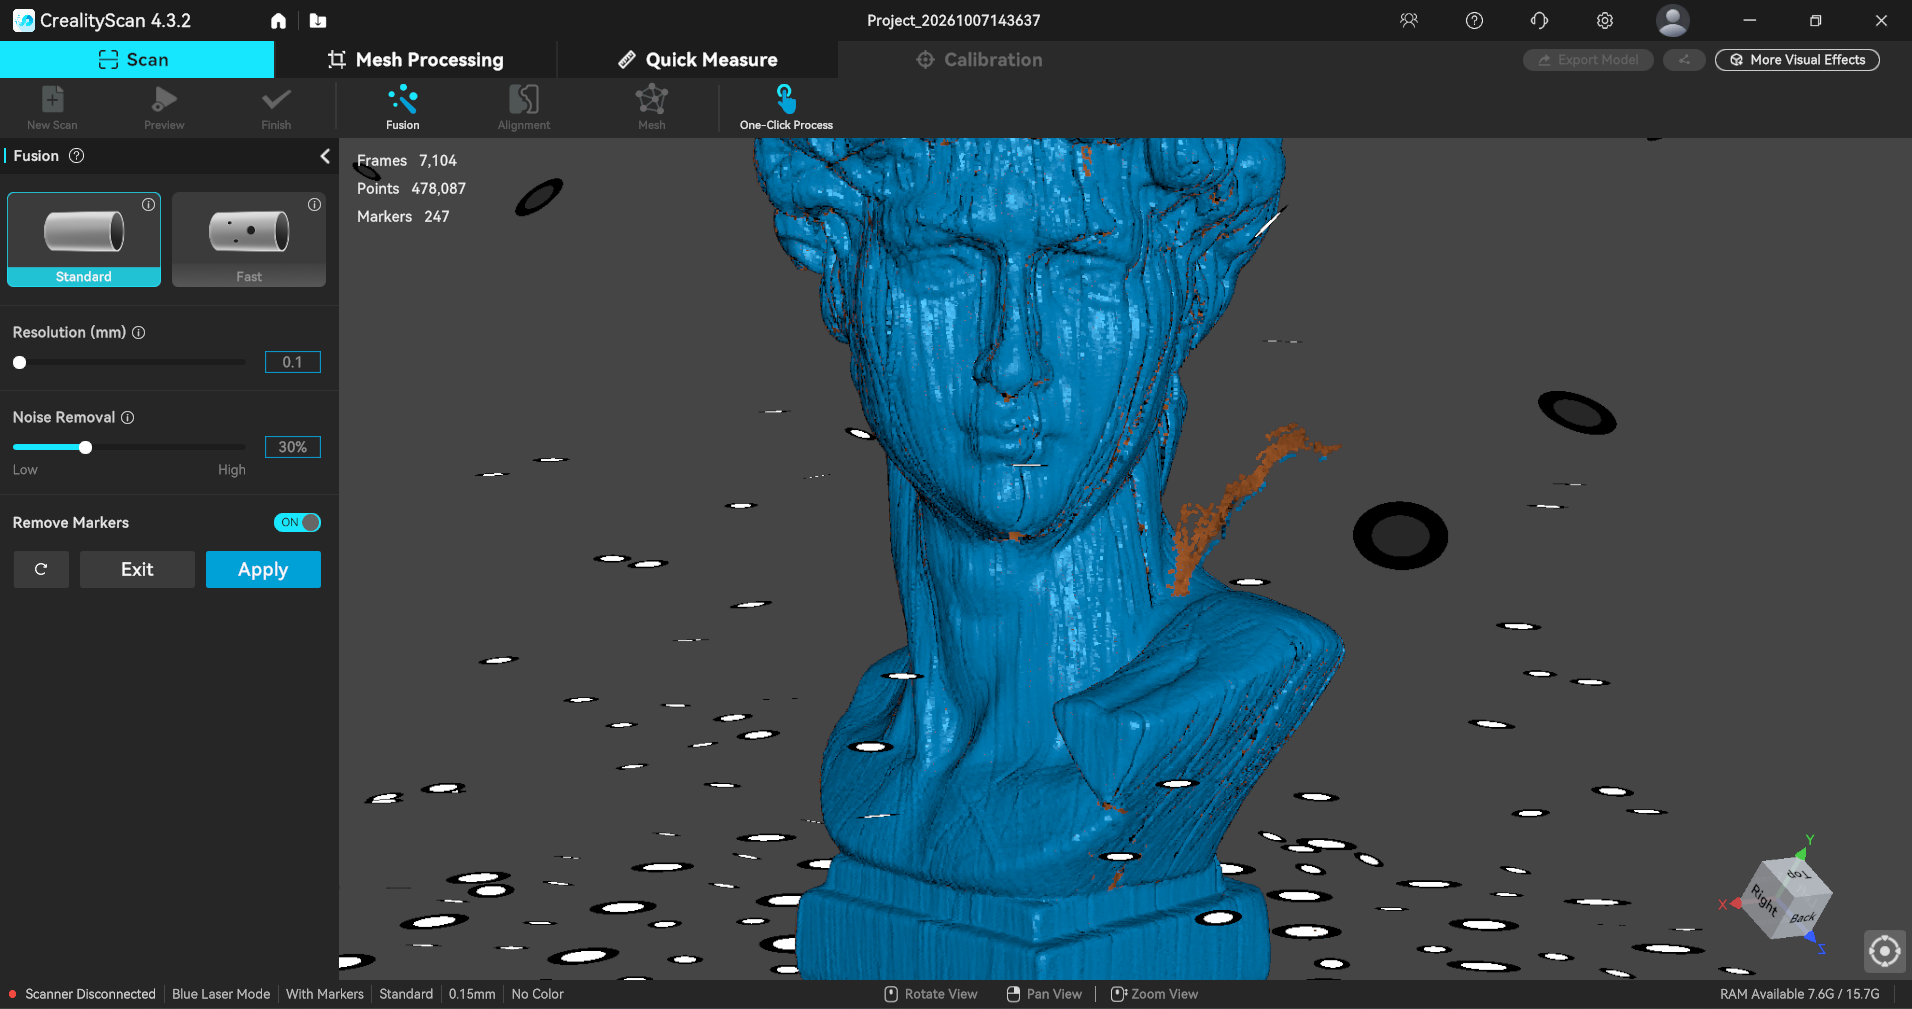
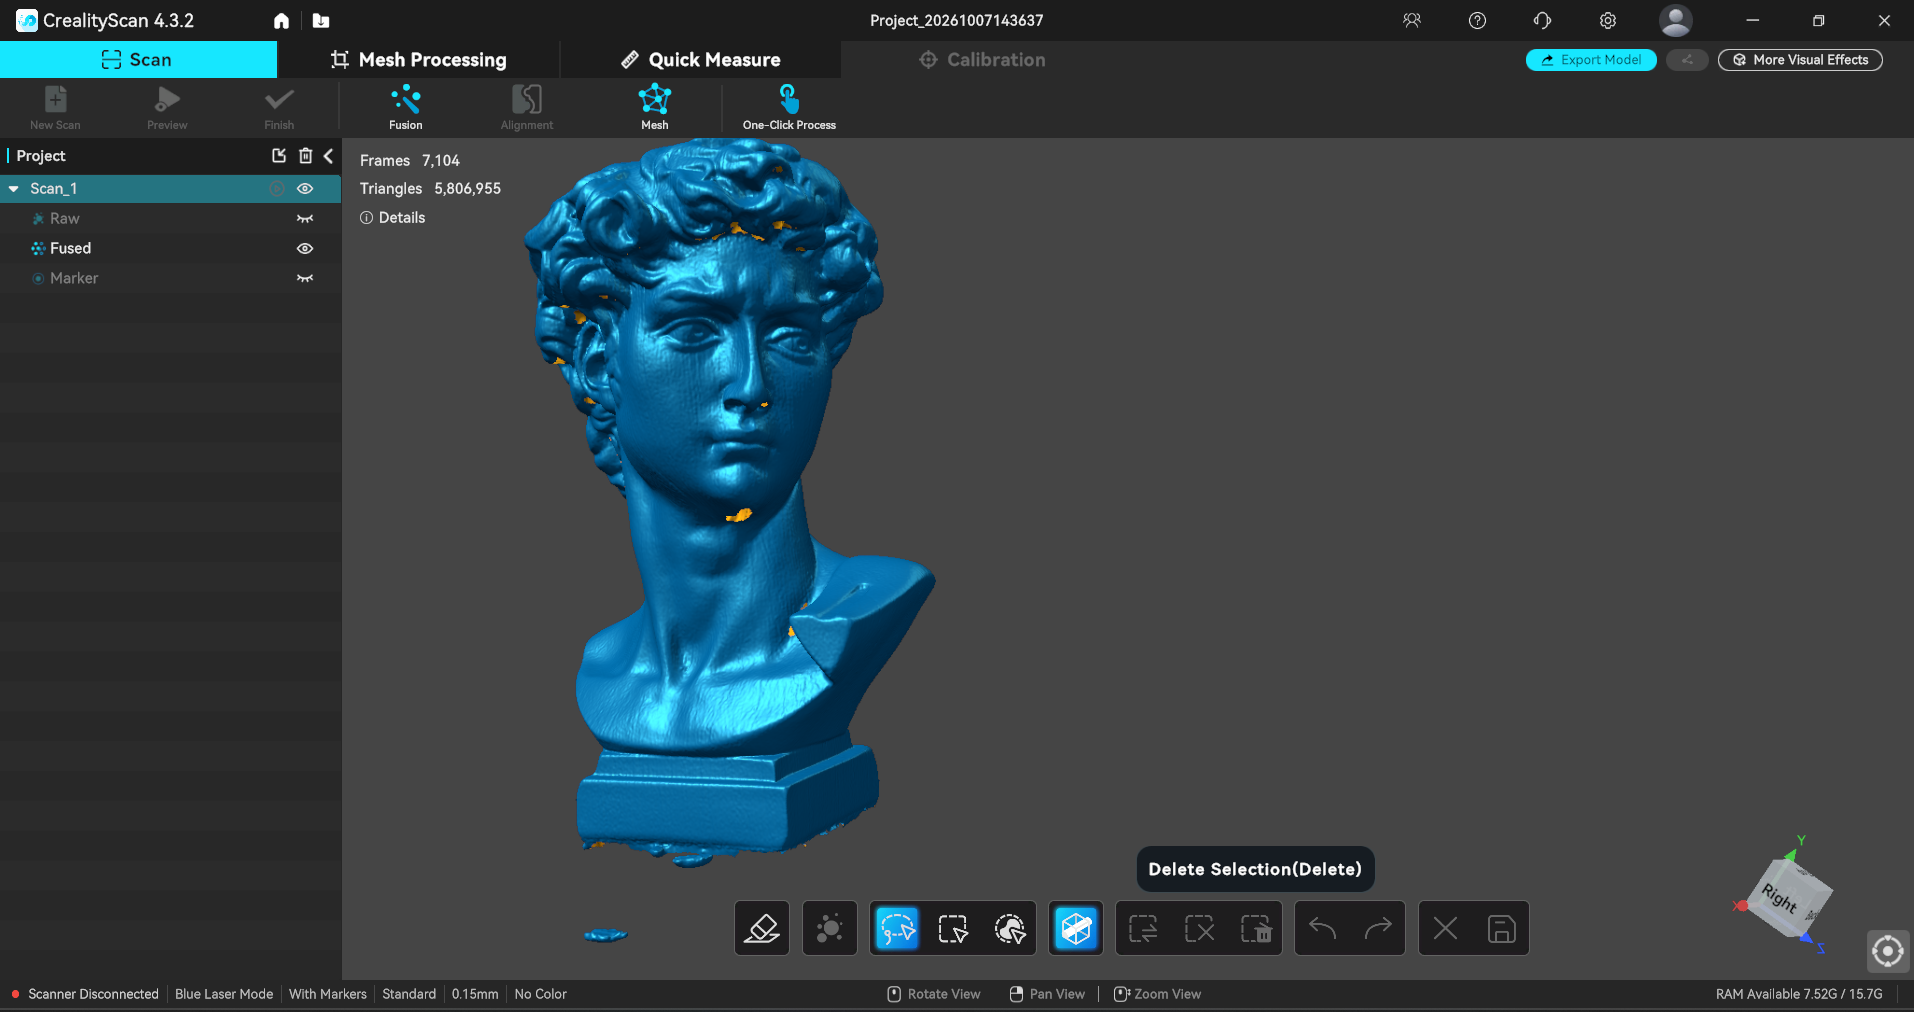
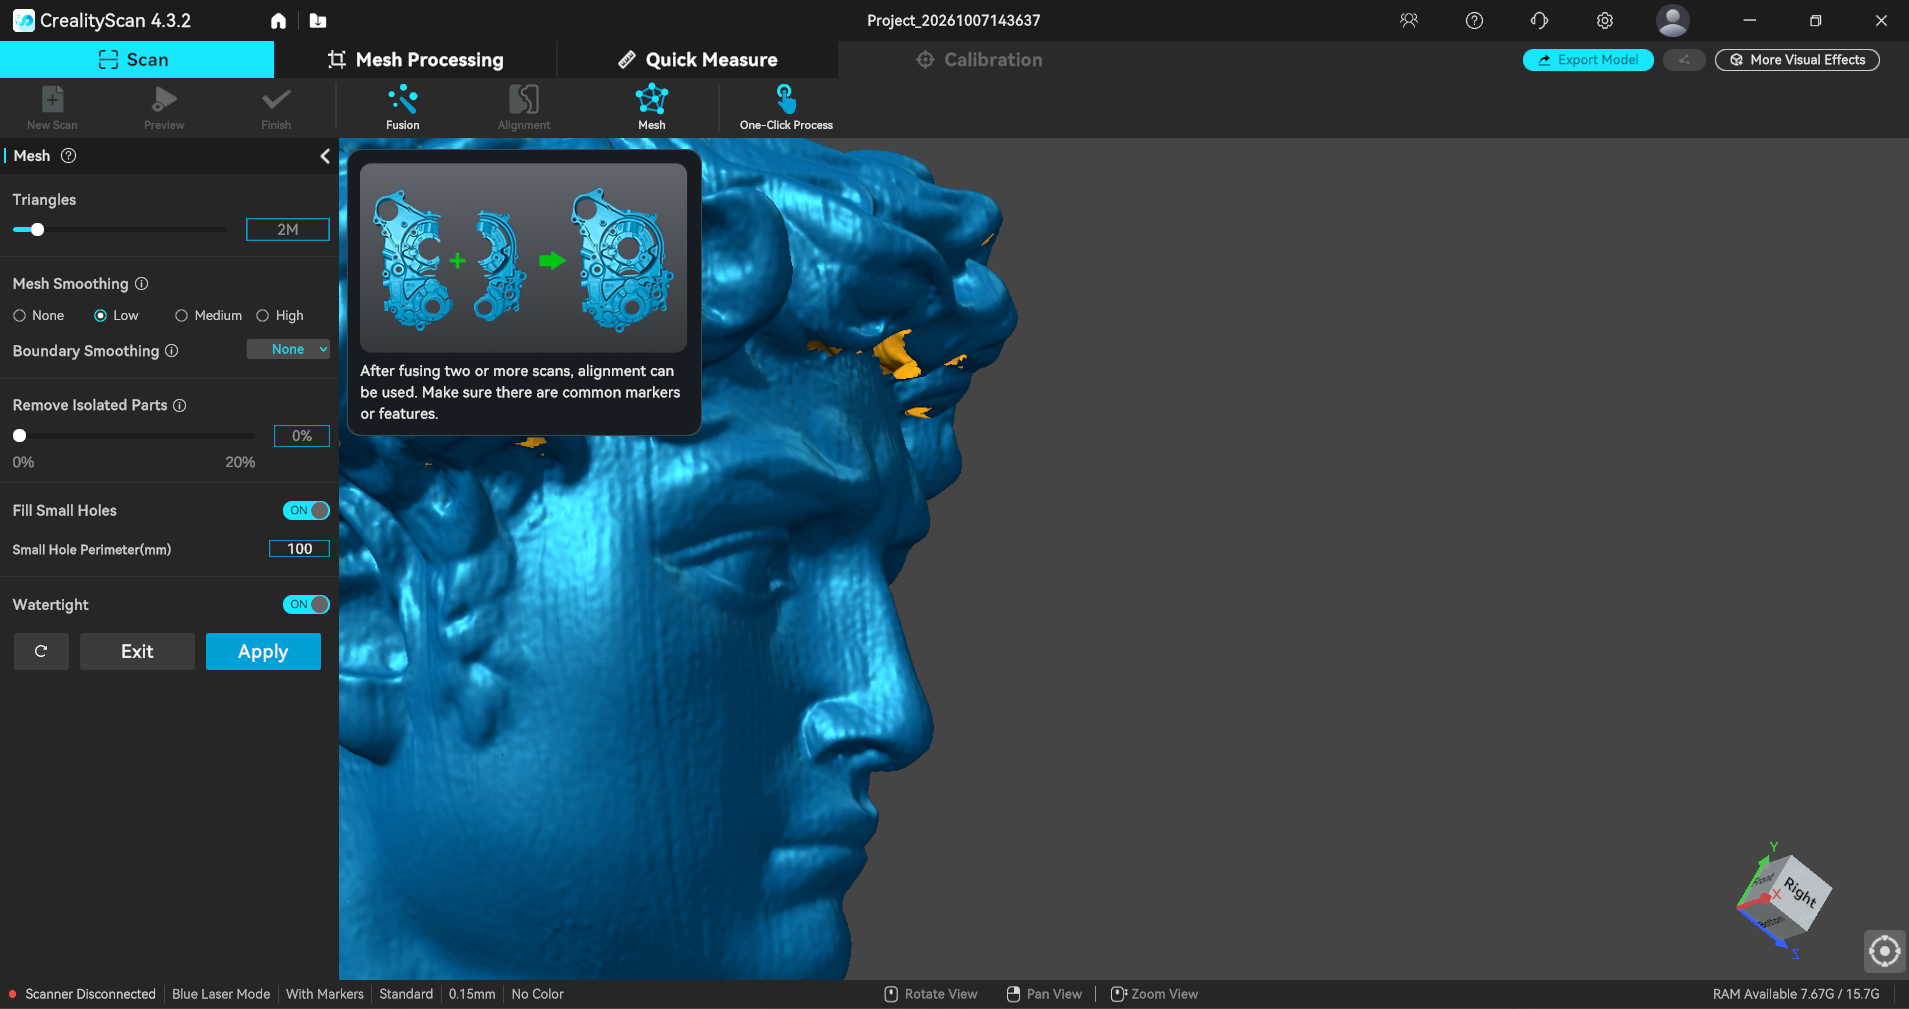
The photo above shows the raw scan of a copy of Michelangelo’s David. I did get much better scans later, but even this one is easily made usable in the software. The first step is fusing the model, which allows you to remove the marker dots and noise from the scan.
(Image credit: Tom's Hardware)
After fusing, the model is much smoother. There are still some unattached pieces and holes, and the bottom of the model is not flat. The lasso tool can select and remove the unattached pieces, and a clipping plane can be generated by choosing markers surrounding the scan. The plane can then be raised or lowered to give you the best base of the model.
(Image credit: Tom's Hardware)
The next step is mesh processing of the model. In this step, you can further smooth the model, simplify it, and fill small holes shown in yellow. Don’t select “make watertight” if you have a large hole (like the bottom of a model), as it will cover the holes by ballooning out a good bit. After running the mesh processing, you will have another opportunity to simplify, smooth, and fill holes.
(Image credit: Tom's Hardware)
Use Plane type hole filling for large flat surfaces.
(Image credit: Tom's Hardware)
The final model: filled, smoothed, simplified, and ready to export for printing.
(Image credit: Tom's Hardware)
This bust of David came with an early Creality scanner, so I’ve been using it as a test model for some time now. This may be the best scan I’ve gotten of it. The main reason is that the Creality Pika is small and lightweight, and tracks well enough to scan the underside of David’s hair and chin for the most part. The software’s hole filling and smoothing did the rest, with phenomenal results.
Since the Pika did so well with David, I decided to try a smaller model. This little guy (below) came with my kid’s Fisher-Price castle. He’s only 62 mm tall and was just too small to paint for 3D printing. He was also printed in Inland bone white on the Prusa Core One L.
(Image credit: Tom's Hardware)
Both the print and scan are nicely detailed.
(Image credit: Tom's Hardware)
I swiped my husband’s vintage Saint Louis University Billiken bobblehead for more tests. I had to put some sticky tack on his head to keep it steady on the turntable. Creality Scan did a terrific job smoothing out the wrinkles, and the model is perfect. I used the clipping plane to remove the logo of an old wireless company that provided the game day freebie. I gave it a quick coloring job in PrusaSlicer, but skipped doing the face.
I spent a ton of time putting random dots on the included turntable, which made Blue light scanning a breeze. NIR 3D scanning doesn’t use them. Scanning a person seems to work well until you get hair involved. Then it gets dodgy.
I ran two good scans using NIR. This time I borrowed my husband to operate the scanner, since scanning yourself is a bit more difficult than taking a selfie. I stitched together two scans of my foot, which I’ll use later to size some TPU shoes. I was able to further clean up the scan in Nomad Sculpt, since the scan wasn’t very flattering. It works quite well for sizing, however. The shoes will turn up in a future printer review.
(Image credit: Tom's Hardware)
After the less-than-stellar scan he took of my head for the Creality Sermoon S1, my husband graciously volunteered to have me scan his head for this review. Using any of the modes available, hair just seems to flummox the scanner. Fortunately, my husband has less hair than I do, so the scan did complete, and no, I’m not going to 3D print it. 3D scans are quite brutal, but if he ever wants a custom driver for his Death Racer, we’re covered.
(Image credit: Tom's Hardware)
Bottom Line
(Image credit: Tom's Hardware)
The Creality Pika is a small and light, yet totally capable scanner. It needs a good mobile phone or fairly decent laptop to drive it. The software backing up the hardware is easy to use and really does an excellent job cleaning up the rough areas of your scans. Currently, it is available at a comparatively bargain-basement pre-order price of $699.
If you want a scanner with a little more horsepower, check out the Creality Sermoon S1, which retails for $2,069. Creality also makes the Sermoon P1, which can run completely untethered and retails for $3,299.
Anycubic's Kobra X Multicolor 3D Printer is at the lowest price it's ever been since reaching retail availability. Prime members who head over to the Anycubic store on Amazon can now snag this well-reviewed device for just $299.99 for a limited time. The 17% or $60 off its MSRP makes the Kobra X a bargain, as it was highly praised as a contender in the entry-level four-color printer category by our reviewer earlier this year. It even won a coveted Tom's Hardware Editor's Choice award.
Though it may appear to be a Bambu Lab A1 clone at first glance, we praised the Kobra X for its multimaterial system, the ACE Gen 2, which is built directly into the toolhead. This is a great timesaver for prints with lots of color changes, and we calculated that on a four-color print with 776 color swaps, the Kobra X was a shocking 10 hours faster than the rival A1, despite similar printing speeds.
The Kobra X delivers fast, affordable multicolor printing without a complicated external AMS or premium price tag. It features a 260 x 260 x 260mm (10.23 x 10.23 x 10.23-inch) build volume, automatic + Z bed leveling, and a color touch screen.View Deal
The Anycubic Kobra X Multicolor 3D printer was launched earlier this year, with consumer shipments starting in late March / early April. We reviewed it in February and gave it a great score for its innovative ACE Gen 2 system, fast filament swaps, and reliable 49-point full-auto leveling and vibration compensation. It also "worked flawlessly" throughout the testing period. The only stain on its glowing report card was due to the spool holder guide making loading awkward.
This 600mm/s 3D printer expands up to 19 colors if combined with four ACE 2 Pro units. It also packs a 720P camera with real-time monitoring and instant error alerts, plus AI-driven anti-foreign object and spaghetti detection, and reasonably quiet operation at ≤48 dB.
Now at its lowest price to the public since launch, at just $299.99, this Bambu Lab A1 rival is a compelling choice for 260 x 260 x 260mm (10.23 x 10.23 x 10.23-inch) build volume projects in PLA/PETG/TPU/PVA/PLA-CF/PETG-CF/ASA materials.
X-Bow Systems, a solid rocket motor (SRM) manufacturer specializing in additive manufacturing (AM), has secured a deal with Leidos to develop and build rocket boosters for the U.S. Army’s Low-Cost Containerized Munition (LCCM) project. According to 3D Printing Industry, the LCCM is one of the Department of War’s programs under the “Arsenal of Freedom” initiative, which aims to rebuild the United States’ defense industrial base.
“Modern conflict is decided by how many rounds you can put downrange, not how exquisite each one is,” X-Bow founder and CEO Jason Hundley said. He also added that collaborating with Leidos would allow it to “turn out combat-ready rocket motors at production scale, fast.” Even though X-Bow Systems is a relatively new company, having been founded in 2016, it has already successfully produced over 2,100 combat-ready rocket motors. This means that it has the experience and expertise to produce the rocket engines in the numbers that the U.S. Army requires.
While conventional manufacturing methods still offer several advantages over 3D printing, the latter is still more effective when dealing with the complex geometries that some SRMs require. It’s also a faster solution when you need to iterate designs multiple times, which is why X-Bow can create and build new designs in a matter of days, instead of the months or years that it takes traditional defense contractors to prototype and test rocket motors.
Drones and 3D printing have been around for decades, but the war in Ukraine is the first time that we see these technologies deployed at such a scale on the battlefield. It also demonstrated that their innovative use could help a smaller force to withstand the brunt of a larger military. This is probably why larger militaries like the U.S. and Japan are looking at these technologies for more cost-effective weapons.
Gun rights activist Cody Wilson, known for creating the world's first 3D-printed firearm over a decade ago, has unveiled a new creation he claims is "the first AI-made gun." Dubbed the WASP, the weapon is 3D-printed and was designed by an artificial intelligence model he has creatively named 'GatGPT,' The Verge reports.
The report describes the WASP as "little more than a pistol barrel attached to a spring-loaded plastic box" that closely resembles another 3D-printed, single-shot weapon made by Wilson known as Liberator. As you can see from the image below, the weapon faintly resembles a regular firearm, but boasts a very strange grip and somewhat unconventional design.
(Image credit: Defense Distributed)
Wilson claims not to have simply made an AI-generated gun, but rather "an AI that can generate guns." Not simply one 3D printed creation, Wilson claims to have created a custom AI gunsmith model he calls GatGPT. According to the report, the model has been trained on DEFCAD's (the world's biggest online repo of digital guns) gun file library and can even help creators pick out parts for their builds.
The story is a seemingly significant development in the proliferation of "ghost guns," homemade firearms that don't have serial numbers, making them much more difficult to track and regulate. Wilson claims firearm access is "a fundamental human right." Interestingly, the report reveals that the WASP was designed simply by way of a conversation with the AI model, a polite way of saying that the gun was vibe-coded. According to the report, it fires real bullets and doesn't have a serial number.
3D-printed guns, while less regulated than the standard firearms market, have previously required manufacturers to have some level of technical knowledge in order to make weapons. However, the existence of a custom AI model that could bridge that knowledge gap would drastically decrease how difficult it is to 3D-print a working firearm. This leap requires exactly the type of unrestricted, custom AI model Wilson claims to have made, as using a mainstream AI service like Google Gemini, for example, isn't viable — the AI simply states "I cannot provide explanations or details regarding the creation, operation, or design of ghost guns or 3D-printed firearms."
The report cites experts who criticized the WASP's strange design and seemingly hallucinated details, like the unfinished trigger guard, but Wilson told the report that he expects the AI's design to improve, much like any AI model.
Formlabs Form Studio 1 is the company’s first consumer-level resin printer, and it’s aimed at those looking to hit print, walk away, and come back to a finished print. The print simplicity and reliability come from years of company testing, understanding users and their needs, and Formlabs specialized resins. Sure, you can use third-party resins, but you ultimately risk that print reliability.
Formlabs has really hit a lot of good points with this printer. It looks amazing with its see-through side panels giving old-school iMac vibes. The resin cartridge easily slides in and out, and the printer and its screen basically tell you what you need to do before and after every print to make sure your experience is the best it can be.
At launch, Formlabs is offering multiple packages for the Form Studio 1:
Form Studio 1 Basic Package – Printer just by itself - $699, includes shipping
Form Studio 1 Flex Package (what we tested) – $749, includes shipping
From Studio 1 Flex Package “Founders Edition” – $749 includes shipping (different color case options include Graphite, Aqua, Violet, or Teal). This will also include a Founders Edition easter egg on the Printer UI, A limited Form Studio 1 Plushie, Alpha Resin starting at $29, and 25% off up to $100 at Form Now (US Only).
Specifications: Formlabs Form Studio 1
Build Volume
200 x 125 x 235 mm (7.9 x 4.9 x 9.3 inches)
LCD Screen
Low Force Display
Light Source
28-LED backlight: 6 mW/cm² at the print plane
X/Y Axis Resolution
35um pixel pitch
Normal Exposure Time
Uses mW/cm²; varies from resin to resin
Interface
7-inch Interactive touchscreen (1024 x 600 resolution)
The Formlabs Form Studio 1 ships with the usual printer accessories. This includes a sanding block, flush cutters, nitrile gloves, a leveling disc, a USB-A to USB-C data cable, a quick-start guide, a cleaning sheet removal tool, and a resin tray.
On the back of the Form Studio 1 is a small turn knob for access to the vent system. Formlabs has an add-on VOC extractor ($179) to help with the resin fumes it does output.
(Image credit: Tom's Hardware)
Printing Safety with the Formlabs Form Studio 1
(Image credit: Tom's Hardware)
The Formlabs Studio 1 requires the same safety precautions as most resin printers. Uncured resin is dangerous, and the solvents used to clean your prints can be irritating to skin or cause sensitivity issues over time. Use gloves and safety glasses when pouring resin and handling uncured prints.
Make sure the room you use your resin printer in is well-ventilated to avoid inhaling fumes. Spilled resin should be immediately cleaned up with 99% isopropyl alcohol. After printing, make sure to wipe down your printer and bottles to remove smudges of uncured resin. Always keep your resin tightly sealed and safely stored out of reach of pets and children. Formlabs states that a respirator is not required, but it’s always good to have one to be extra safe.
Assembling the Formlabs Form Studio 1
(Image credit: Tom's Hardware)
The Formlabs Form Studio 1 comes almost fully assembled out of the box. You'll need to remove packing material from the inside of the hood and remove the plastic covering the vat. You'll then need to unbox the build plate and insert it onto the printer's mast.
Calibrating the Build Plate on the Formlabs Form Studio 1
There is an option in the settings menu to adjust the build plate. (Image credit: Tom's Hardware)
The Form Studio 1 came pre-leveled and ready to go out of the box. But if needed, you can adjust the plate by using the included alignment shims and a 4mm hex key that is neatly tucked away on the left front side of the printer.
(Image credit: Tom's Hardware)
Design of the Formlabs Form Studio 1
(Image credit: Tom's Hardware)
The Formlabs Form Studio 1 shares similar styling features to its larger, much-pricier professional-grade resin printers, with its distinct Orange and Grey coloring. But the company has slimmed down the design and given it more of a modern, skeleton-style panel. The build plate has a nice tab-locking system to help users lock and remove the build plate with ease. The same can be said for the vat system, with two clamp locks on the side to help keep the vat in place, while making it easy to quickly change vats if needed.
(Image credit: Tom's Hardware)
The seven-inch display on the Form Studio 1 is large and responsive. It’s the largest screen I have seen on a printer of this size, and a great addition to the setup so you can see what is happening without having to walk right up to the printer. The printer also makes useful sounds to let you know when something is removed, put back into place, or even when there is an issue with a check while printing.
The hood does feel a little flimsy, particularly where it mounts to the arms for the hood, but it’s not terrible. This is about the only thing I found on the printer that seemed like the company cut some hardware corners. But again, it works, and the arms are solid. Formlabs did state that they are working on the design of this to make it a little better.
There is also a camera on the bottom left for live access to your current print job, or to show off an awesome time-lapse of the previous prints you did. One feature I was not expecting was the little pocket on the front left of the printer, shown in an image above, holds hex keys and leveling items. Most printers just have the tools there in a box and expect you to either print a case or toss them in a drawer and forget about them. This little case is 3D printed (files are available to download and make your own too), which is a nice touch showcasing what 3D printers are for.
Setup
When you set up the Formlabs Form Studio 1, it walks you through a series of setup screens, like most resin printers now, but I did not expect the printer to ask me to level the physical printer. This is something normally overlooked by many when resin printing. Leveling the entire printer makes sure that the Automatic resin feed system is properly balanced, keeping the system from making a big mess when the auto refill is triggered, and not overfilling the vat. This step can be skipped, but it is a good idea to make sure the printer is level.
(Image credit: Tom's Hardware)
Let's talk about resins, and specifically Formlabs resins. When it comes to resin printers, most users will end up using their prefered resin, or whatever is cheapest. This can still be done with the Form Studio 1 with its Open Material Mode. But you will still need to calibrate your resins through the slicer as normal, to get successful prints.
Formlabs Alpha Resins are the first and 3D printing resins that are UL GREENGUARD Gold certified when using Form Studio 1 and Formlabs’ VOC Extractor. This means they pass an independent test for chemical emissions during printing that are low enough to be considered healthy for sensitive groups. The company’s resins are low odor, and parts printed with Alpha Resins have passed tests for long-term skin safety.
Formlabs achieved this by changing up the ingredients in its resin. There are no known chemicals with acute toxicity or known long-term effects on organ and reproductive health. This is good news for those who are scared of the chemical side of resin printing. Now, this doesn't mean that you can just carelessly toss out your PPE, but it does mean that resins are getting better and safer for users. Maybe one day we’ll get to a point where we don’t need PPE.
Slicer compatibility with the Formlabs Form Studio 1
(Image credit: Tom's Hardware)
The Formlabs Form Studio 1 comes with the PreForm Form Studio 1 slicer. This is Formlabs’ slicer for all its printers. It takes a little bit to get used to if you're coming from Lychee or Chitubox, like most resin printers, but after your third print, you should be getting the hang of it. If you're a new user, it’ll be a little troublesome understanding how to properly angle the print and size it, but that's about it.
Using Formlabs Alpha V1 Resin in Grey, I printed a model of Johanna from Diablo 3. I found this model while searching on Makerworld. I used Formlabs’ auto orientation tool for this print. I used stock settings for the Alpha Grey V1 in the slicer and added the stock supports. The file was sliced and sent via Wi-Fi to the printer. I printed this as a solid piece using 264ml of resin, which printed in 10 hours and 56 minutes, at 0.05 mm layer height.
The next print I wanted to tackle was a Halloween-themed print, since it is Spooky season after all.
This print was scaled up to fit the build plate area, and printed with Formlabs Alpha V1 Resin in Grey. I added some supports and sent it to the printer. This print used 224ml of resin and printed in 7 hours and 58 minutes at 0.05 mm layer height.
Lastly, I decided I wanted to try a different resin, one that most people either don’t know about or haven't really used before: flexible resin.
Since Formlabs sent us various resins to test out, I didn't want to just stick with one basic resin type. So I swapped vats and loaded up a bottle of Formlabs’ Flexible 80A V2 Black Resin. I figured the best use case for this was to print something that would be squeezable, so I ran over to Thingiverse to search for stress balls, and a soccer ball-style caught my eye. But also, I wanted to reprint a file I had printed about two years ago to showcase resin, so I went over to Makerworld to grab the tennis ball. Both printed without issue.
I did have to tweak the supports and go the manual support route. Because of the way the slicer sees all the holes, it wanted to add tons of supports that aren't really needed. Once that was completed, I sent it to the printer. These models printed together in 7 hours and 53 minutes, and only took 153 ml of resin at a 0.050mm layer height.
Washing and Curing Your Prints PSA
Before you can admire your prints, you’ll need to wash them with isopropyl alcohol and cure them with a UV light. I like to give prints a 30-second hand rinse in a container of 95% Isopropyl alcohol, then a 5-minute rinse in the Form Studio 1 Wash + Cure Station which is sold separately and retails for $199.
Completely dry the print with a hair dryer on cool – IPA left on the print can make it tacky. You can also let the print air dry in a place away from sunlight. Supports are easier to remove before curing because they are softer. Clip the supports off with side cutters and use tweezers to remove stubborn supports. Remember to always wear gloves while handling uncured prints. Then place the print in a UV curing station for its recommended curing time.
Your IPA should never be flushed down the drain, especially after being contaminated with uncured resin. Instead, keep using the resin until it’s too dirty, then leave the container open to evaporate. The remaining sludge can be cured with UV light or the sun before being thrown away. Supports should also be cured before being thrown away.
Bottom Line
Starting at $699, the Formlabs Form Studio 1 may seem a bit pricey for those looking at comparable resin printers on the market, like the HeyGears Reflex RS ($499) and Elegoo Saturn 4 Ultra for $426.99. And while our testing showed slow printing times, you can get Formlabs Fast Resin to print quicker. The build quality of the printer and the Formlabs name instantly appeal to those looking for a premium package. Overall, the price feels right for what you're getting.
Using Formlabs resin pretty much guarantees a completed print over other resin printers I’ve tested. For me, the selling point beyond the name and price is the fact that it just prints. I didn’t have a single issue on that front while testing the Studio 1. That right there will sell me over any new tech or faster print times. Plus, with all the added helpful features in the slicer and the printer, the Form Studio 1 welcomes new users with open arms.
Bambu Lab has officially teased its S1 3D scanner, ahead of its planned release in November 2026. No details of the product have been released yet, but FCC filings and Bambu Lab’s partnership with SCANOLOGY may hint at the scanner’s capabilities and shared technology.
3D scanners are a niche within a niche, and not necessarily within the 3D printing niche either. 3D scanning is used in many fields, like game asset creation, texture assets, archaeology, prosthetics, and museum archiving; and the rise of 3D printing has created a small but growing demand in the form of reverse engineering automotive and various niche parts. However, because of PC requirements, the intensive and technical scan cleanup, and resurfacing in CAD programs, it remains a small niche; a niche currently being served by brands such as Creality with their CR-Scan line of 3D scanners, Revopoint’s Pop series, mini, and all-in-one MIRACO scanner, and SHINING3D’s Einstar prosumer-level 3D scanner.
(Image credit: FCC)
Speculations in Bambu Lab’s own forums found FCC filings for a label and drawing of the scanner. The label shows a 60W-rated input, leading some to speculate a shared platform with SCANOLOGY’s 3DeVOK MT Gen2, a wired composite 3D scanner released in 2026, using both blue and IR lasers, and also has a rated input of 60W. The input rating doesn’t necessarily confirm that they share technology, but it does give a small hint of its potential capabilities, with the number of lasers and potentially a screen dictating the power requirements.
(Image credit: FCC)
Considering the flat spot and the top of the handle on the FCC drawings, it looks like there may be a screen, possibly like the 3DeVOK MT Gen2. More importantly, the 60W rating with no hints of a battery on the label may mean this scanner will require a PC to operate. This is often a pain point, as you would either need a powerful laptop to bring while scanning, or use a really long USB cable to your PC. As for the price, the 3DeVOK MT Gen2 is officially priced at $8,299, which is a very high price point, further making it unlikely that they may share a platform if Bambu Lab wants to keep consumer-friendly pricing.
California is taking another swing at banning 3D-printed “ghost guns,” and this time the target is one of the world’s largest manufacturers of 3D printing filament. Polymaker LLC, headquartered in Shanghai with U.S. operations based in Houston, was named in a civil lawsuit filed October 5, 2026, by San Diego County Counsel on behalf of the People of the State of California. The complaint alleges that Polymaker marketed its filament in such a way as to appeal to gun enthusiasts and thus transform harmless PLA into a regulated “firearm precursor part.”
Under California law, a firearm precursor part is “defined to include any article marketed or sold to the public to become or be used as the frame or receiver of a functional firearm once completed, assembled or converted,” according to the civil complaint filed in San Diego County Superior Court. The County seeks disgorgement of profits, civil penalties and injunctive relief.
The complaint acknowledges that 3D printing filament itself is not illegal. But prosecutors argue that Polymaker actively cultivated and monetized the “ghost gun” community by supporting and then hiring Sean Aranda, who goes by The 3D Print General on social media. Aranda, a 3D printing expert, book author, and gun enthusiast, was banned from YouTube in 2023 over firearm policy violations. His YouTube channel at the time had 123K subs. Polymaker, which had been sponsoring his channel with a special edition creator spool of khaki colored PLA Pro, came to his rescue with a job offer. He became the Head of Customer Experience, which entailed fostering Polymaker’s online community and attending community festivals with the company. He is now a Senior Technical Account Manager for Polymaker.
Aranda is mentioned 65 times in the 39-page People v. Polymaker complaint. The prosecution implies that Aranda was specifically hired for his connection to the 3D printing gun community and not that he was simply a qualified individual searching for a job away from content creation.
(Image credit: Polymaker)
The prosecution attempts to link a common marketing tactic used within the online creator community to the illegal proliferation of ghost guns: affiliate links. Affiliate links are used by content creators to promote the products they use, be it spools of PLA, energy drinks, or dog food. When an audience member clicks a link and makes a purchase, the content creator is awarded a small percentage of the sale.
Polymaker supports all manner of 3D printing content creators, and the application for affiliate links is publicly posted on its website. The application asks for your name, location, and number of followers on assorted platforms. It does not ask what type of content you create or how big your audience might be. “Whether you run a YouTube channel, a TikTok account, or a niche 3D printing blog, you're welcome here. If you love Polymaker, you qualify.”
(Image credit: Polymaker)
The lawsuit is presented by San Diego County’s new Consumer Fairness and Public Protection Division. If it prevails, the ramifications will extend far beyond 3D-printed firearms. If a manufacturer in Texas can be held civilly liable in California because a YouTuber used that product to do something that is not against the law in their home state, every raw material supplier, software developer, and desktop hardware manufacturer operating in the digital age could find itself in the crosshairs.
The Kingchaser, a 3D-printed jet-powered remote-controlled aircraft made out of PETG, PPS-CF, carbon-fiber rods, and aluminum, aims to take the world speed record after its maiden flight, with a target of Mach 0.8. The Mach Initiative aims to break the current Guinness World Record held for 9 years by German pilot Neils Herbrich. The team of graduates from the University of Bath has posted their maiden flight of the Kingfisher to YouTube.
The team started out with their first miniature prototype, the Kinglet, made out of PETG, PET-CF, and some PLA. It didn’t use a jet turbine yet, opting instead for an EDF (Electric Ducted Fan) as a safe and low-cost way to iterate. The Kinglet used a modular design to rapidly prototype the aircraft in sections and replace any broken parts without needing a whole new body.
Once the Kinglet had reached a level of performance the team was happy with, they moved on to the Kingfisher, measuring just under a meter, propelled by the Jetcat P60, a miniature jet turbine engine capable of 63 N · m of thrust, reaching a top speed of 205 mph (330 km/h). The Mach Initiative stated that this engine is not powerful enough, nor is it intended to break the record, aiming solely to achieve flight with a jet engine. The team had to make some major design changes from the Kinglet due to the larger size and much higher forces the aircraft would have to endure. The Kingfisher is still also made mainly out of PETG, with the housing of the engine out of annealed PET-CF. The engine is held in place by aluminum hardware, with the rest of the aircraft being reinforced by an aluminum skeleton.
The engineers initially intended the Kingfisher MK2 to be the aircraft that would house a 150Nm jet engine to break the record, attempting to hit 614 mph (988 km/h), leaving the world's fastest electric drone (434 mph) in the dust. However, they decided to make a new aircraft that was 20% larger than the Kingfisher and called it the Kingchaser, with significant changes to the design.
The 20 lb (9 kg) Kingchaser still uses mostly PETG for its external construction, but instead of annealed PET-CF for the engine housing, they switched to PPS-CF, as annealing the larger housing caused warping, possibly due to uneven heating. The PPS-CF is also skinned with a few layers of carbon fiber, further reinforced with aluminum and steel to mount the engine. They also put titanium exhaust sheets and aluminum tape to shield the print from the engine’s heat. The aluminum skeleton running through the PETG body has also been replaced with carbon fiber rods instead to save more weight and use fewer custom-CNC machined parts.
For the electronics, they have a dedicated flight control and avionics member who works on the electronics. The Kingchaser has a fully instrumented avionics system to collect as much telemetry from the aircraft as possible; it is also equipped with an FPV system for better piloting at speed. To control the aircraft, 70 kg-cm (5.06 ft-lbs) high-torque servos were used on the elevons, as it would take a considerable amount of force to move those flaps at speed.
There is currently no announcement of when the record attempt will be made, but you can keep up with The Mach Initiative’s entertaining build logs on their YouTube channel.
Shenzhen Tuozhu Technology, Bambu Lab’s parent company, has filed a patent application in the U.S. for a new heatbed design, which was published on September 10, 2026. This design aims to heat a printbed more evenly, reducing issues with prints as commonly reported by many users of various 3D printer brands. The patent describes the construction, heating method, and its claim of better adhesion to improve print quality.
The abstract of patent US20260264331A1 states: “The heated bed comprises a heated bed body, a heating unit, and a bottom case, wherein one end of the heating unit is configured to be electrically connected to one end of a power supply, and the other end of the heating unit is configured to be electrically connected to the other end of the power supply; the heating unit is disposed between the heated bed body and the bottom case. The heating unit is attached to a surface, proximal to the bottom case, of the heated bed body, and the heating unit is configured to heat the heated bed body. By implementing the present application, the adhesion capability of the print panel can be improved and the print quality can be improved.”
It’s hard to imagine from the abstract alone, but the patent’s sheets visually show us what Bambu Lab is trying to achieve, and the claims tell us more details. The current heatbeds use a laminated heating sheet, adhered to a sheet of aluminum with magnets to hold a build plate. Bambu Lab’s new design wants to replace the laminated heating sandwich with a “heated bed body.” Looking at FIG. 3 of the patent, you can see what looks to be a monolithic heatbed with a machined channel where the heating element will run through; claim 5 describes the recess’ shape resembling the Chinese character “凹,” which also happens to mean sunken or depressed.
(Image credit: Espacenet)
As previously described, the heating element loops around inside a recess in the heatbed, but it is one long unit that is connected to a single power supply at each end. The loops reach the corners, potentially reducing peeling for large prints that use most of the bed’s surface; this configuration may also improve the time to reach target temperatures. It does not describe being able to heat zones independently, however.
Machining a recess in a large piece of aluminum is quite costly, in both materials and machining costs, though it is possible for Bambu Lab to create this heated bed body from multiple pieces, possibly from multiple layers of aluminum sheets to avoid using large and expensive billets.
Besides the new heatbed, included are claims describing a 3D printer. It describes a fairly generic CoreXY 3D printer, but don’t panic; this doesn’t mean every brand is suddenly going to infringe on this patent. The claims describing a 3D printer are tied to the heatbed design, so it would take a printer that has Bambu Lab’s patented heatbed design to potentially fall within the patent’s scope — the PCT application is still pending, however, so the patent cannot be enforced yet.
If the patent does get granted and the performance is superior to the current heatbed design, this could potentially mean Bambu Lab would be tempted to charge more for their replacement heatbeds and possibly the printer as a whole. In the meantime, there is no information on the performance of this design, so we will have to wait and use a bit more glue on our buildplates.
 登录